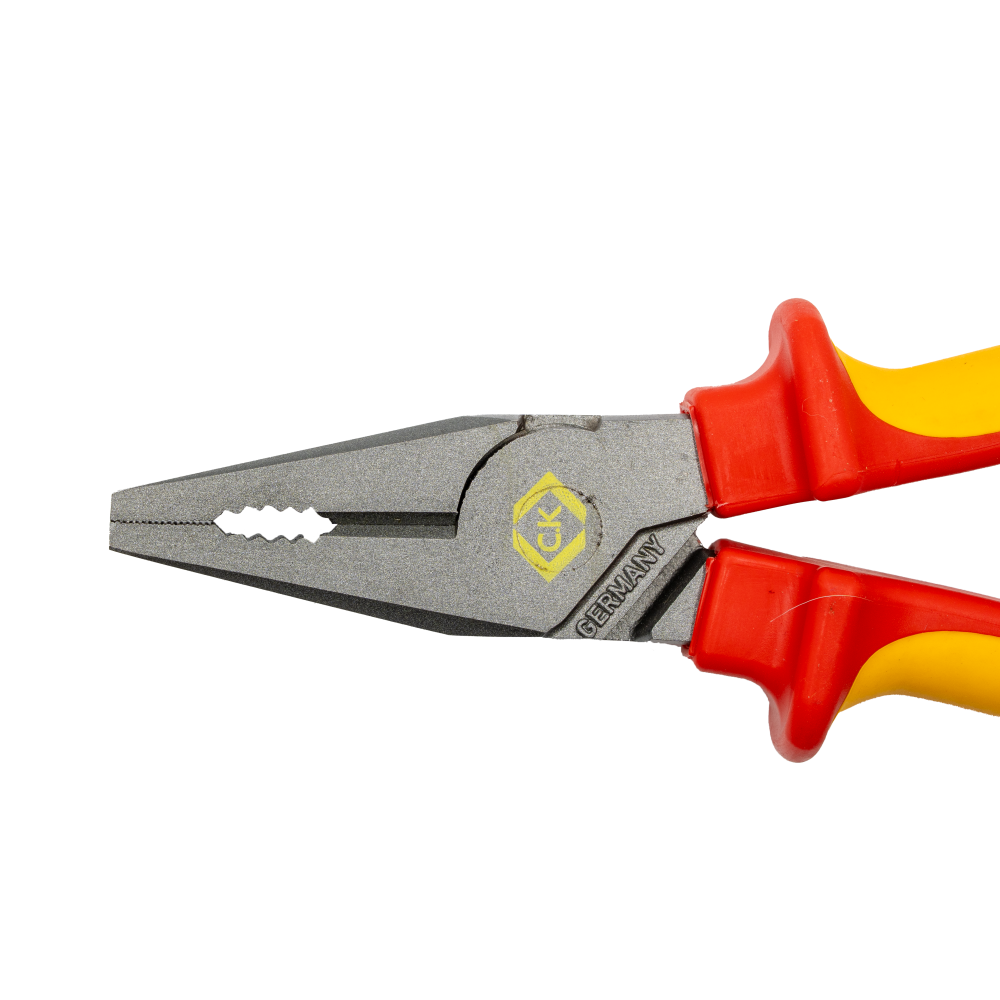
Plier head
Check the identity and origin of the tool on the head, before a purchase or on receipt.
Published 5 September 2026
In brief
The T3973-160 and the T3910-210 are the two RedLine VDE pliers from C.K Tools. The first cuts conductors by shearing in a 160 mm format; the second, at 210 mm, combines gripping, stripping, cutting and a LOOP eyelet.
I carried them in my tool bag for several weeks on jobsites, with a stop in the workshop for two precise tests: a bundle of 2,5 mm² conductors on the cable cutter and a continuous impact test on the multi-tool.
What I wanted to know: does shear cutting preserve the strands, does stripping stay clean on copper, and what exactly does the VDE marking on these two references guarantee.
1 000 V
claimed live working rating for both pliers
10 000 V
individual dielectric test before leaving the factory
160 mm
length of the T3973-160 cable cutter
210 mm
length of the T3910-210 multi-tool
Both references belong to the RedLine VDE range, the insulated tool line C.K Tools intends for live working. I have already told the story and the ranges of the brand in my C.K Tools review; here I stick to the two pliers.
Plier head
Check the identity and origin of the tool on the head, before a purchase or on receipt.
The T3973-160 is a cable cutter: it slices the conductor to shorten it before connection. The T3910-210 is an installation multi-tool: it grips, strips, cuts and forms eyelets.
The choice between the two therefore comes down to the dominant motion, not the stated length. An electrician who mainly prepares panels and boxes does not do the same plier work as an electrician who cuts a lot of conductors at the end of a pull.
| Plier | Main motion | When I get it out |
|---|---|---|
| Plier T3973-160 | Main motion Cutting by shearing | When I get it out Shorten a cable or a bundle before connecting it |
| Plier T3910-210 | Main motion Stripping, gripping, cutting, LOOP eyelet | When I get it out Prepare the conductors of a panel or a box |
Two RedLine VDE pliers, two preparation stations
The manufacturer lists the range as T3973A 160 for the cable cutter; the spelling T3973-160 is what appears on the commercial datasheets. The multi-tool is listed as T3910 210 in the brand’s catalogue.
The cable cutter measures 160 mm in total. It is the compact format of the range: it slips in where a 200 mm plier cannot spread its handles, at the bottom of a flush-mounted box or in a cluttered luminaire housing.
Its mechanism relies on shearing: two crescent-curved blades slide against each other and slice the conductor in the hollow of the jaw. The manufacturer claims a clean cut and a blade profile that also serves for stripping.
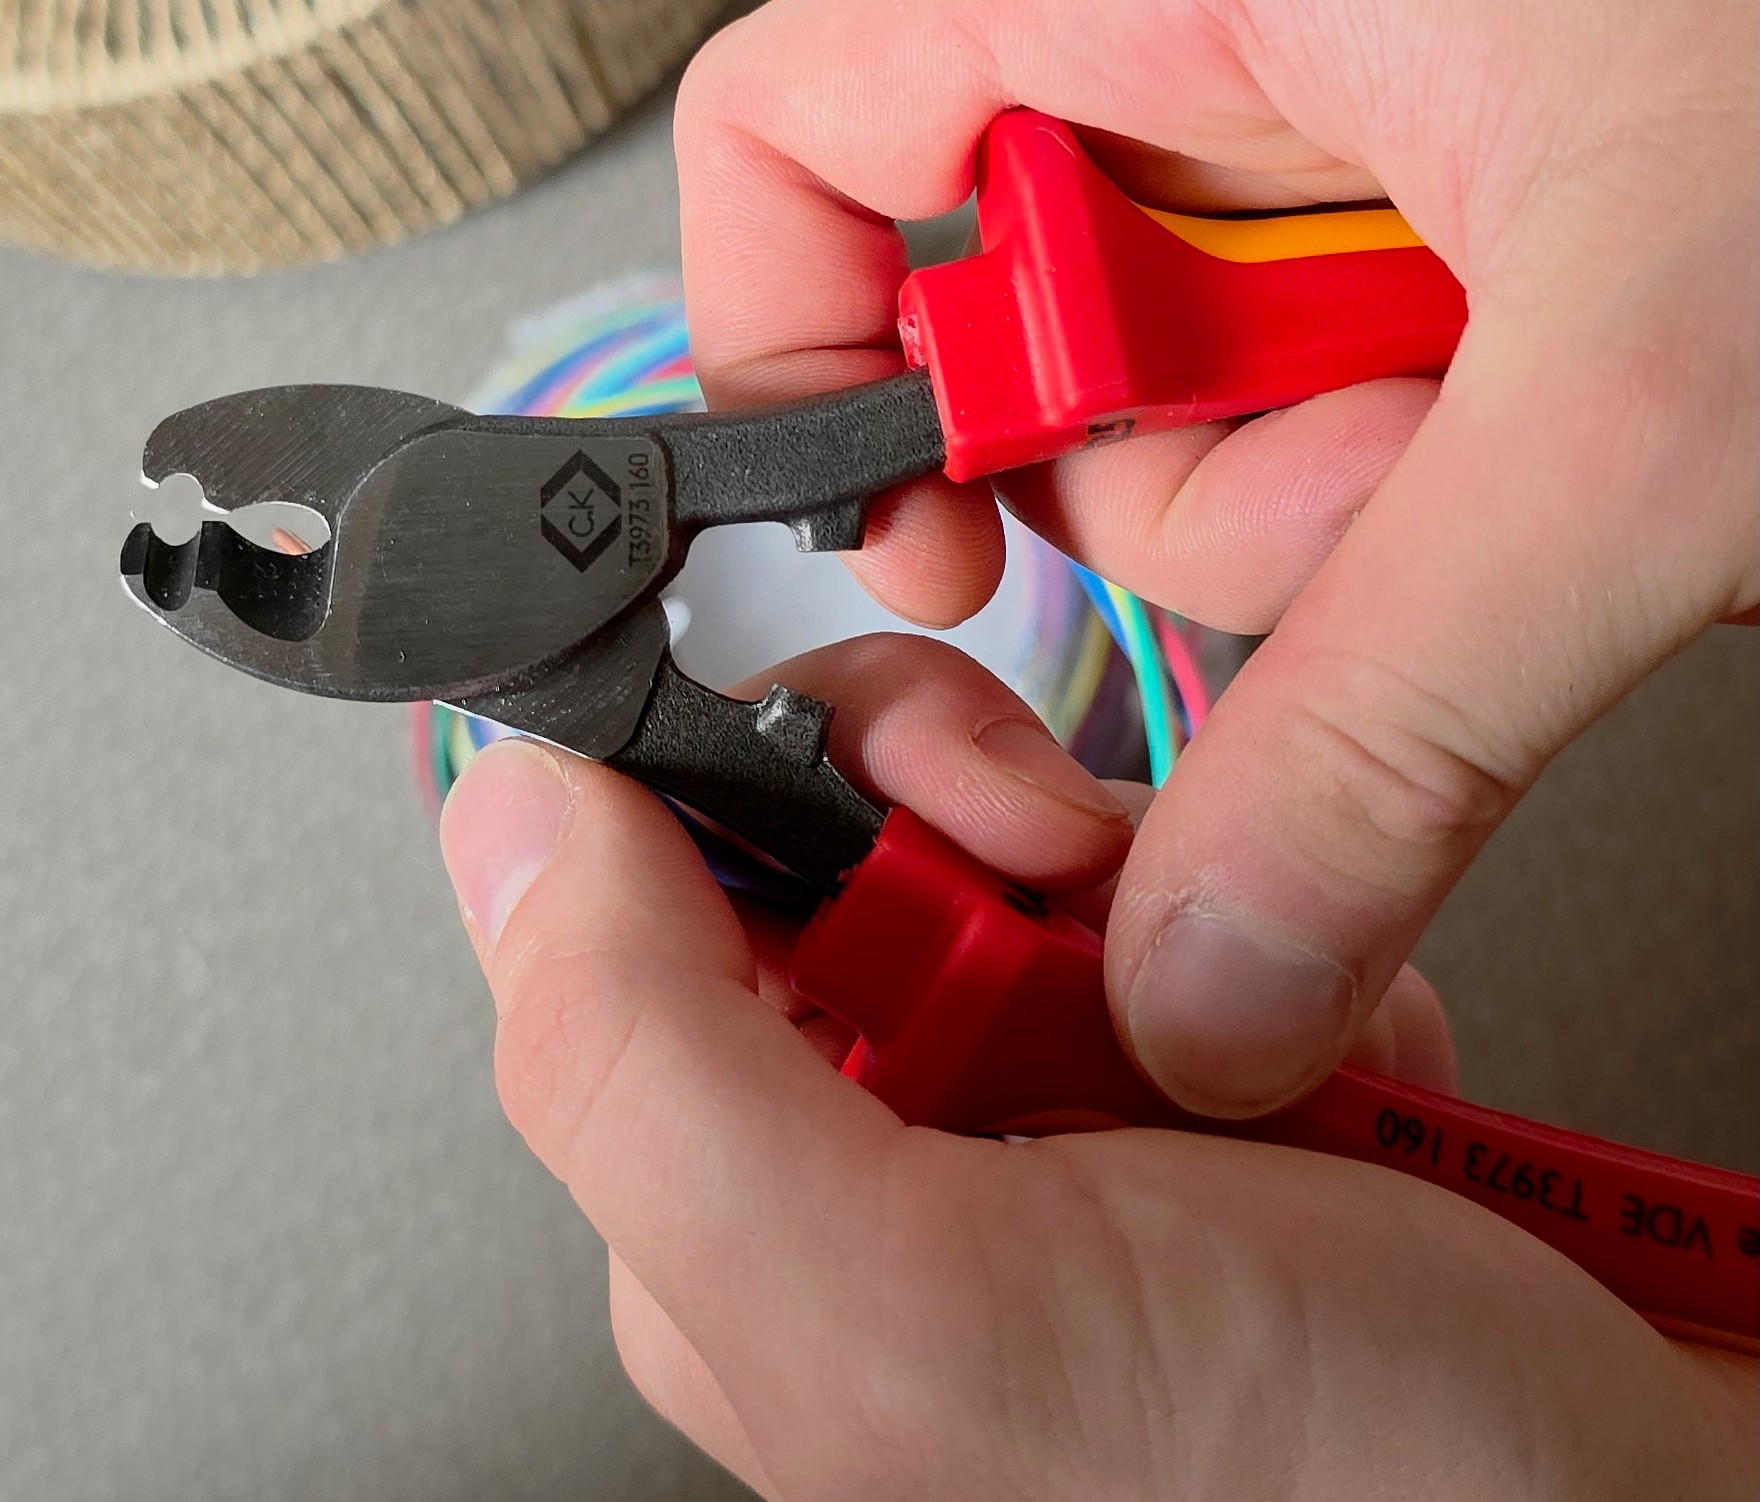
T3973-160 cable cutter
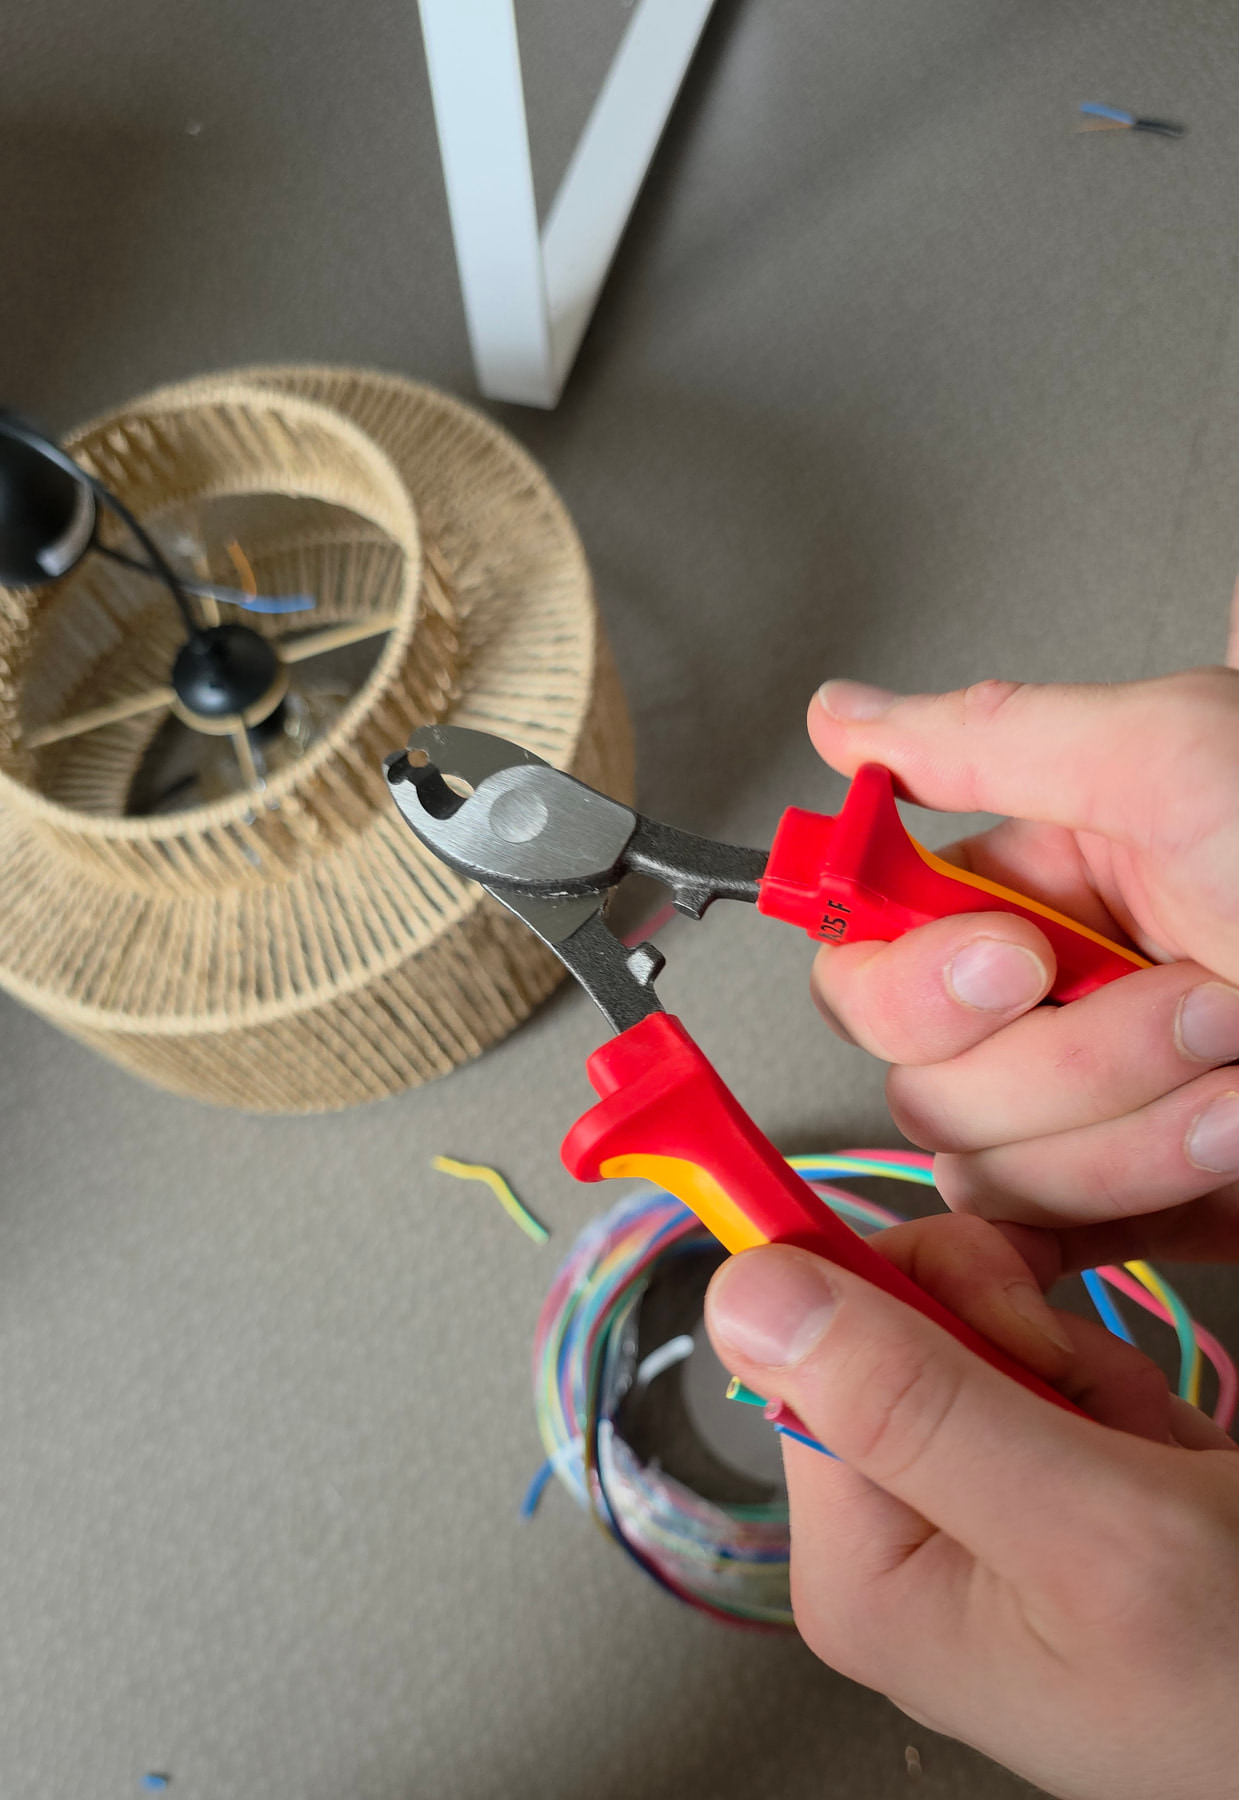
The jaw profile explains the clean cut claimed on connecting conductors.
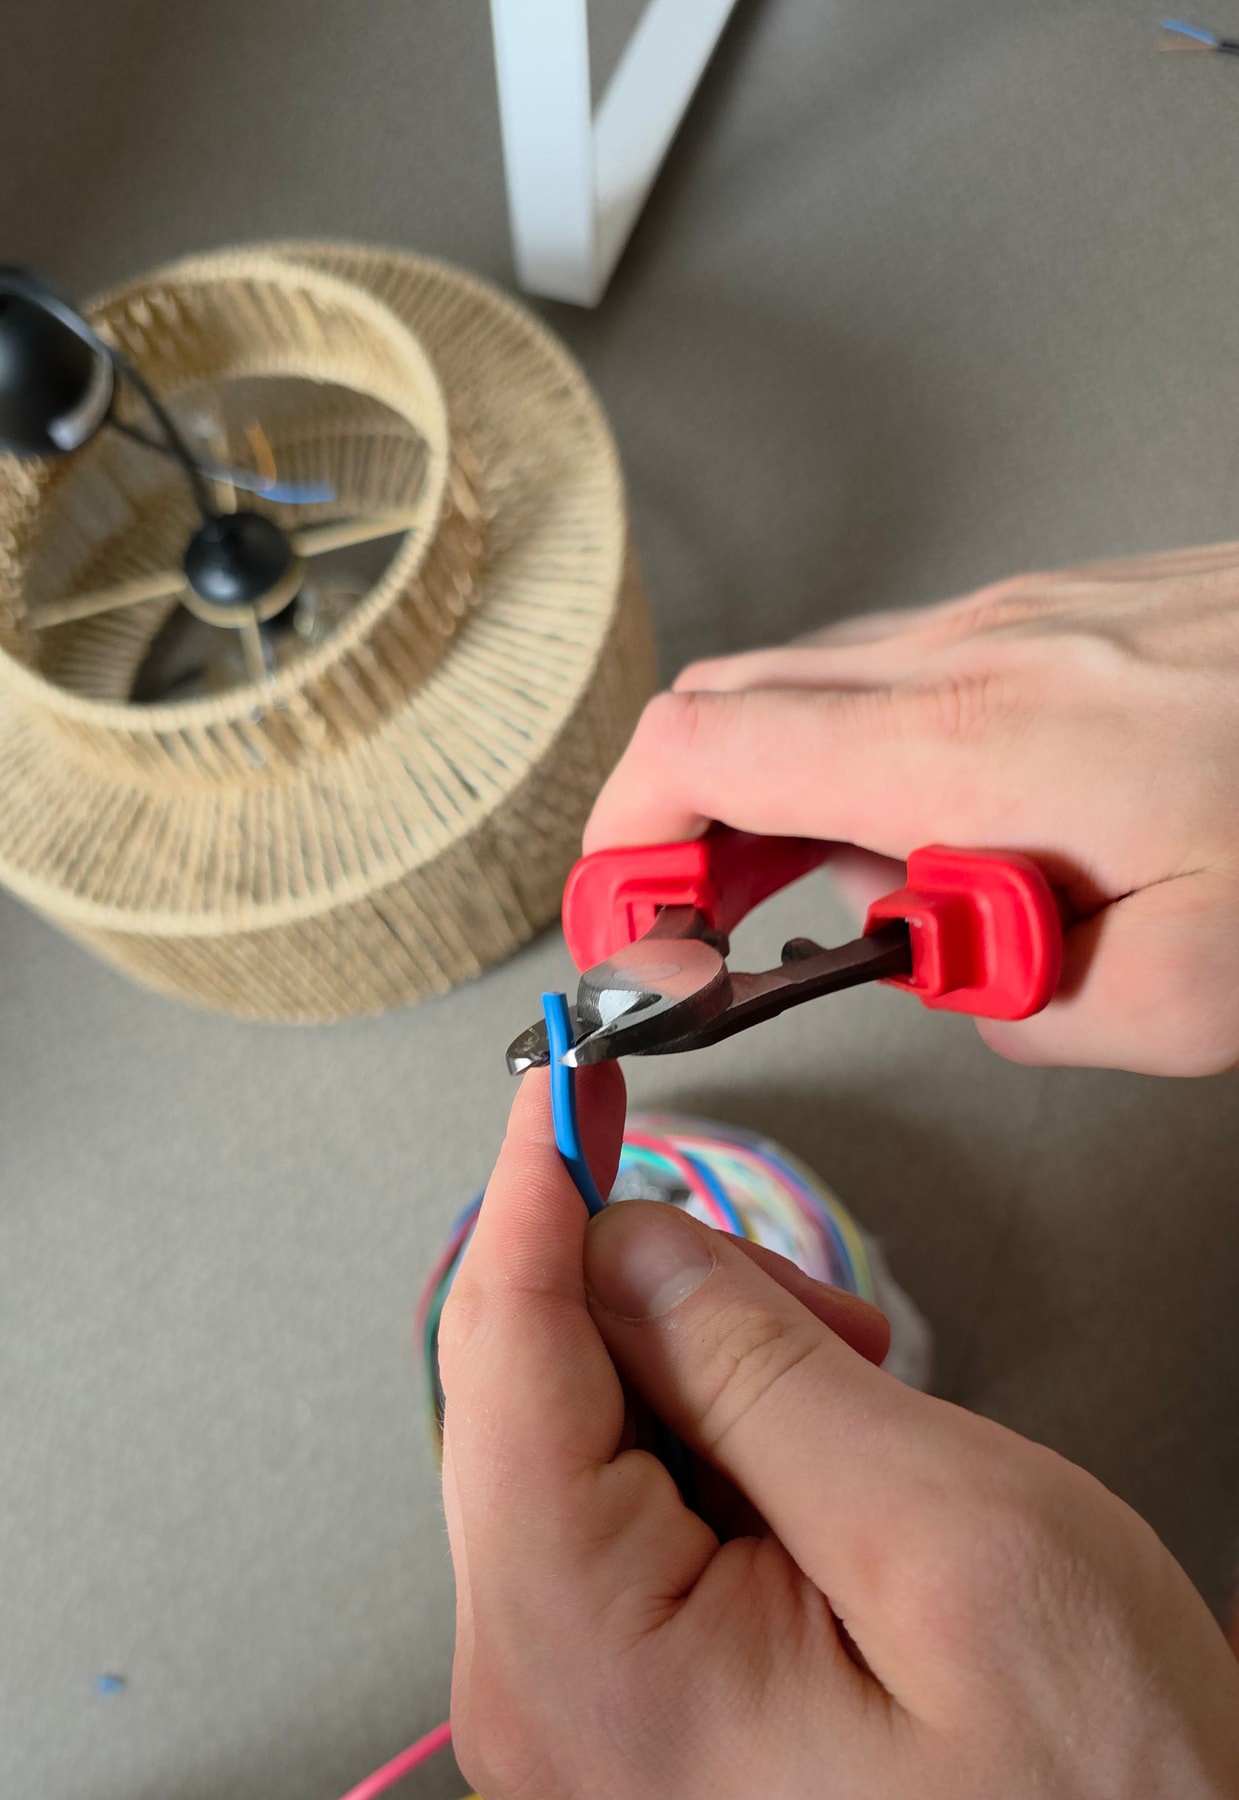
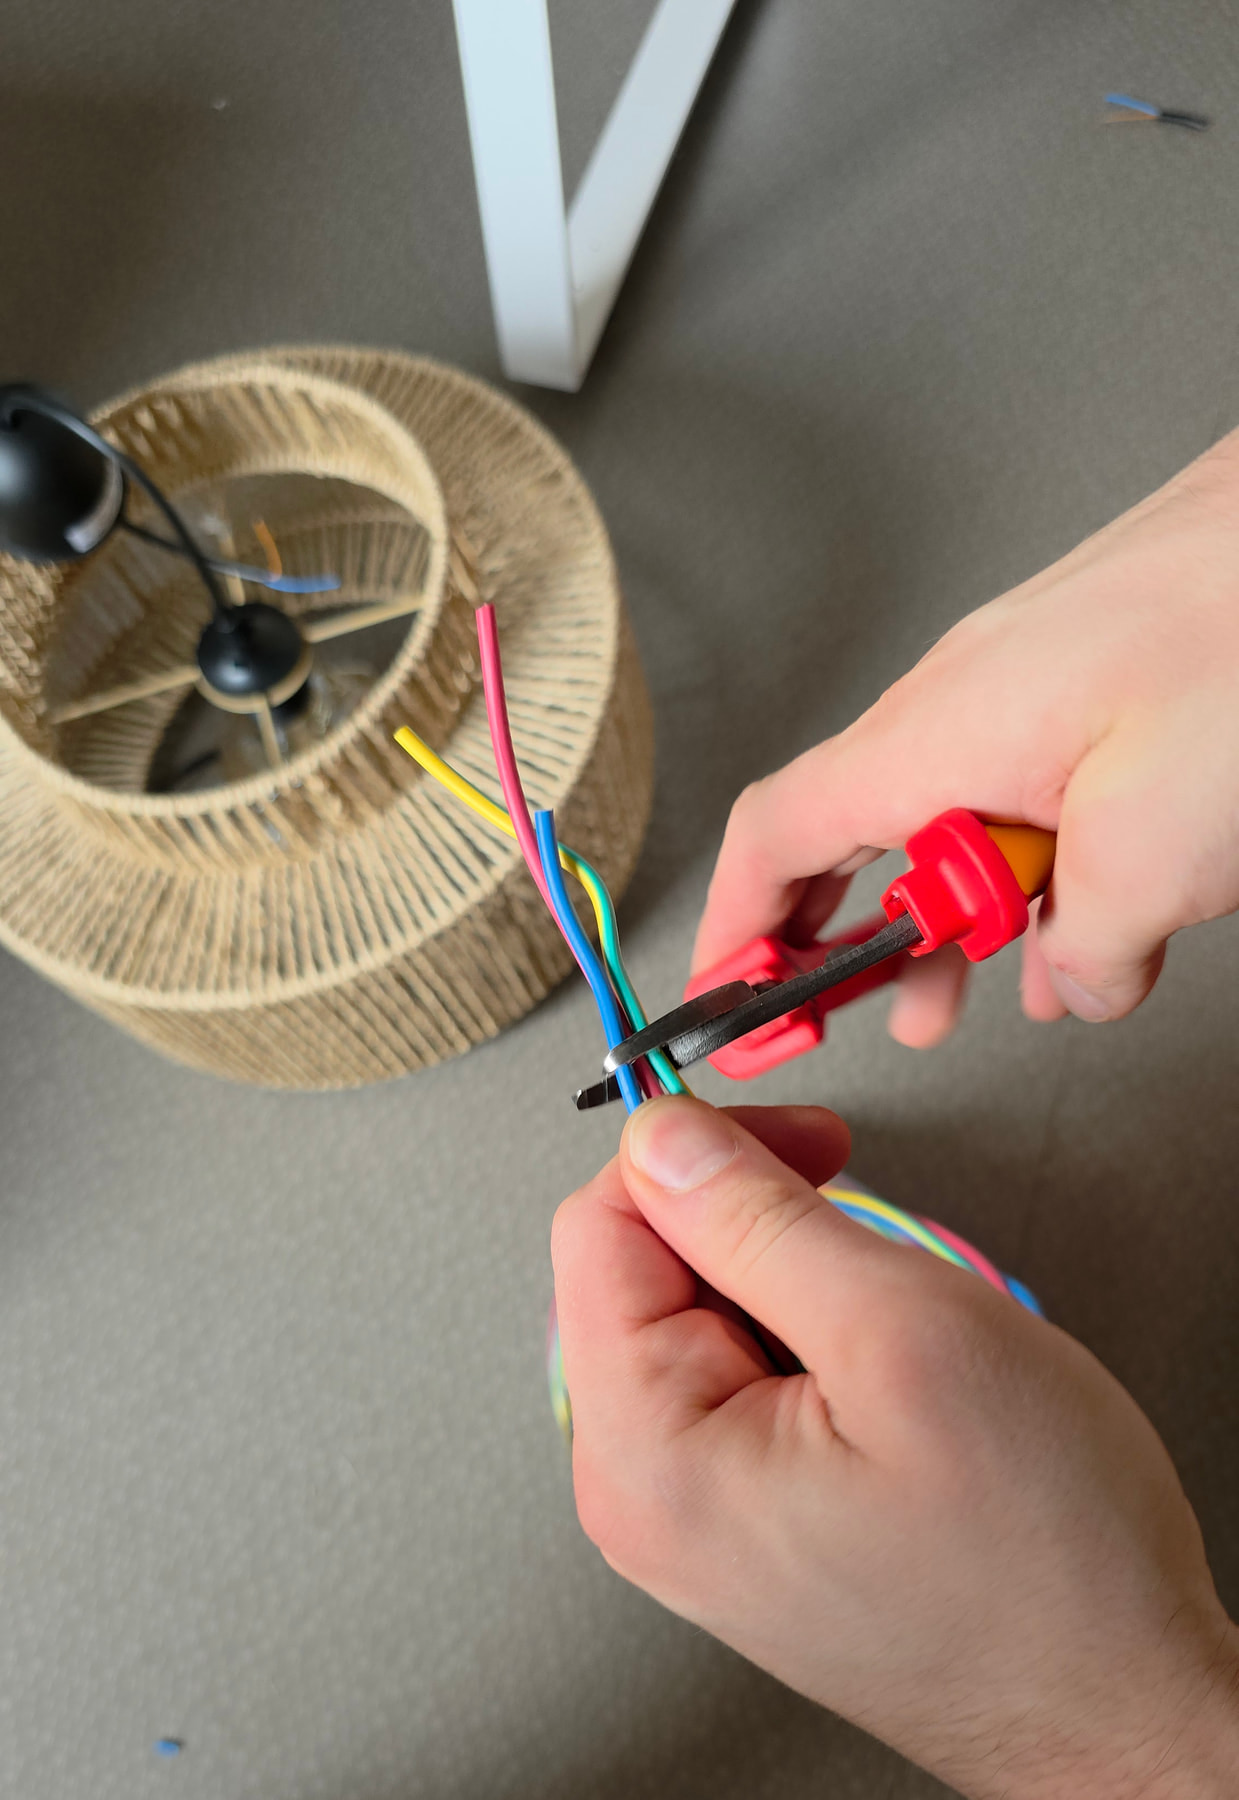
In the workshop, I cut through a bundle of 5 to 6 copper conductors of 2.5 mm². Without forcing on the handles, the insulation stayed intact and the cut flat, ready to be threaded into a terminal block.
The straight cross-section changes everything at insertion: a crushed conductor slides in badly into a terminal, especially in Wago connectors designed for stranded and solid wire.
Place the conductor in the hollow of the blades
The curved profile keeps the cable aligned with the cutting axis before the effort.
Squeeze with one firm motion
The two blades cross and shear the copper without flattening it.
Check the resulting cross-section
A clean cut is checked by eye: no burr, no crushed strand.
These three moves are enough on a connecting conductor. The cut needs no special preparation, which matters when you re-cut a series of wires at the bottom of a box.
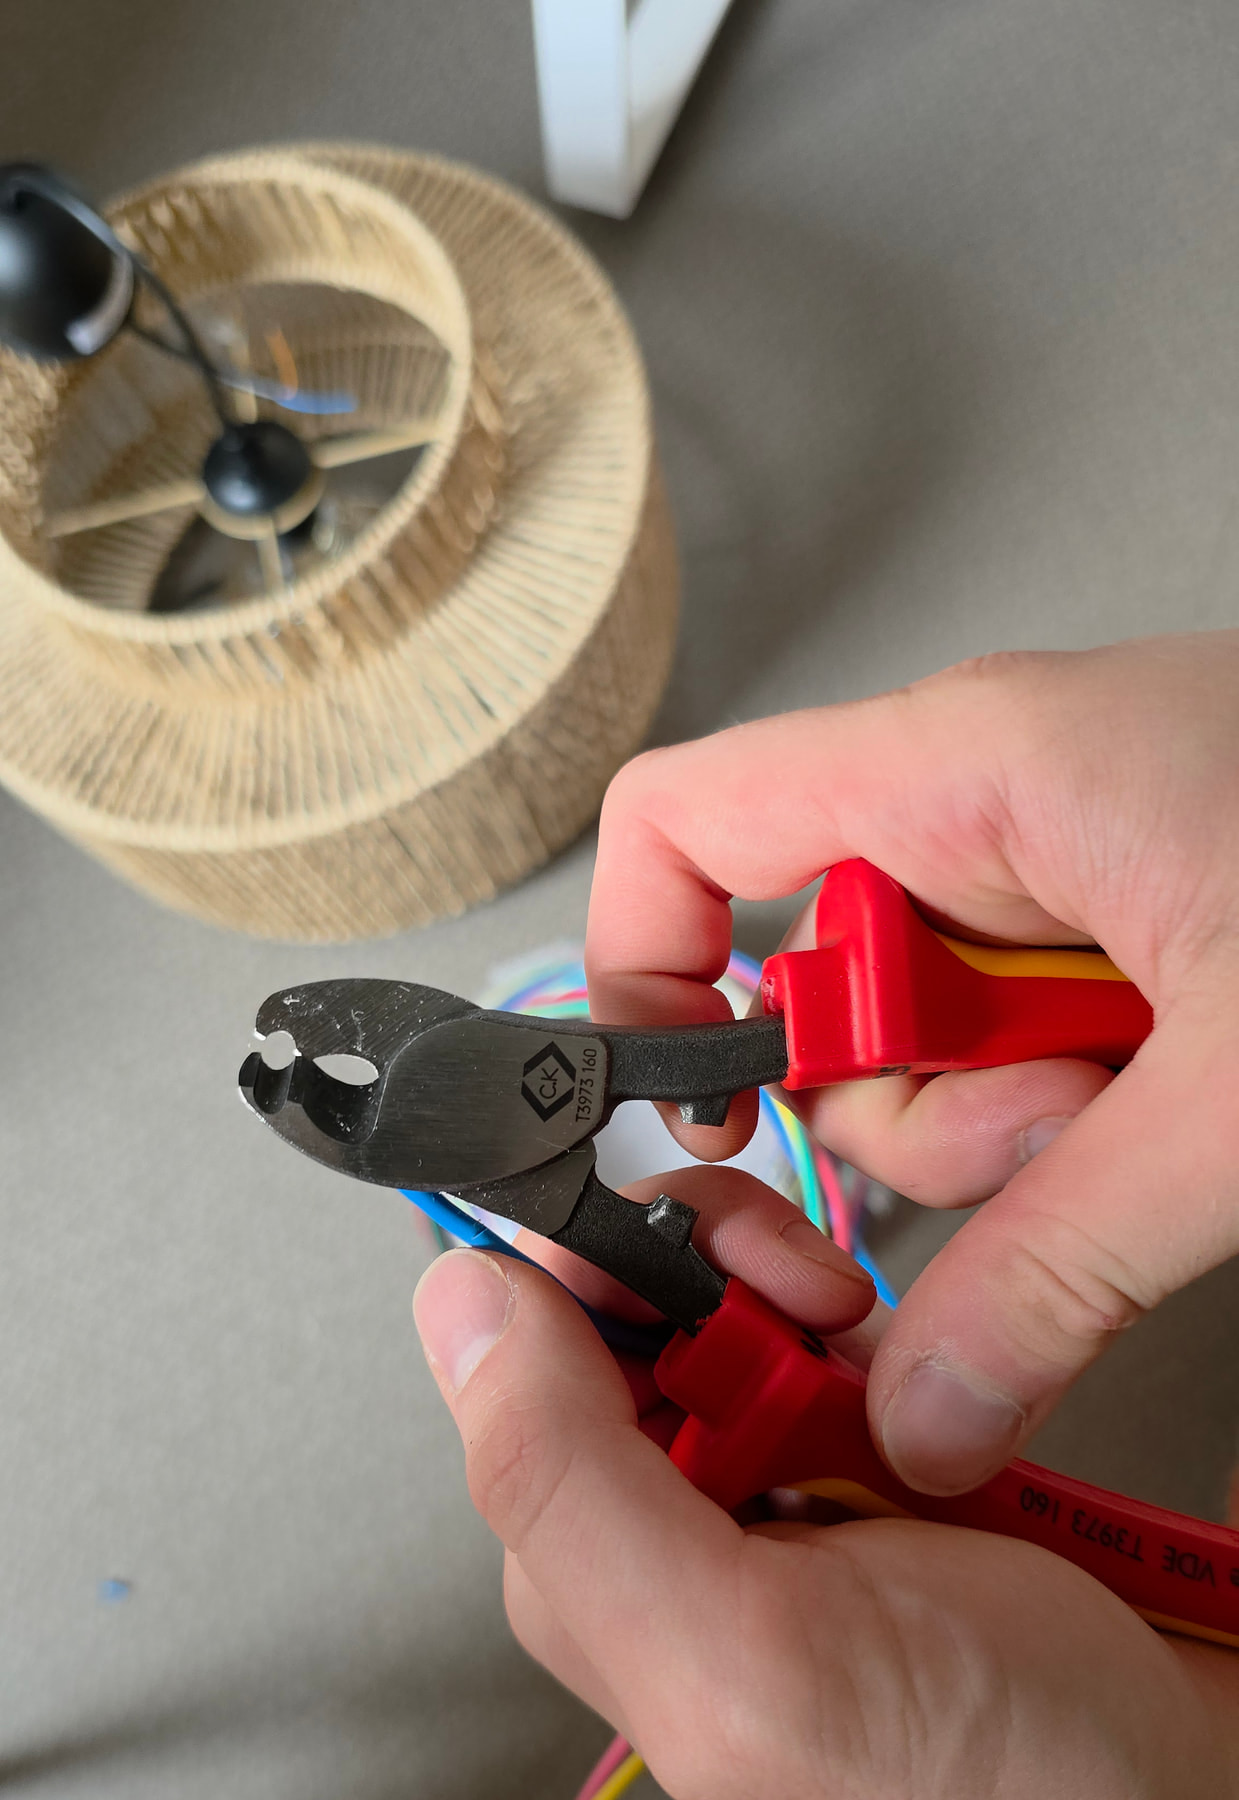
The T3973-160 before cutting, in its compact format.
The concave blade profile is clearly visible in hand.
The conductor sits in the hollow of the blades before pressure is applied.
The shearing cut during the action.
The two blades follow their shearing path through the sheath.
A classic diagonal cutter works differently: it crushes the metal on both sides of the cut. The strands flatten, the insulation gets marked, and the end of the conductor becomes difficult to insert into a terminal.
The crescent-shaped shearing holds the cable in the hollow of the blades before separating it. The manufacturer claims a clean cut, with no fraying: that is what the test on the 2.5 mm² bundle shows.
The arms carry dual-material handles with anti-slip guards. The hand does not slip when a hard squeeze is needed on a stubborn conductor.
The range page specifies this: this cable cutter is intended for copper and aluminum. A conductor of another metal is not covered by this tool; a cutter suited to the material is then required.
The manufacturer publishes no numerical cutting capacity for this reference. In the field, the cutter has cut bundles of 2.5 mm² conductors, within the stated material scope: copper and aluminum.
An armored cable or a metal structure cannot be cut with a connection tool, whatever its size. Those cuts require a cutter dedicated to the metal concerned.
When a box has several wires waiting to be prepared, I cut everything before connecting anything. Picking the cutter back up in the middle of the tightening phase makes me lose the thread of the work.
I identify each conductor before the cut, then I cut them in the hollow of the blades, keeping the same slack on each one. The amount of slack is decided at that moment.
Then comes the check, wire after wire: a crushed section is redone right away, whereas once the terminal is tightened, everything has to be taken apart again to get back to it.
On a harness already in place in a cable duct, I cut one conductor at a time, leaving the others aside. This avoids pulling on the neighboring connections.
The blade profile is also used for stripping, but I do not mix the two actions. On a connecting conductor, the jaw can remove the sheath; on a thin wire, I prefer the notch on the multifunction pliers.
The telltale sign that settles it, after the action: the sheath must be clean and the copper matte. A metal that shines under the insulation signals that the blade has bitten.
The pliers cut, but do not mark: it is the marking applied before the cut that keeps the harness readable in a box.
The T3910-210 is the pliers I take out most often. With its 210 mm and its massive forged head, it brings together, on a single tool, the operations that come before the connection.
It is heavy in the hand: that is the price of the all-in-one. In exchange, it saves carrying three different pliers on the belt for a job on a ladder.
The head groups together three work zones: a tapered and grooved gripping nose, a series of stripping notches, and a shear-cutting zone.
The grooved nose grabs a conductor at the bottom of a box and straightens a twisted core. The cutting zone cuts stranded wire as well as solid wire. Stripping has its own notches, separated by conductor family.
The tip gets used more often than you would think. In a flush-mounted box, a conductor that has slipped behind the others can be retrieved with the point, without taking the rest apart.
The serrations grip copper as well as insulation. I also use them to gently pull a waiting wire, staying on axis, without bowing the conductor.
To straighten a twisted core before presenting it to a terminal, a few passes between the jaws are enough. I then check that the strand has not been flattened.
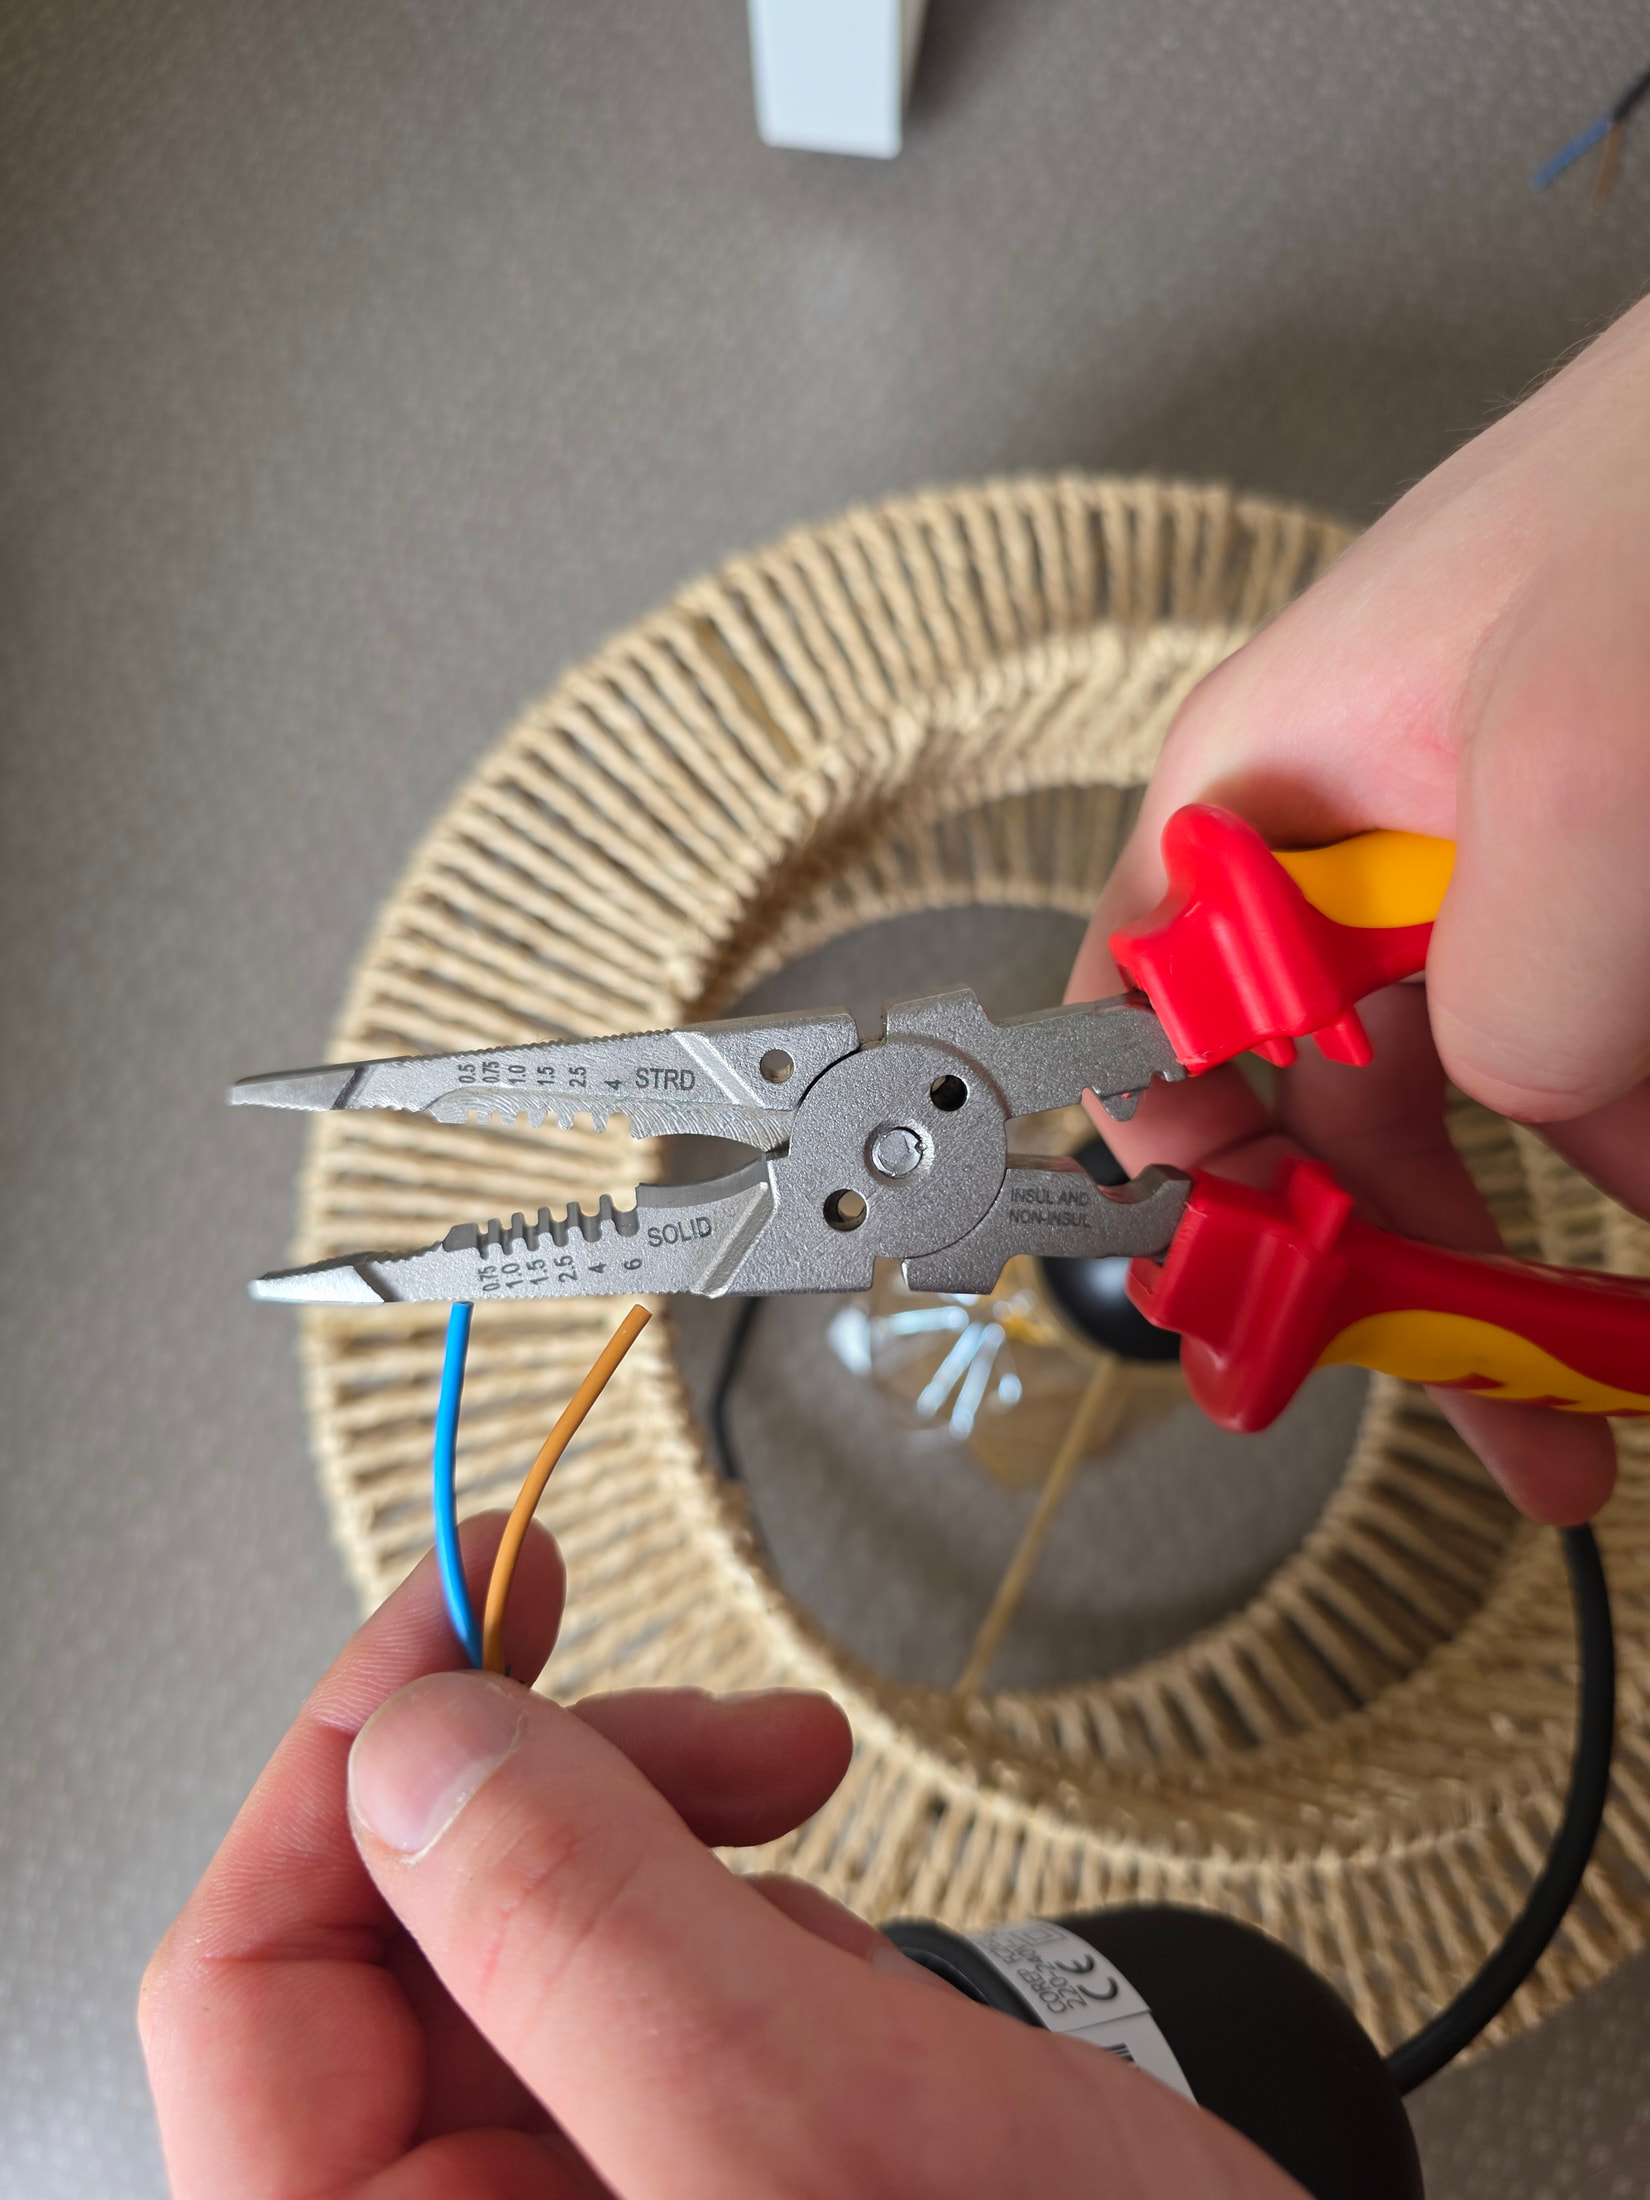
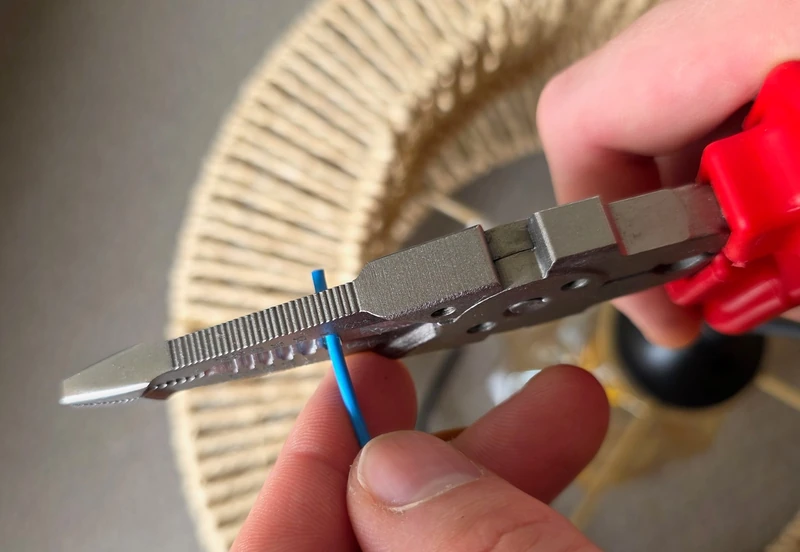
The T3910-210 ready before preparing the conductor.
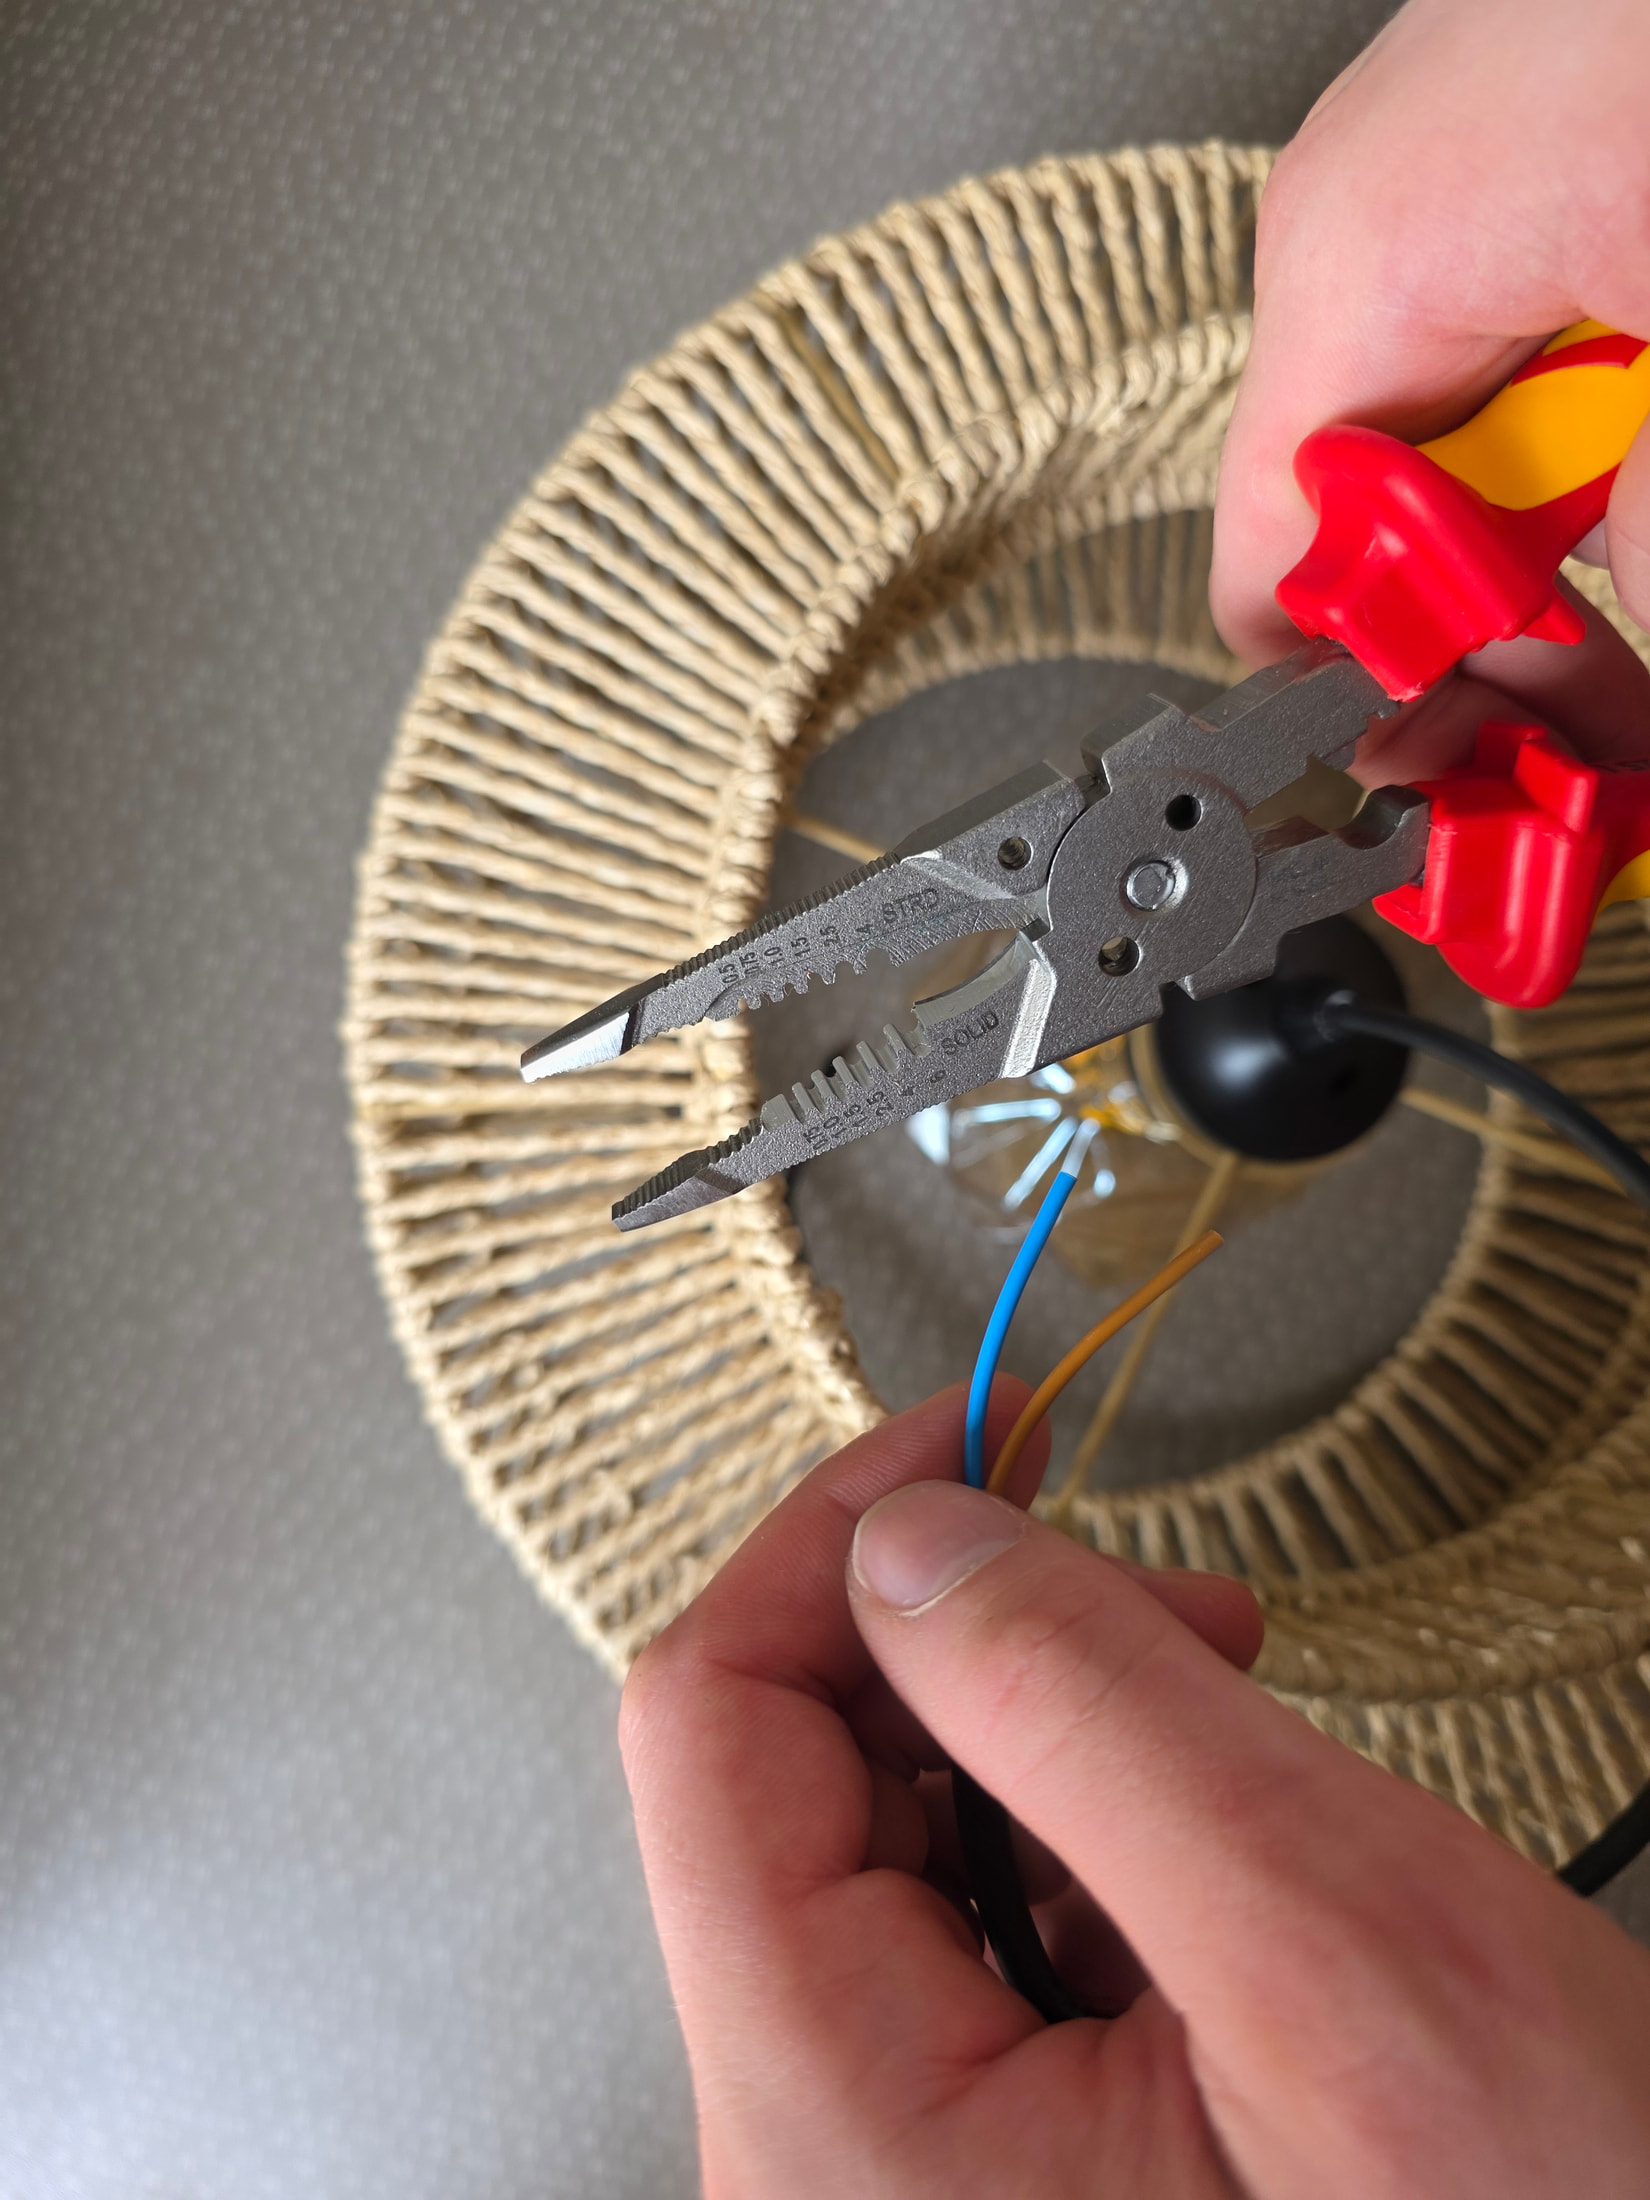
The pliers combine gripping, stripping and cutting at the same station.
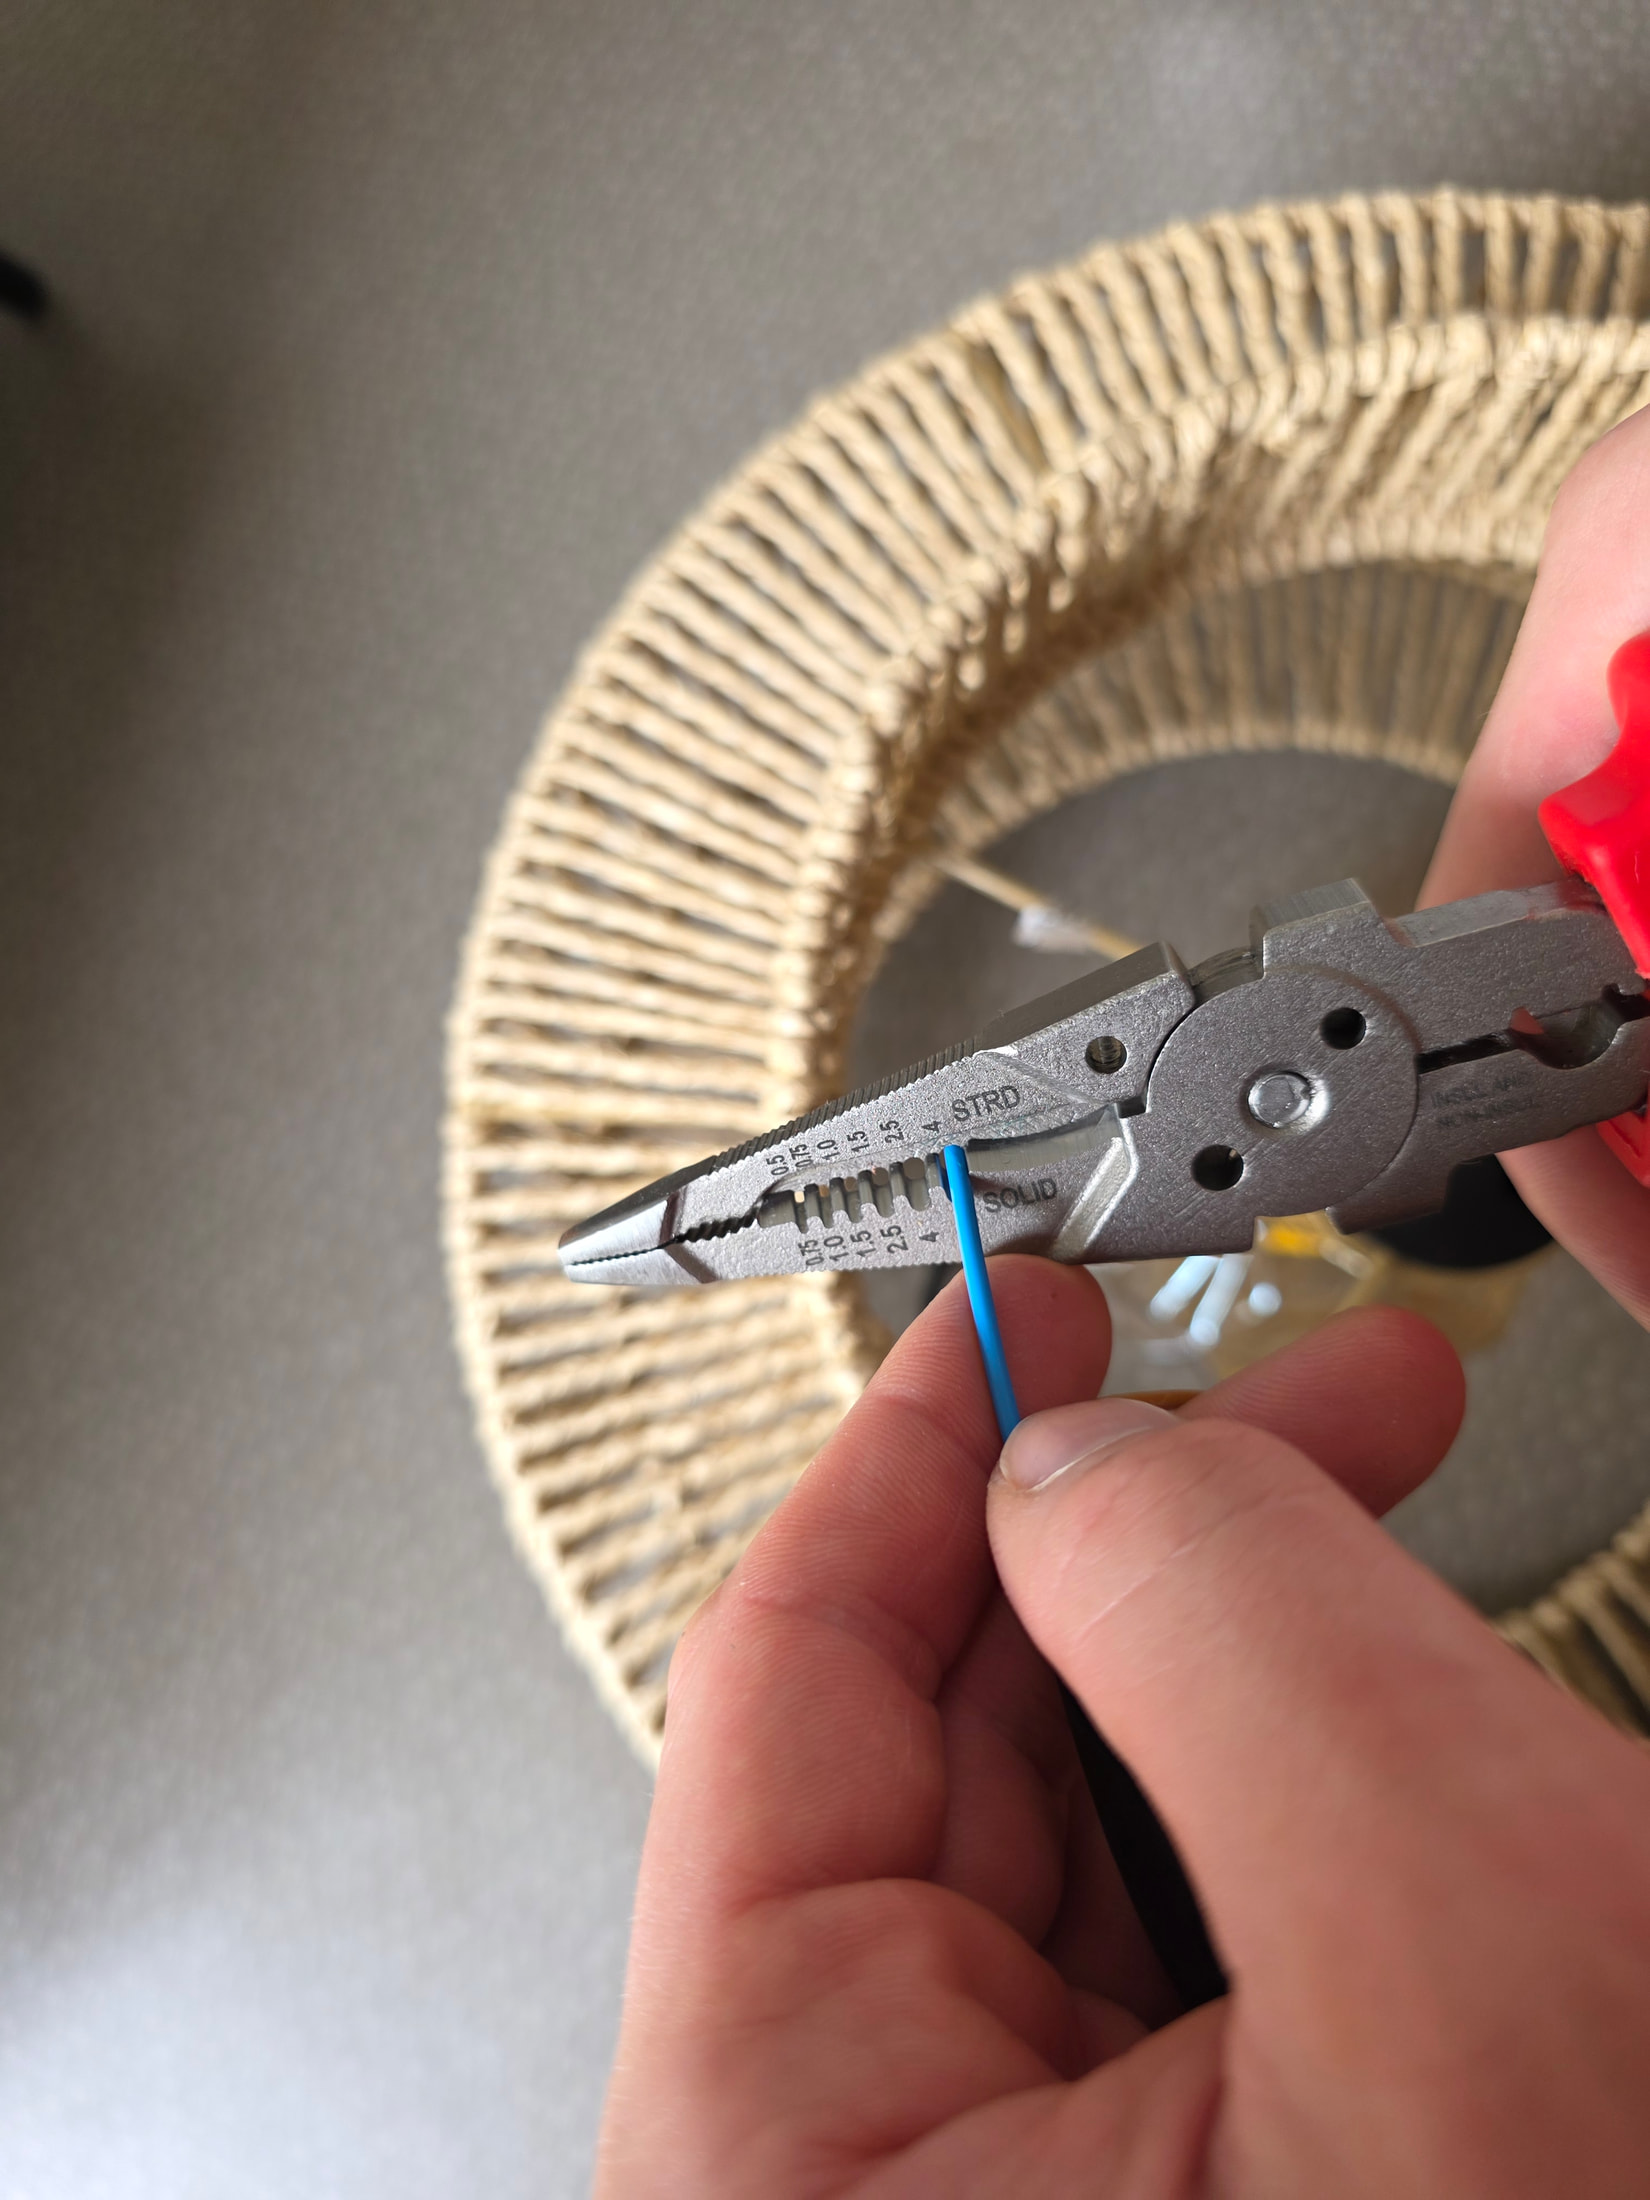
The stripping holes remain visible once the jaws are open.
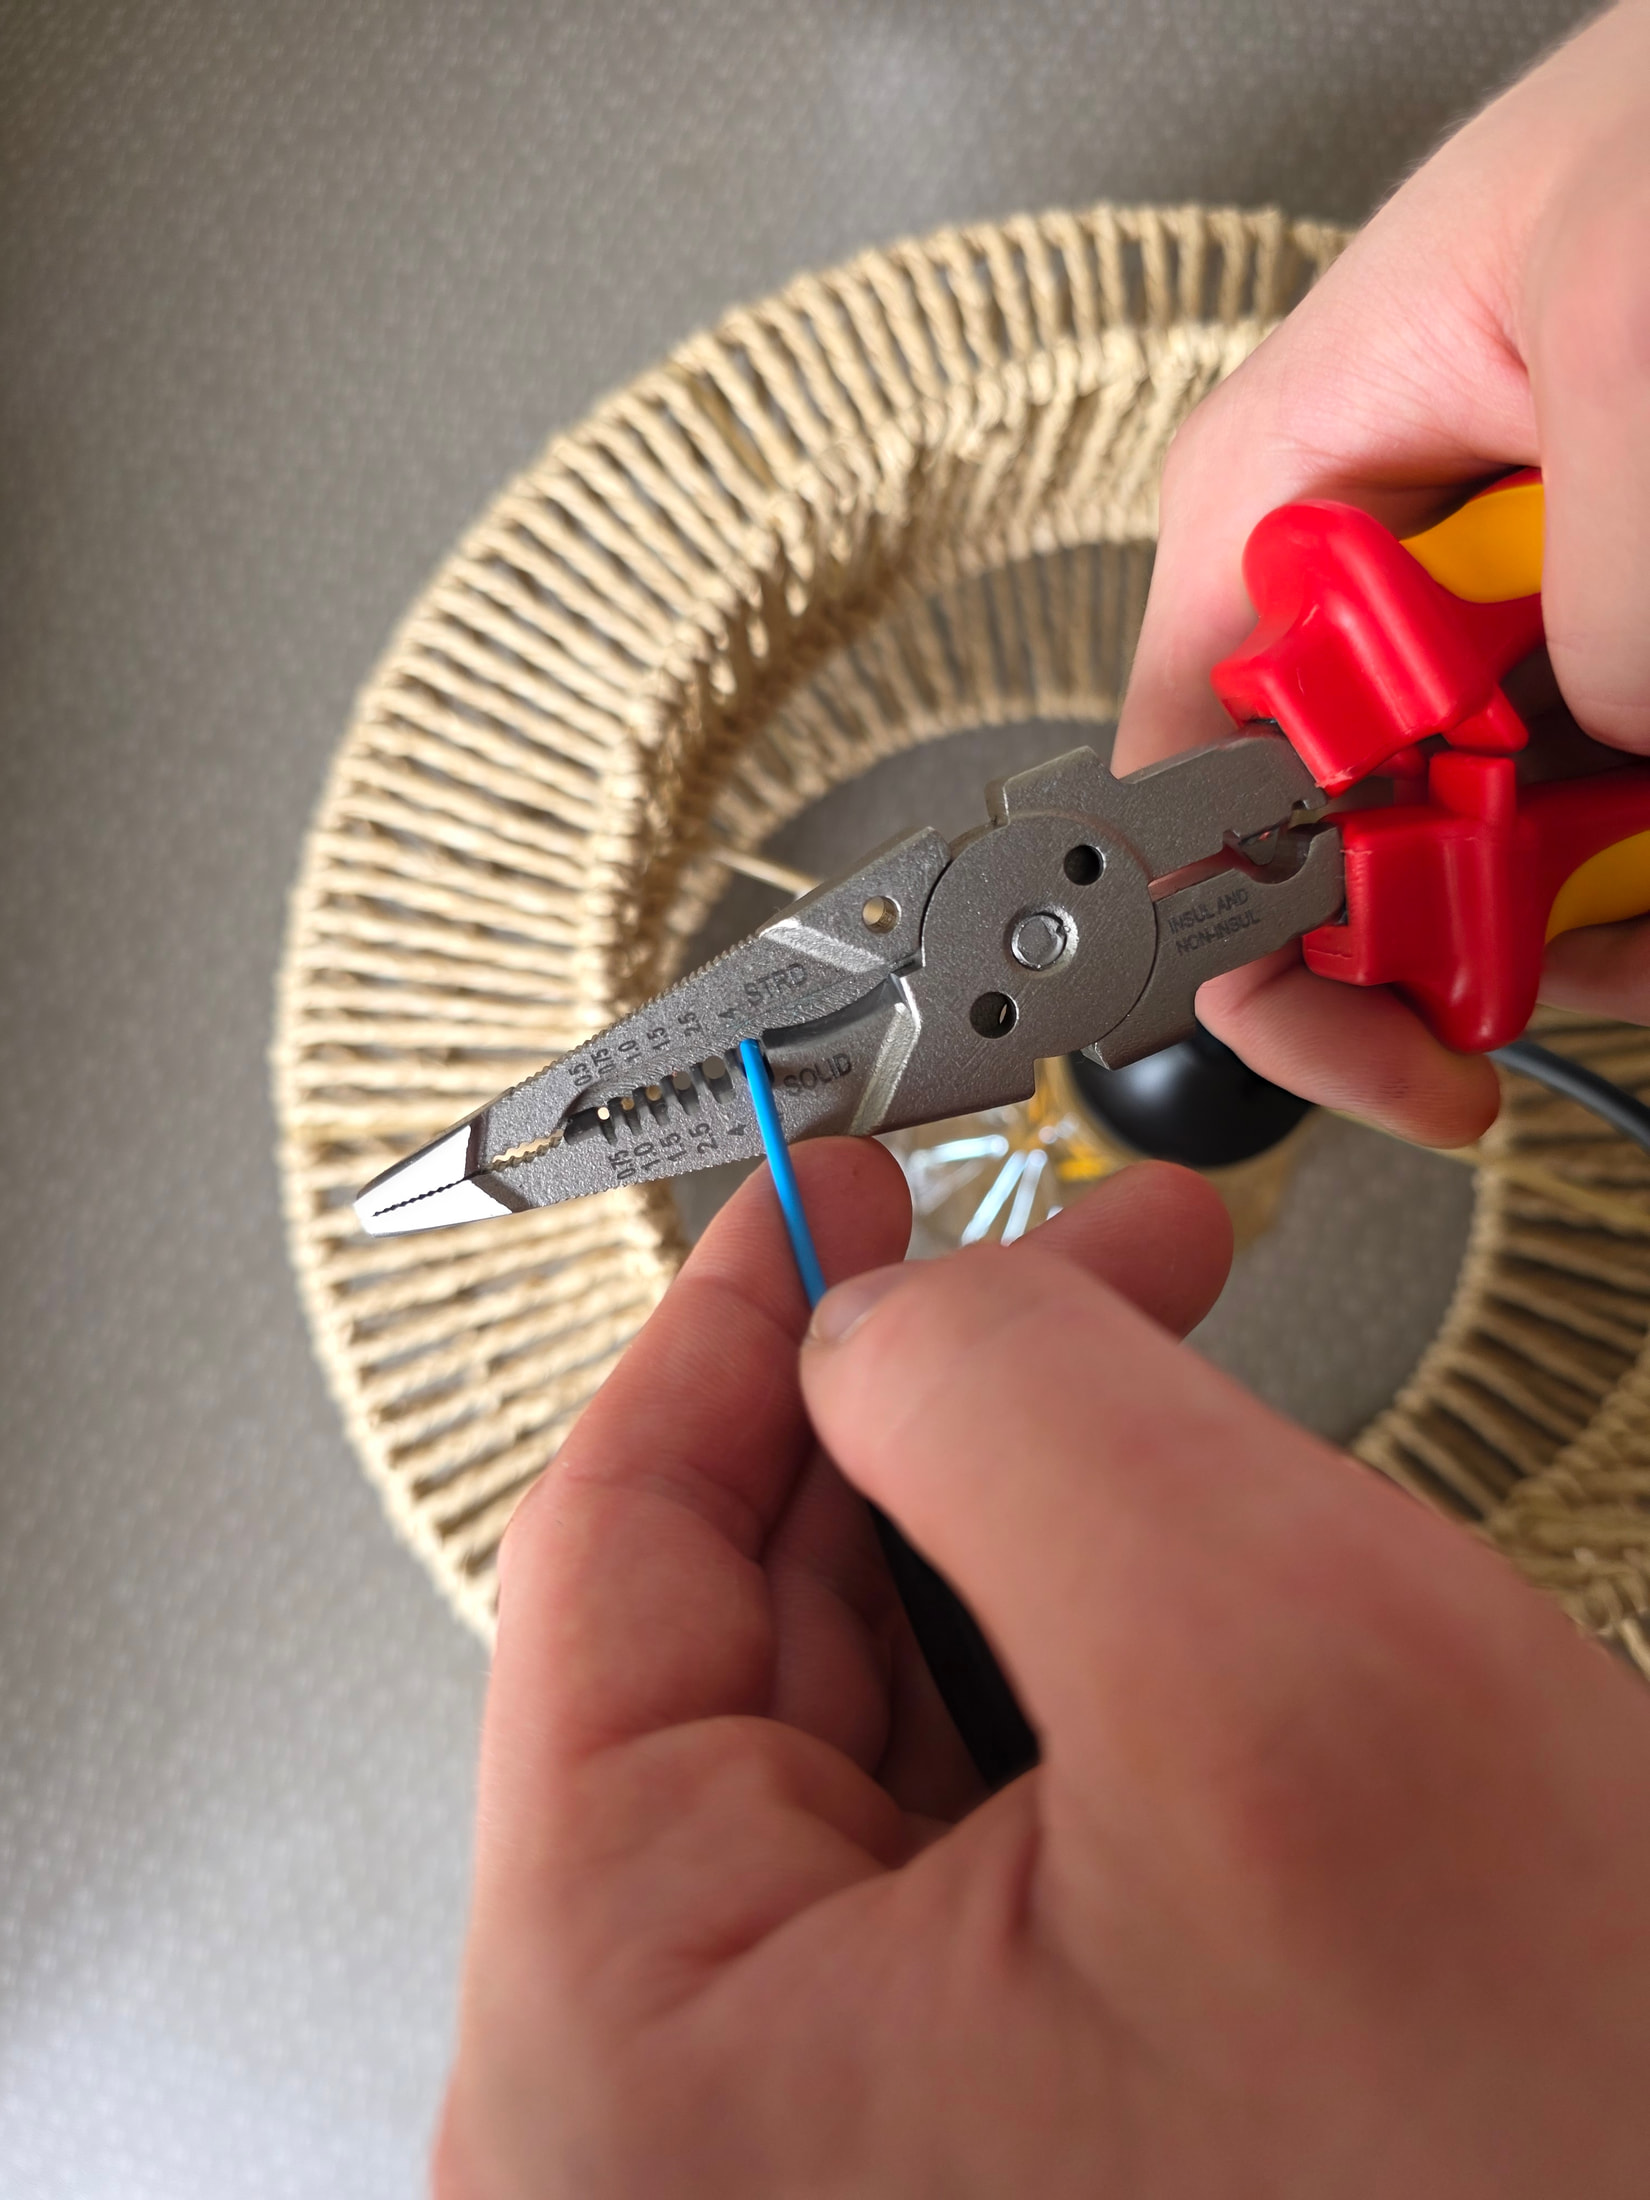
The top view clearly separates the cutting and gripping areas.
The stripping station carries a double engraved marking: one series of notches for flexible conductors, another for rigid ones. The bores are distinct, and the mark is read before closing the pliers.
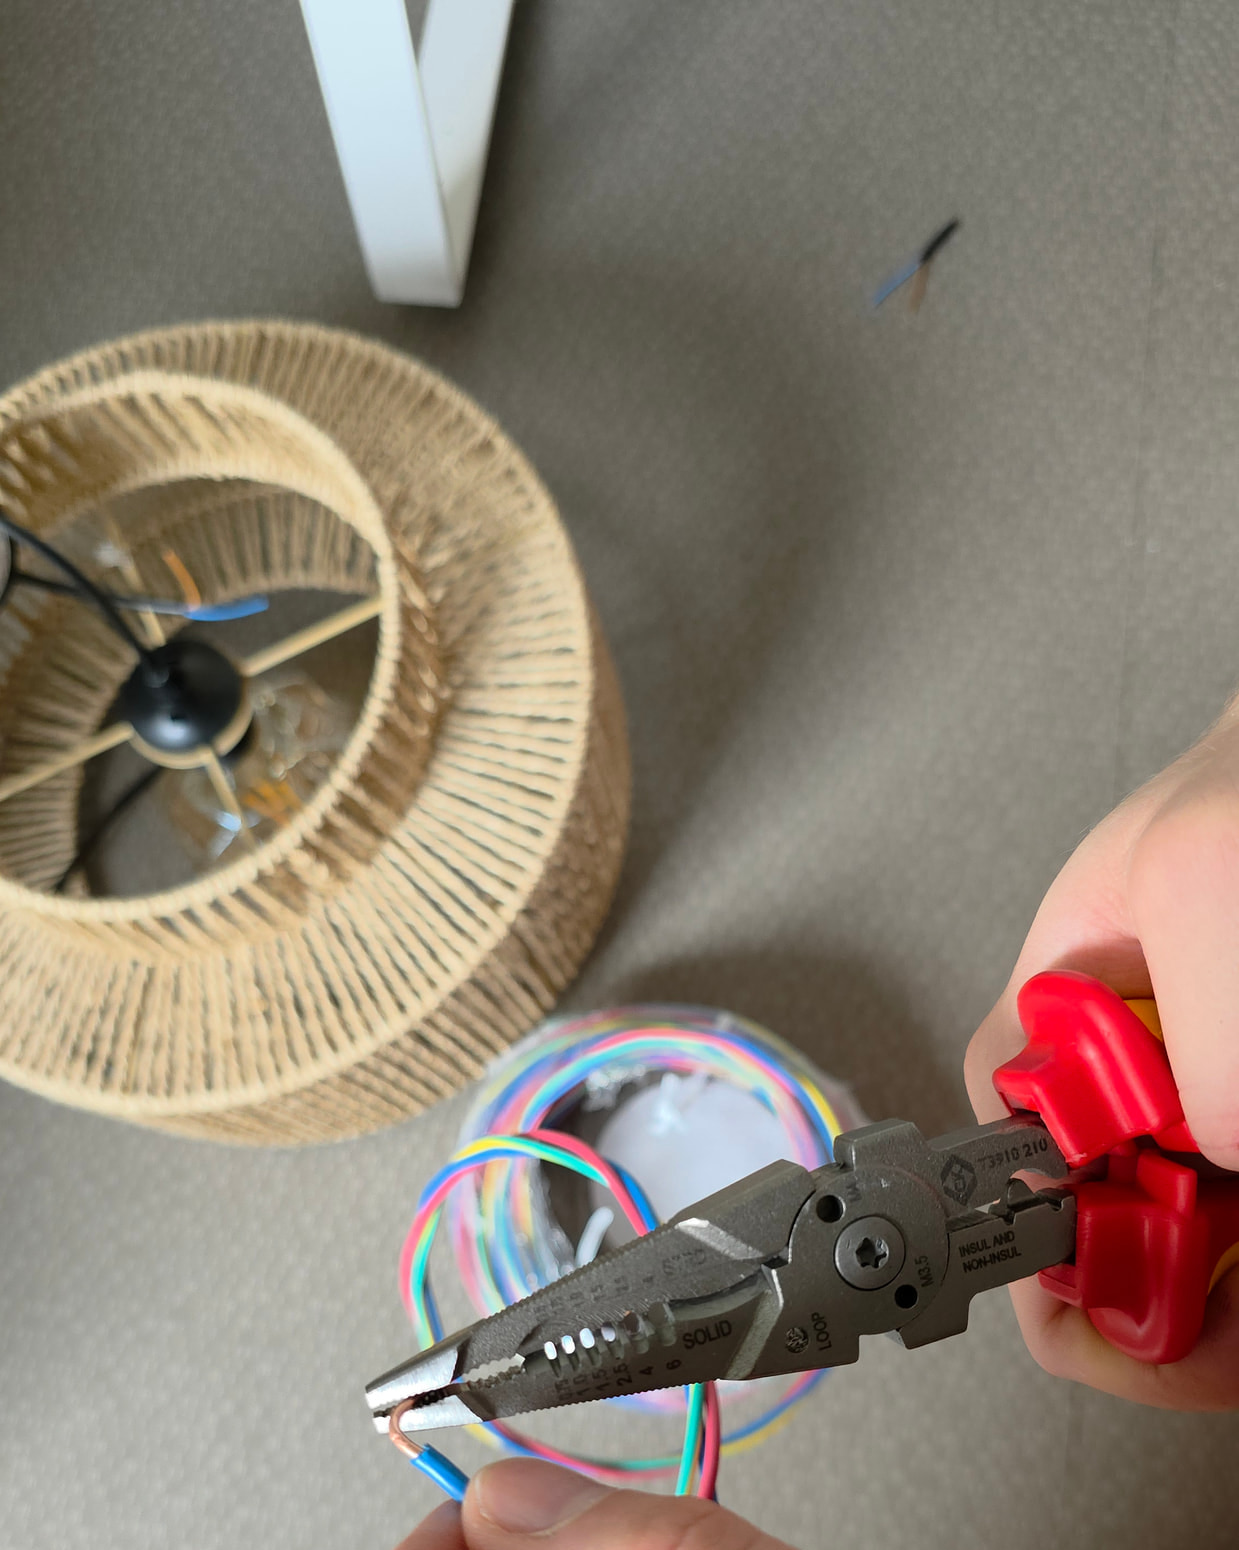
Jaw of the T3910-210
Read these marks before choosing the notch, to strip without biting into the copper.
Each notch corresponds to an insulation and core diameter: stripping is done with a firm motion, without biting into the metal. The motion stays the same every time: choose the gauge, close without yanking, then check the copper.
On a copper conductor of 1.5 mm², the stripping stayed clean: no trace of a nick on the metal, no cut strand. That’s what to watch with any wire stripper, because a nicked core weakens the conductor without it showing at first glance.
To situate this station against dedicated strippers, my ranking of the best wire strippers details the other approaches.
One detail I use all the time on this stripper: the through-hole machined into the jaw, identified by the LOOP marking.
It’s used to form the eyelet of a solid conductor of 1.5 or 2.5 mm²: you insert the core into the hole, rotate the stripper, and the wire takes a regular circular curve, with no abrupt kink.
This loop is screwed onto the screw terminals of older devices. On more recent jobsites, it’s mainly used to make the attachment ring of a wire-pulling needle.
This is the typical case of re-pulling conductors through an already-cast ICTA conduit: a compact and solid eyelet holds up better than an improvised twist when the bundle snags in the conduit.
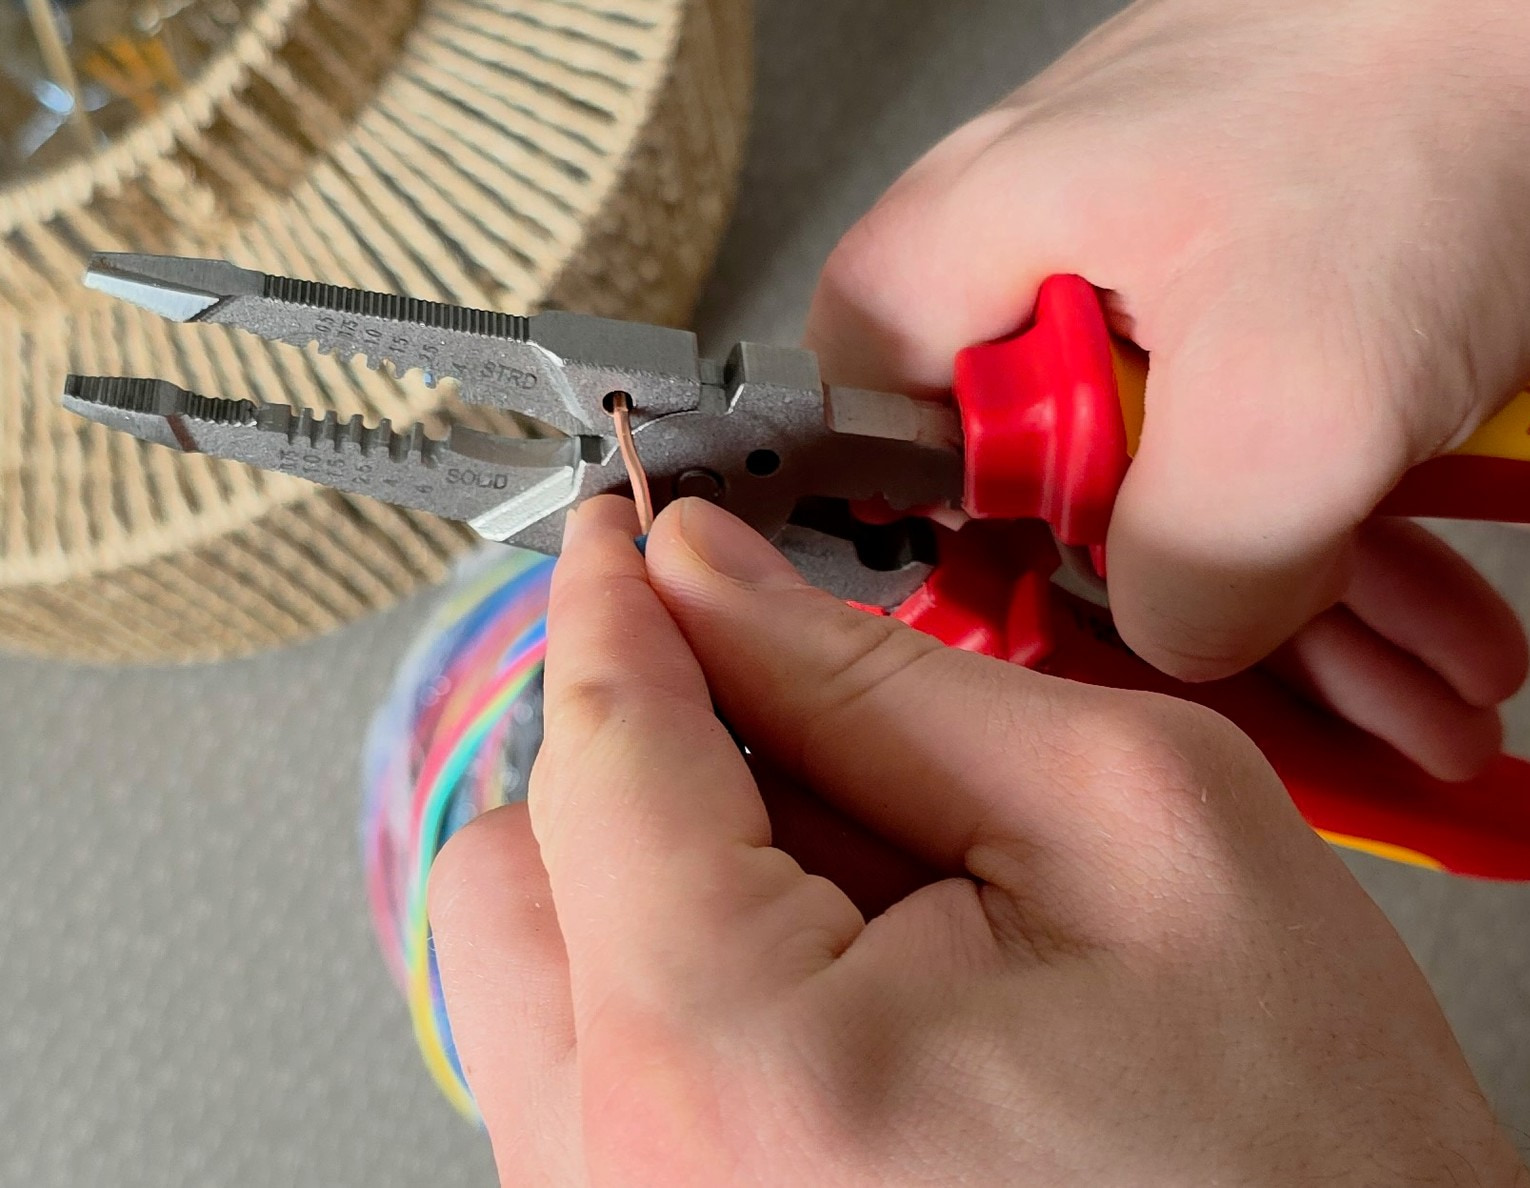
Before opening the stripper, I look at what the terminal block expects: a straight conductor on an automatic-clamp terminal block, an eyelet on a screw terminal.
Then comes the cut, then the stripping in the matching notch. I choose the gauge by reading the engraving on the jaw, never by judging the wire by eye.
The check comes before tightening: I inspect the core over the whole stripped length and check that no filament comes away when I twist the strand slightly.
When the connection calls for an eyelet, I form it before presenting the conductor in the terminal. Once the wire is engaged, the loop is hard to put right.
The value of the multifunction tool lies in that sequence: cutting, stripping and looping without setting the tool down between movements.
To put the structure to the test, I subjected the T3910-210 to a continuous mechanical strike test. For more than five minutes, the back of the forged head was used to drive in PVC trunking covers and stubborn metal anchor tabs.
Result: no axial play at the pivot rivet, cutting edges still flush, with no abnormal friction on opening.
The forged steel absorbs the shock wave. The caveat lies in the assembly itself: a riveted joint is not designed for that use.
Retour de chantier
I am not replacing a hammer with these pliers. Even if they take the occasional emergency blow, on a wall plug or concrete, the rivet would lose the concentricity that makes the stripping so clean.
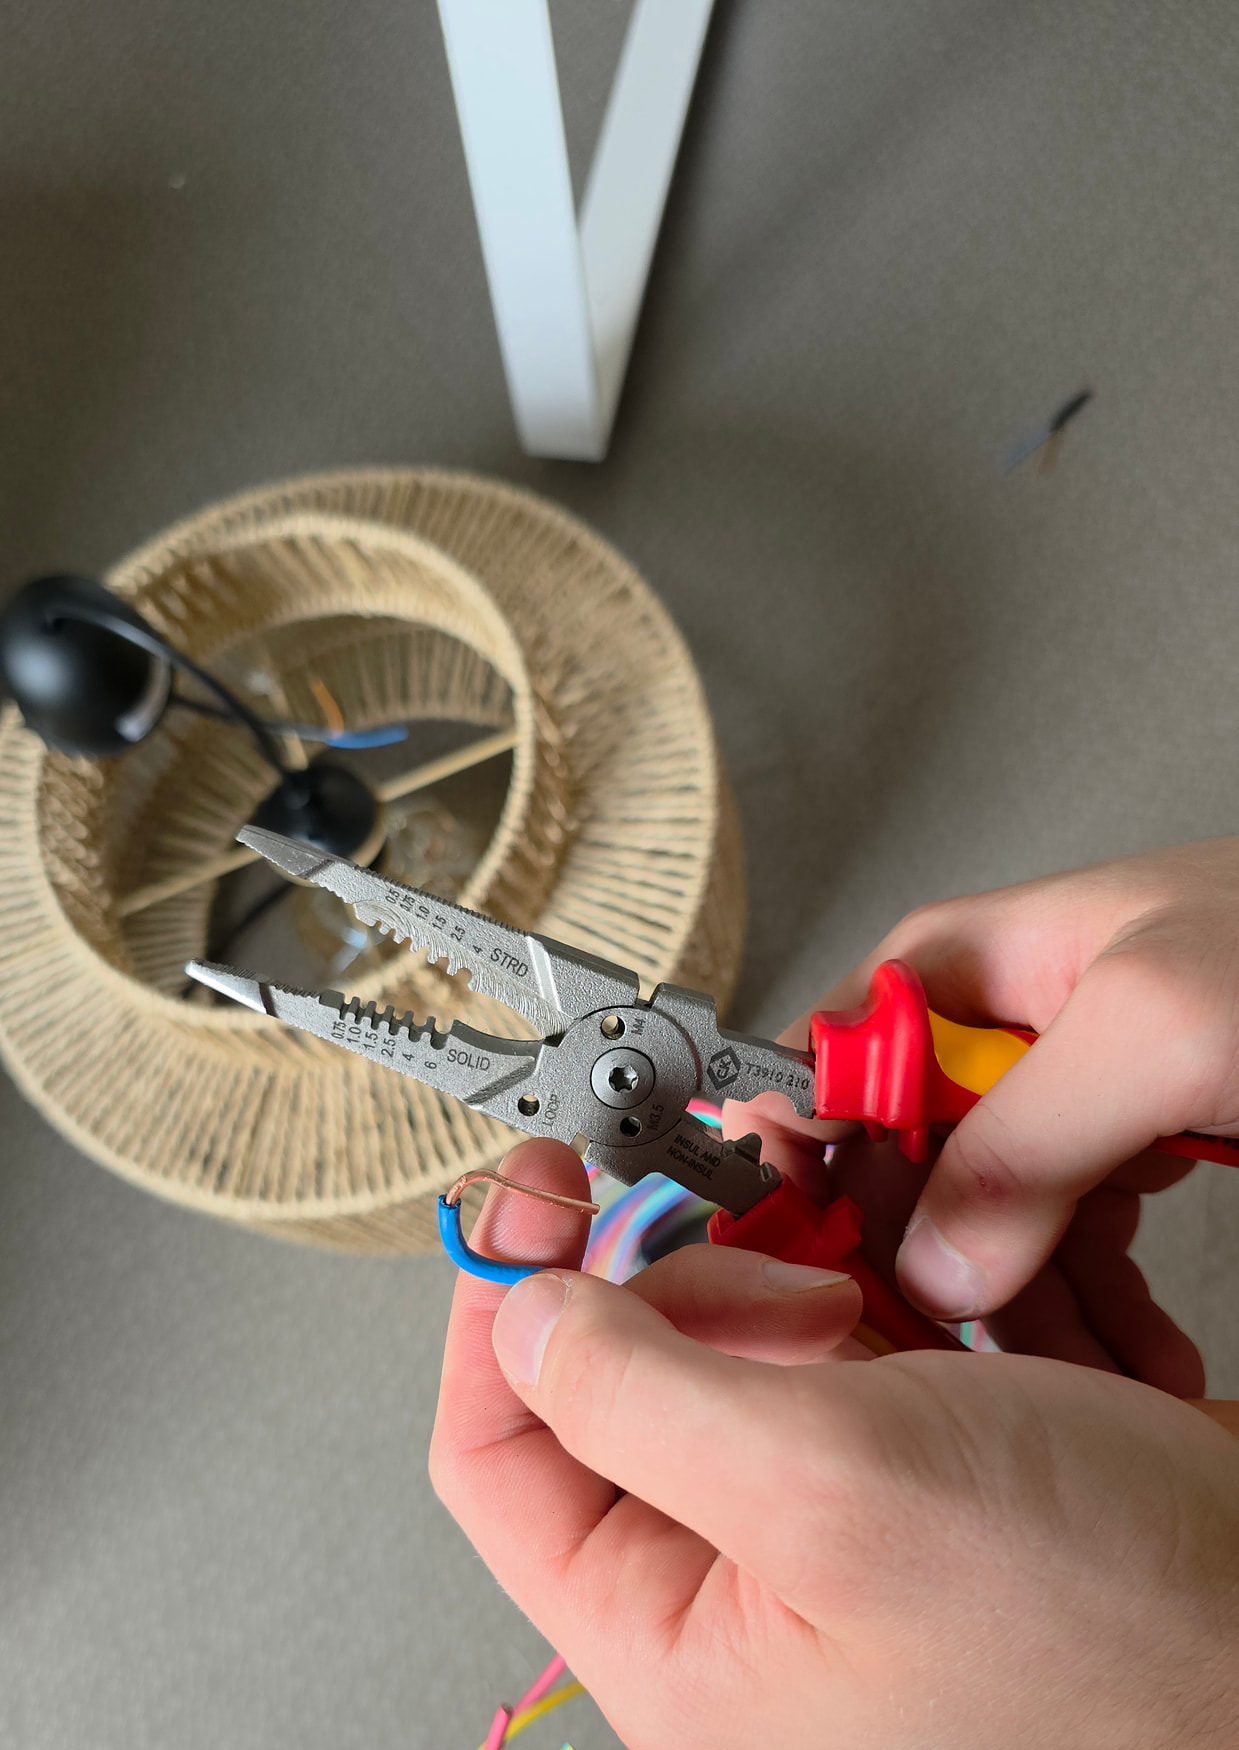
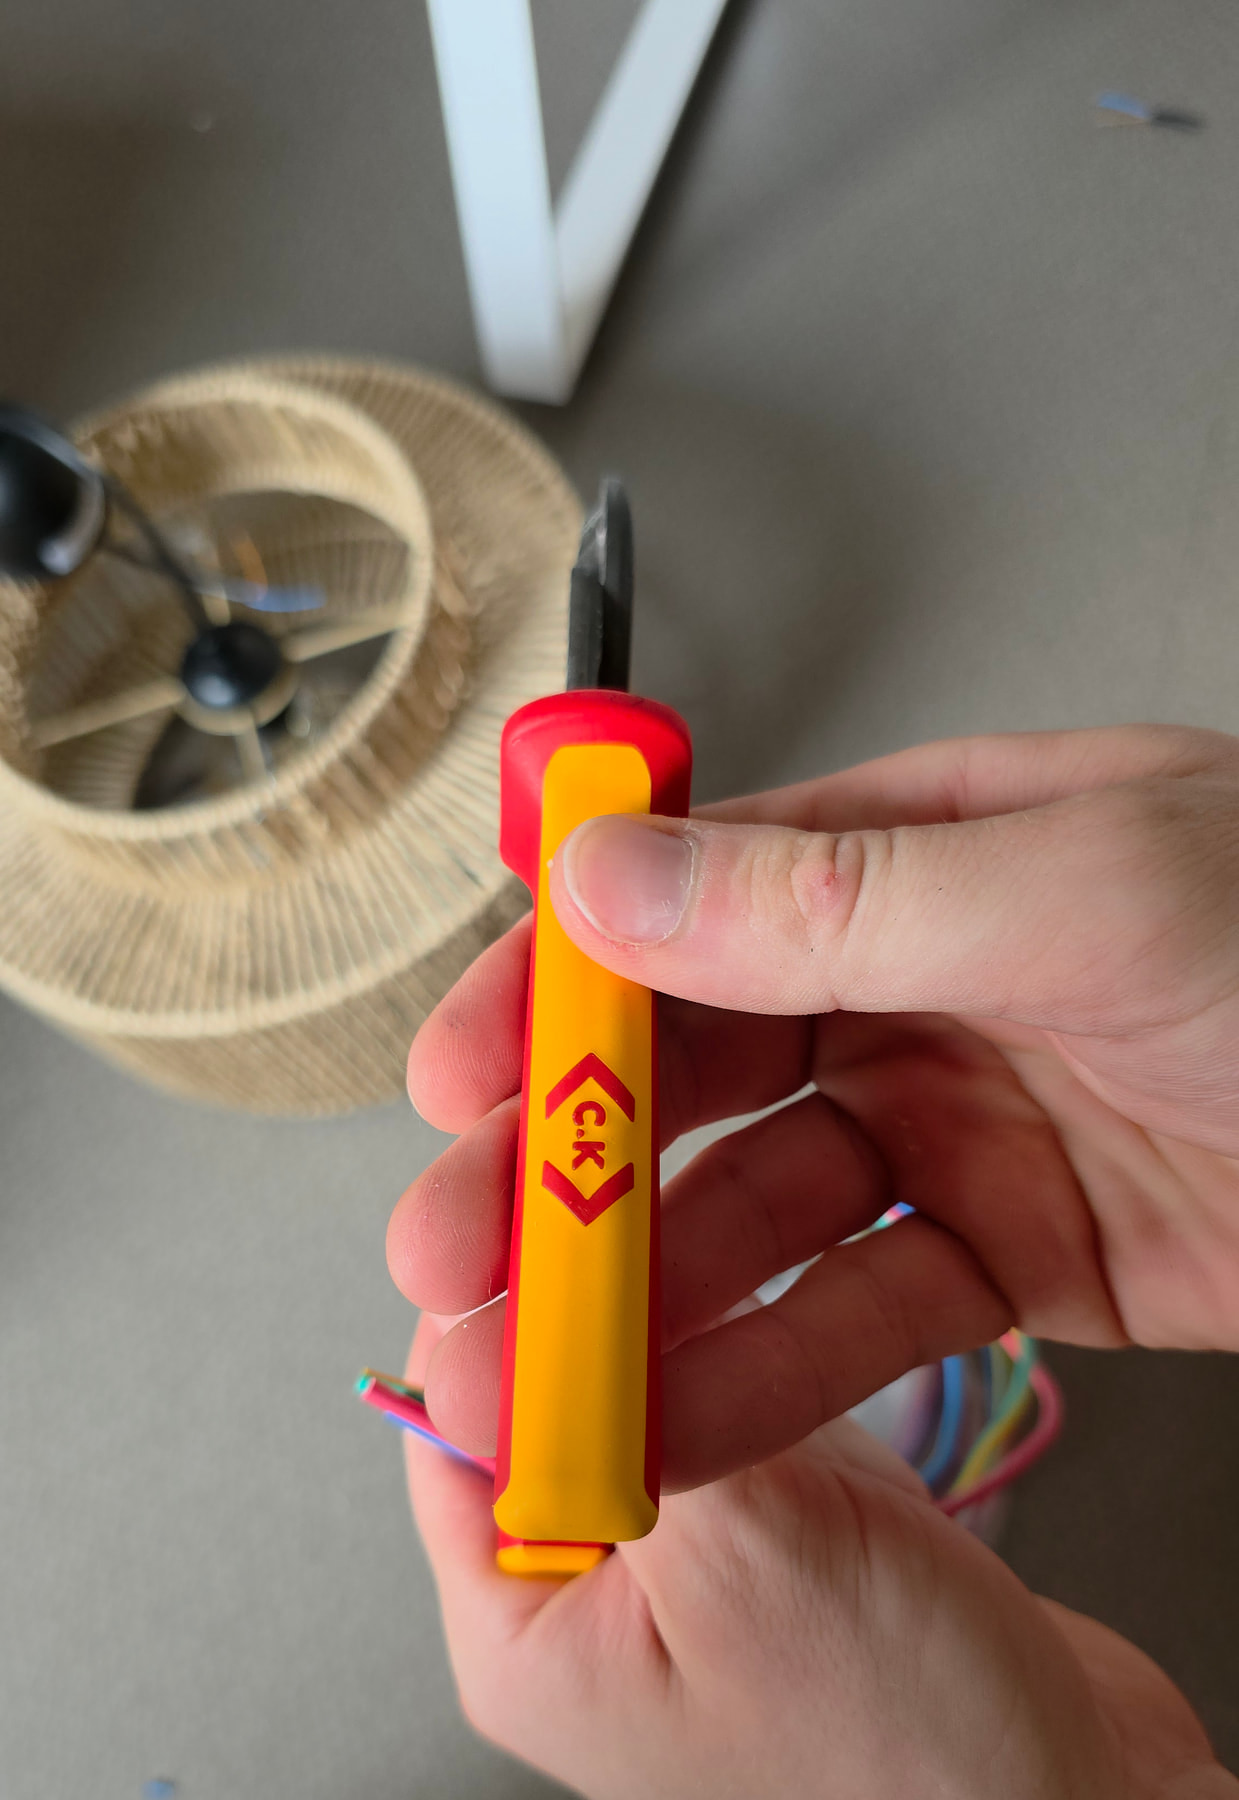
The profile of the handles shows the dual-material grip shape.
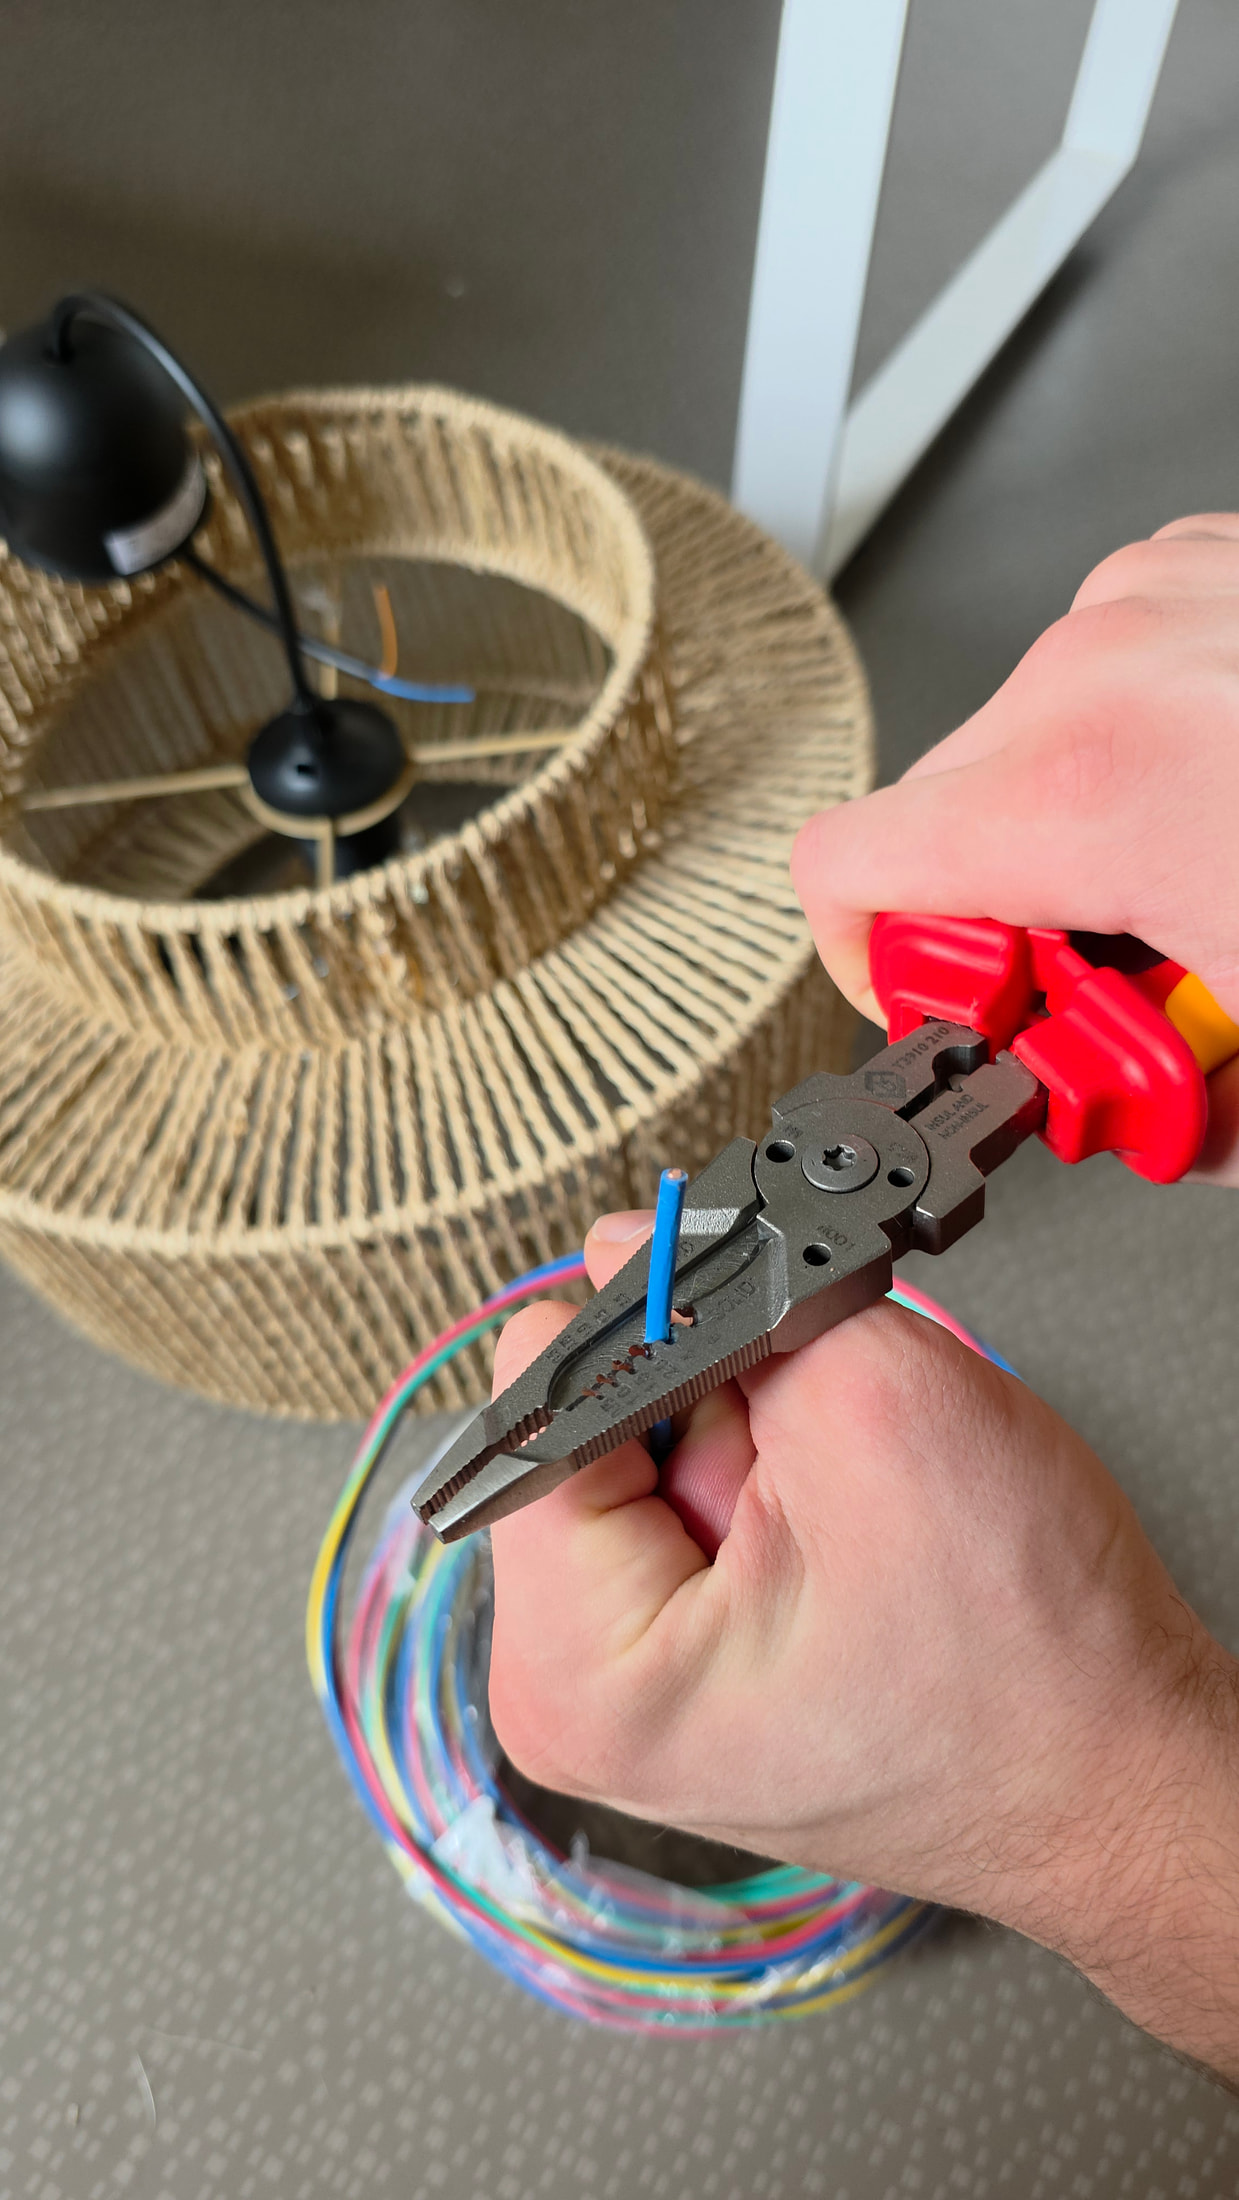
The T3910-210 in its 210 mm format.
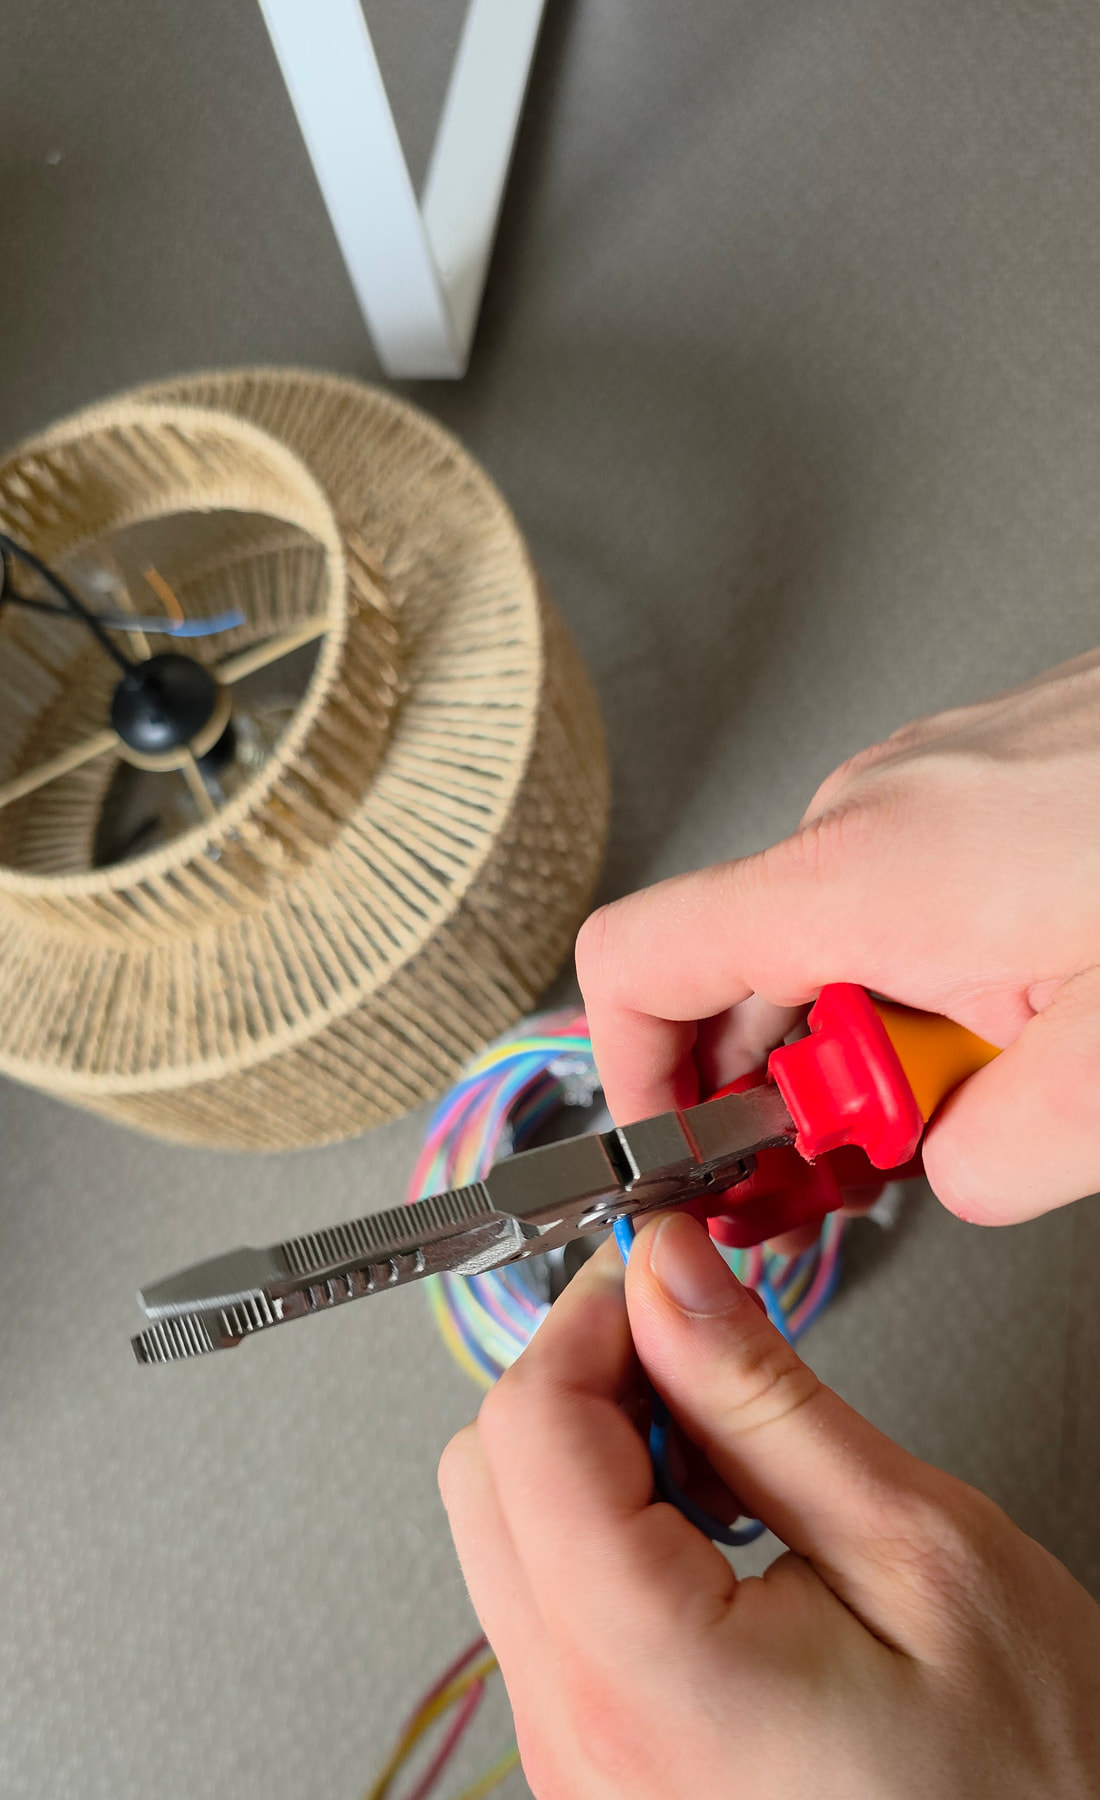
The size of the pliers also reads in hand, before it goes back on the belt.
Both pliers are advertised as VDE: each tool is individually tested at 10 000 V at the factory, for live working up to 1 000 V. That is the principle of the EN 60900 standard, which governs insulated hand tools.
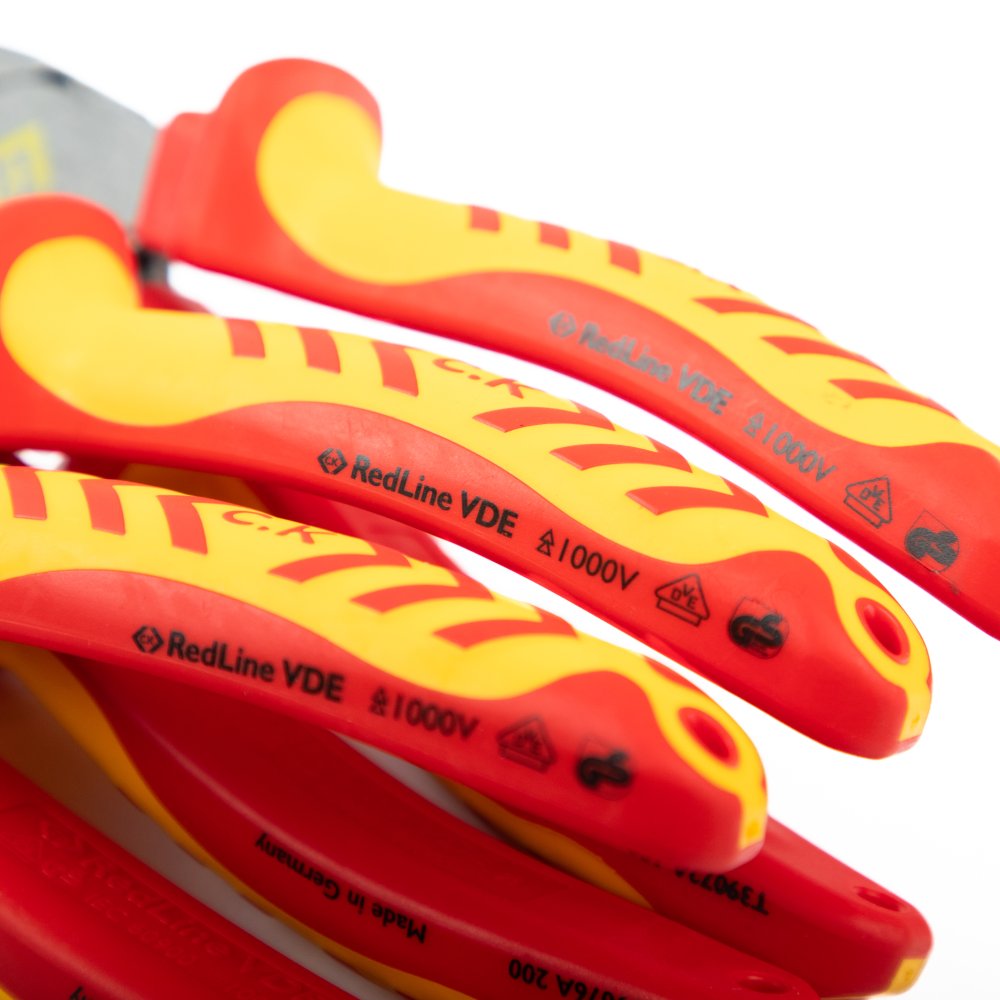
The cable cutter datasheet also lists compliance with VDE 0682/201 and ISO 5749. For the details of what the standard requires from an insulated tool, I refer to my article on 1 000 V insulated tools.
The marking guarantees that the handle and the insulation withstand the dielectric test, not the absence of risk during the job.
An insulated tool limits contact with a bare live part; it does not remove the need for suitable PPE, such as insulated gloves for live working, or for preparing the job.
A check before each use is part of the routine: handles and insulation intact, anti-slip guards in place, no deep marks on the handle. Breached insulation cannot be compensated for — the tool leaves the tool bag.
The three markers to remember on the tool itself: the VDE marking, the reference of the pliers, and the condition of the insulation under the handles. That is what you check in two seconds when you take the pliers out of the tool bag.
I start with the insulation, under the handles and up to the guards. A handle that is marked or peeling stops the tool from coming out, no discussion.
Next I move on to the joint: I open and close the pliers twice. A hard spot or abnormal play can be felt immediately by hand.
I finish with the cutting edges and the condition of the head. A pair of pliers that has taken a knock is set down on the workbench: I examine it before putting it back in the tool bag, never after.
This check takes only a few seconds and is done on every outing, not once a month.
Insulated pliers do not require heavy maintenance, but they require consistency. After a day in drilling dust, I wipe them dry before putting them away.
Storage matters as much as cleaning. Every pair of pliers has its place in the tool bag: a tool that rattles around at the bottom of the bag takes knocks on the insulation as much as on the cutting edges.
The first thing I watch is play at the joint. A pivot that has developed play can be felt when opening: the jaw floats instead of guiding the wire.
The cutting edges come next. I run my fingernail along the edge of the blade to feel for any burr: a marked blade cuts less cleanly and takes more effort.
On the insulation, I look at the handles in the light, not absent-mindedly. A deep mark or a handle coming away and the tool leaves the tool bag.
What I avoid: leaving them to sit in a damp vehicle, or behind a window in full sun. That is not where I store a tool that has to stay reliable when live.
Pliers that have fallen from a ladder go through the full check before being used again. That is the point on which I do not cut corners.
The rest is a matter of rotation: pliers used every day wear at the pivot long before the insulation moves. The regular action itself does not change.
Which one to choose is decided based on the jobs you carry out, not on the product sheets. Four questions are enough to settle it.
List your main actions
Cutting a lot of conductors or preparing connections? The most frequent action determines the pliers.
Check the conductor material
The cable cutter is rated for copper and aluminium; outside that scope, it is not the right tool.
Check the insulation marking
VDE insulation, individual test at 10 000 V, declared use below 1 000 V, EN 60900 compliance: these markings are checked on receipt.
Combine both formats if both actions come up regularly
The multifunction tool prepares, the compact cable cutter trims right up close: neither duplicates the other.
On price, the manufacturer does not publish a recommended retail price for these two references: the price has to be requested from a distributor.
The two pliers do not replace each other depending on format either. The T3910-210 covers preparation at 210 mm, the T3973-160 slips in everywhere at 160 mm: the two coexist without duplication on the tool belt.
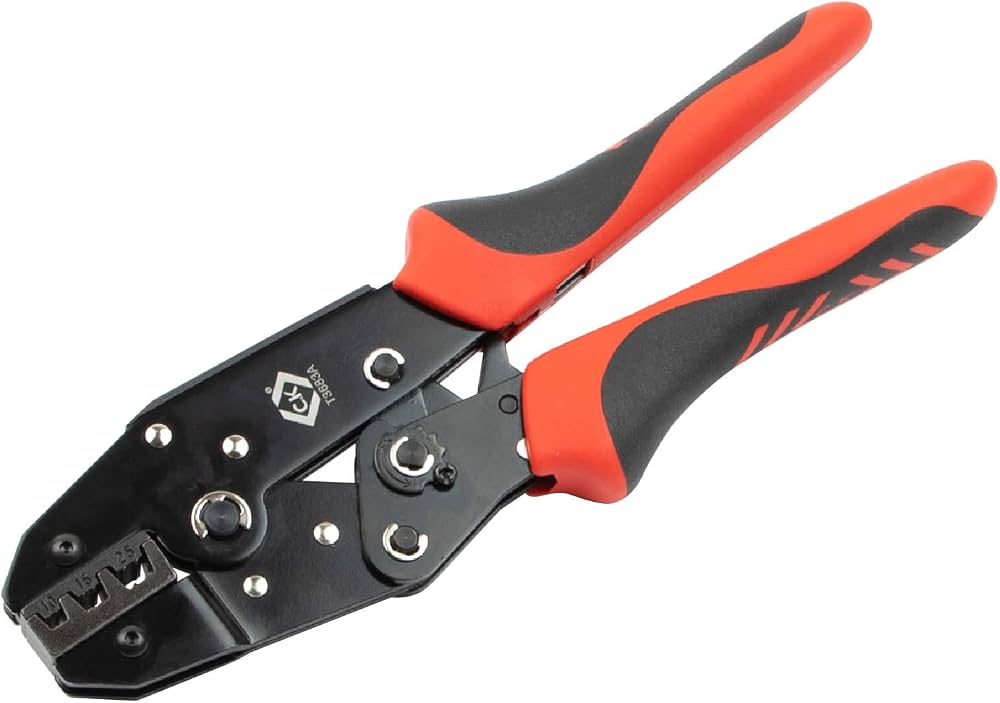
To crimp ferrules onto flexible conductors, that is another tool: the crimping pliers have their own jaws and cannot be improvised with multifunction pliers.
The most common mistake lies in the notch. You pick the gauge by eye, you close the pliers, and the insulation comes away with a piece of the core. The engraved mark is there to be read before squeezing.
The second is the weak motion. A strip redone three times in the same notch marks the copper as much as a wrong gauge.
Third mistake: yanking the insulation off by pulling on the conductor. A short twist of the pliers is enough; the sheath comes away effortlessly on the strand.
On the cut, the classic mistake is to squeeze in jerks. Shearing calls for a firm, continuous motion, otherwise the blade slips instead of cutting.
There is also the temptation to cut several conductors in a single motion. The bundle shears cleanly, but I lose count of the markers put on earlier.
Finally, the storage mistake: picking up pliers lying at the bottom of a box without looking at the insulation. It is the fastest check and the one most often skipped.
On a distribution board, the multifunction pliers do all the preparation: I cut to the length of the trunking, I strip, I form the loop when the terminal calls for it.
In a flush-mounted box, the cable cutter’s format has the advantage. Space is scarce, and long pliers open their handles poorly against the masonry.
At the end of a pull, when the conductors arrive too long in an enclosure, the cable cutter trims them back as close as possible without damaging the neighboring wires.
At height, on a luminaire to prepare, the multi-tool saves carrying several tools up on the belt: I come back down with the pliers that did the cutting.
On old wiring devices with screw terminals, the eyelet formed with the pliers gives a clean connection. I prefer it to a wire simply stripped and tightened under the screw.
On an installation rework, I often take both: the multi-tool prepares the panel conductors, the cable cutter adjusts those that arrive too long.
What I don’t ask of them, however: crimping a ferrule, cutting steel or armored cable, acting as a lever to force a nut. Those actions call for another tool.
And I never consider the insulation a green light. It protects the action, it replaces neither the preparation of the job nor PPE.
After several weeks on jobsites, two findings hold up: the shear cutting does exactly what it promises, and the multi-tool brings together actions that would otherwise require three tools.
How the sharpening and the pivot hold up over time will be judged in use; nothing moved during the test. The rest comes down to how consistently the tool is checked before use: an insulated plier remains a safety tool, not a consumable.
The T3973-160 is a 160 mm cable cutter: it cuts by shearing and is used to shorten a conductor. The T3910-210 is a 210 mm multi-function tool: it grips, strips, cuts and forms LOOP eyelets. The choice depends on the dominant motion.
The manufacturer states VDE insulation, each tool individually tested at 10 000 V, for live working up to 1 000 V and EN 60900 compliance. The insulated tool remains one part of the setup: PPE and preparation of the work cannot be improvised.
The plier is intended for copper and aluminium. A conductor of another metal or an armoured cable requires another tool, suited to the material.
The LOOP through-hole forms a regular eyelet on a rigid conductor of 1,5 or 2,5 mm². It screws onto screw terminals and serves as a pull ring for a wire-pulling needle when re-threading conductors.
If both motions come up often, yes: one prepares the conductors, the other trims before connection. For a first purchase, start with the one that matches your dominant motion. My comparison of VDE kits details what completes an electrician’s bag.
These two pliers have no recommended retail price published by the manufacturer: the price is obtained from the trade. On receipt, the useful marker remains the tool’s marking, between EN 60900 and individual testing at 10 000 V.
Disclosure C.K Tools : RedLine T3973-160 cable cutter and T3910-210 multifunction pliers.
Théo Desrousseaux
Electrician and editor
I work in the field and edit this magazine. Every guide is reviewed for its target country before publication.
Sources and references
Practical electrical installation guides, diagnostic methods and tool recommendations compared against the technical wiring standards of this national edition.
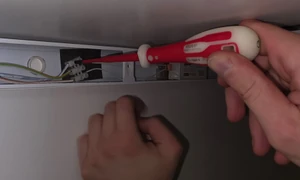
Review of the C.K Tools Dextro VDE Slim screwdrivers: slim insulated blades, Glow series, Modulo tips, magnetic ring and torque hold on terminal blocks.
Read the guide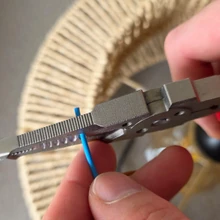 Guide C.K Tools review: VDE tools C.K Tools review: a German-origin brand now Welsh, VDE range of Dextro screwdrivers and RedLine pliers, IEC 60900 standards and published specifications. Read the guide
  Guide Wiha or Wera: which tool kit for an electrician? Wiha or Wera: VDE 1000 V screwdrivers and pliers, storage systems and a method for a tool set suited to real electrical work in the home. Read the guide
  Guide Knipex: the story of the brand Founded in 1882 in Germany, Knipex makes the pliers chosen by professional electricians: history, innovations and a lasting commitment. Read the guide