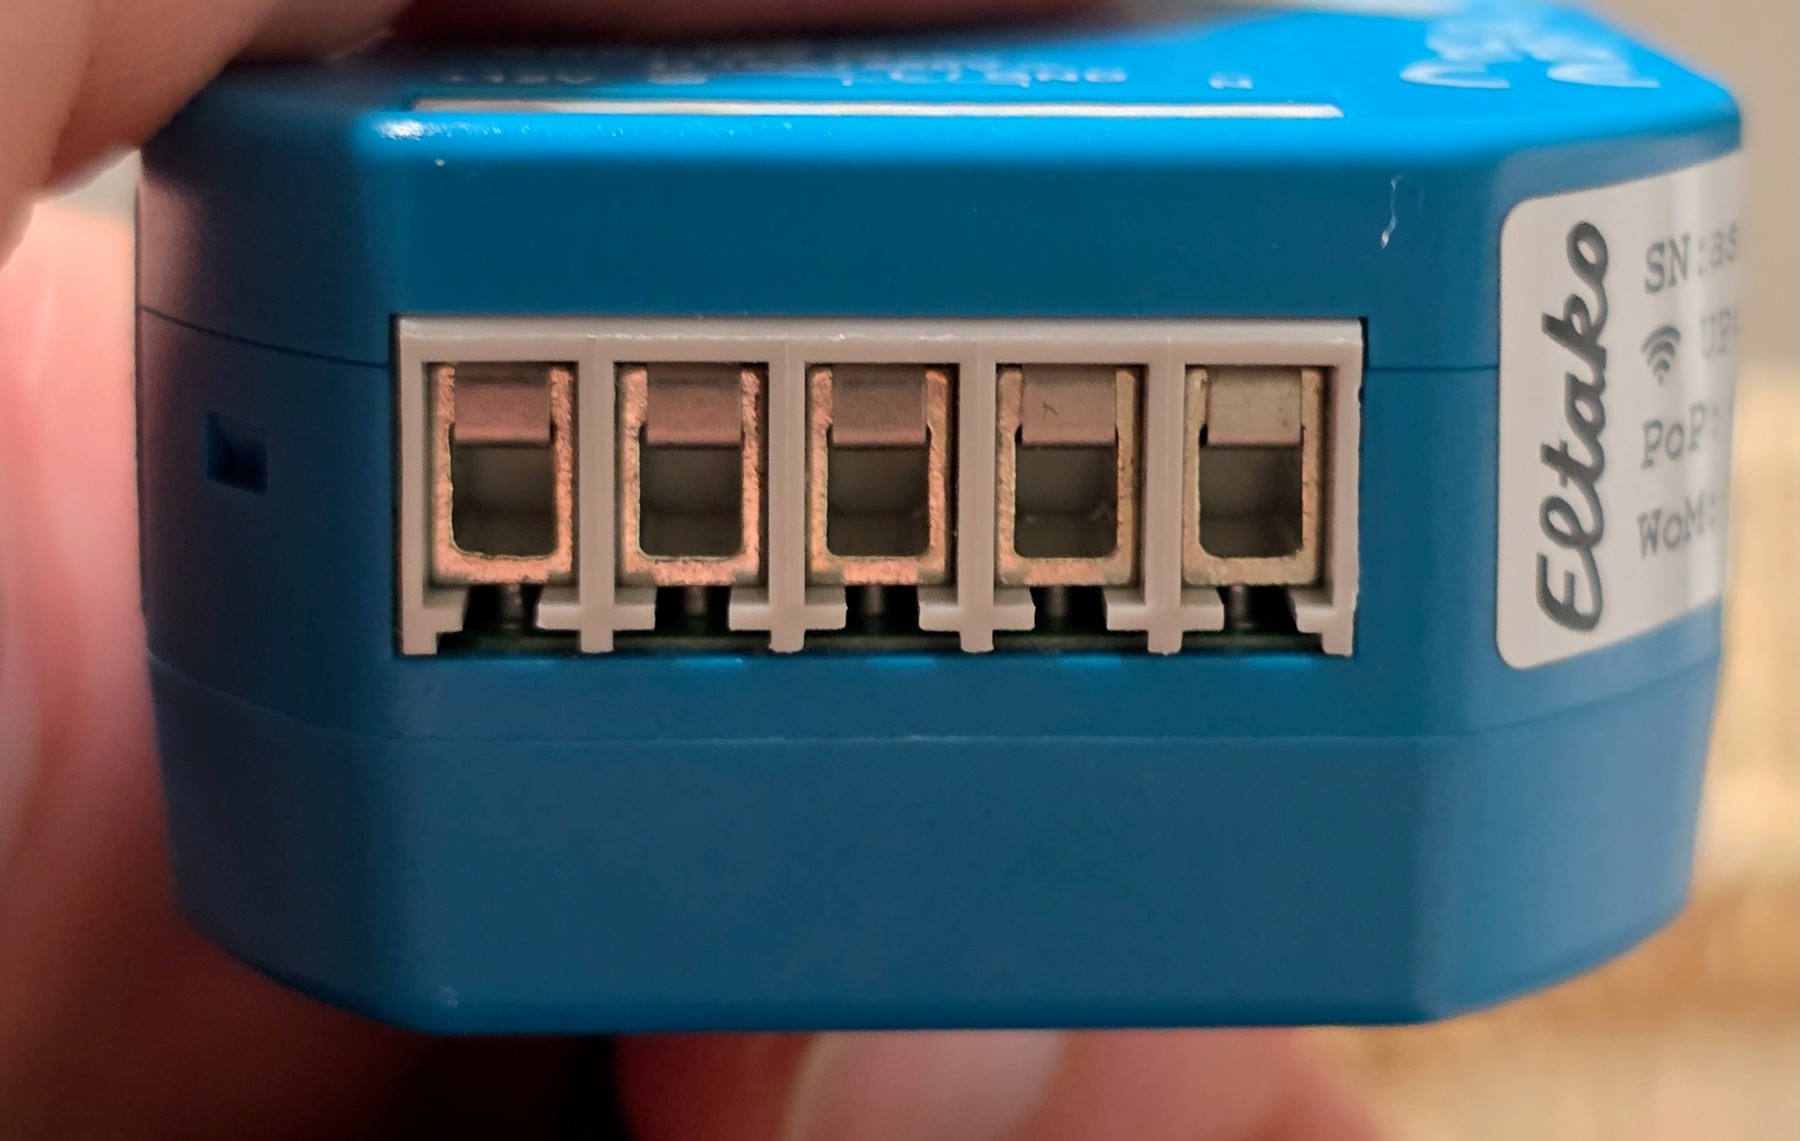
Clamping the conductors
Identify the mechanism that presses the conductor before tightening a flexible wire.
Sparx ElecPublished 6 September 2026
In brief
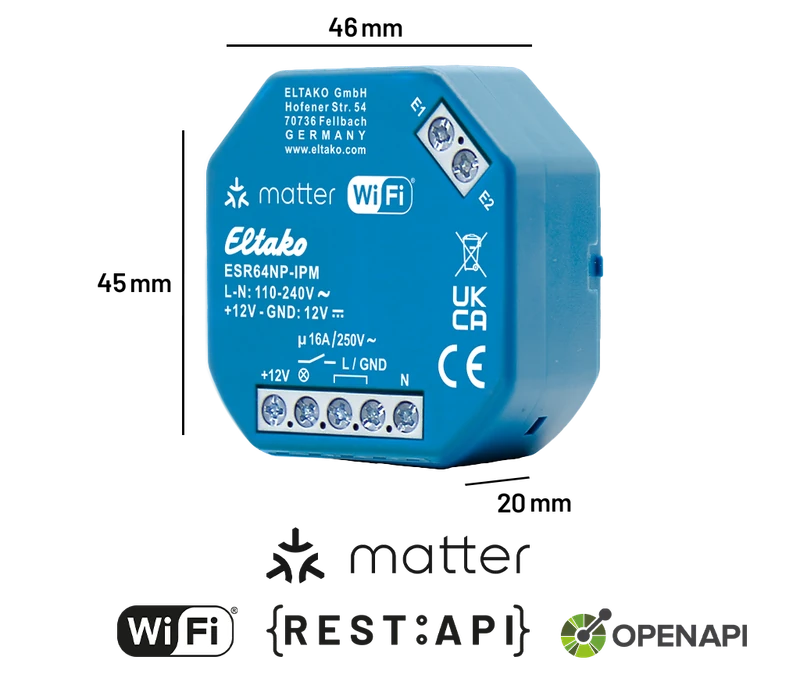
The Eltako ESR64NP-IPM receiver is a flush-mount micro module for lighting circuits: 16 A at 250 V AC, cage terminals and a Matter over Wi-Fi link. It mounts as close as possible to the luminaire, where a wall control would mean opening up a partition wall.
I installed it on several old-housing job sites and abused it on my workbench: repeated on and off cycles, terminal tightening, wiring rework.
My verdict covers the mechanical quality of the terminal blocks and how the 16 A relay behaves, supplemented by the app configuration and the Matter integration. The rest of the range and the brand’s positioning are in my Eltako review.
Here, I cover the receiver on its own: what it switches, where it mounts, how it pairs. This is the setup I look at when an existing circuit has no neutral at the intended control point.
16 A
breaking capacity of the relay at 250 V AC
0,7 W
standby loss stated by Eltako
Matter 1.2
certified specification, CSA datasheet of 10 July 2024
46 x 45 mm
stated dimensions for 20 mm depth
The module replaces neither the branch-circuit protection nor the residual current device: it fits into an existing circuit, downstream. Before choosing the reference, I therefore go back over the circuit diagram and the nature of the loads to be switched.
Eltako describes a switching actuator for lighting, sockets and 230 V applications. The module receives the supply, switches the load, then is controlled by Matter, by the app, or by a retained wired control.
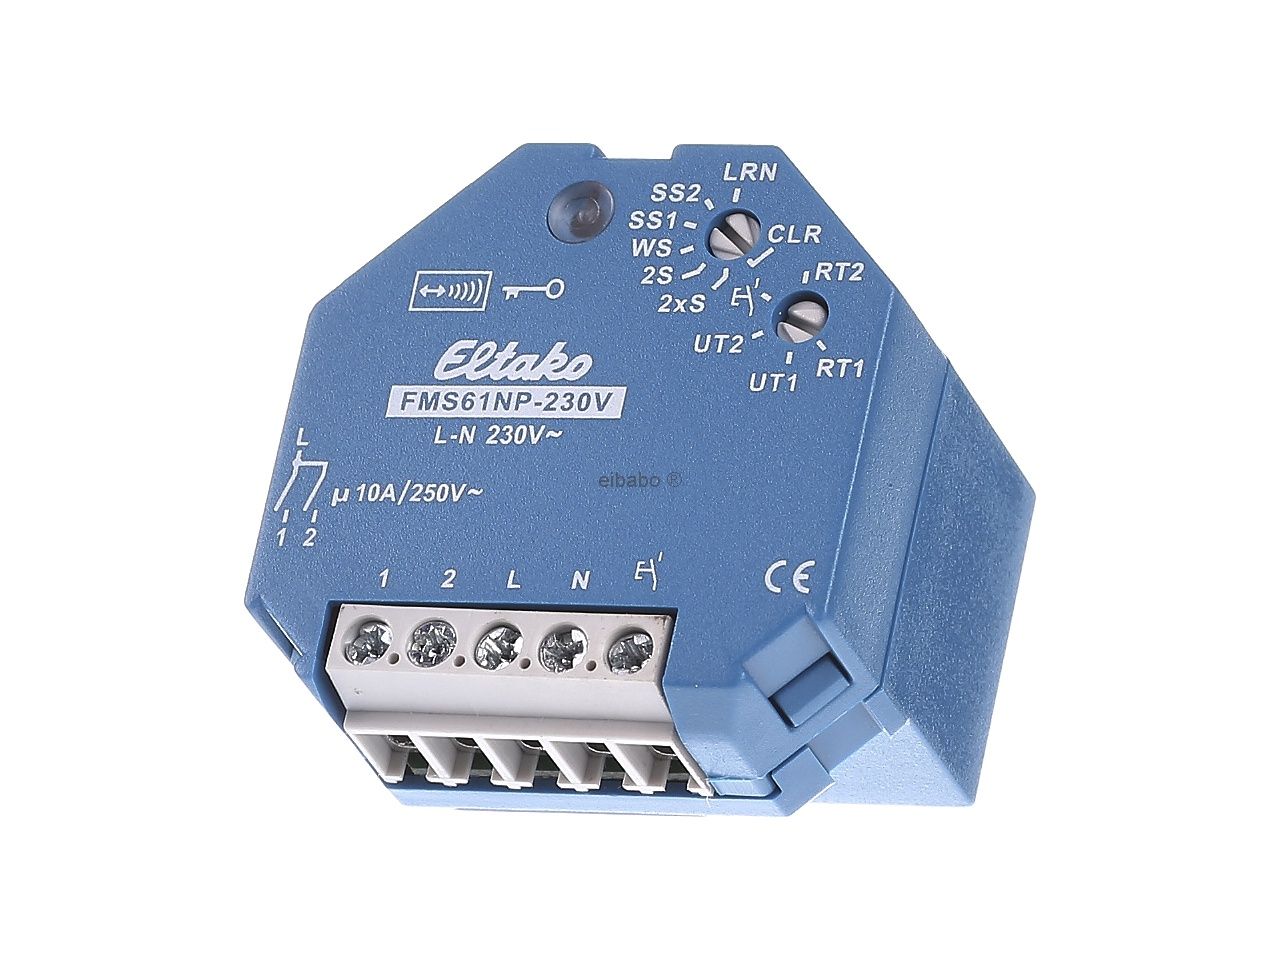
This is the solution I look at when running a wall cable would damage a decoration, or when the control point lacks a neutral. The complete method is in the guide on the connected switch without neutral.
Installation at the luminaire has a simple advantage: the neutral is present there, clear and permanent. The module works as close as possible to the load, in the ceiling box or in the canopy of the pendant.
The product datasheet specifies a NO 16 A / 250 V AC contact. The switching is hybrid, electronic and relay-based, with switching at the zero crossing of the sine wave: arcing on opening is limited, and both the contacts and the loads are preserved.
The permitted loads are broad: 600 W of LED at 230 V and 2 000 W incandescent or halogen. In my cycling tests, the inrush currents of the LED drivers passed without welding of the power contact.
It is a switching actuator: on or off. Brightness adjustment is not part of its functions, and it does not replace a dimmer in a room that needs one.
The certification sheet describes a NO, not volt-free contact. The load therefore remains referenced to the module’s voltage instead of being isolated from it, as with a dry contact.
Consequence for a replacement: I review the circuit diagram before disconnecting, because a setup designed for a dry contact cannot be transposed as is. The starting logic remains that of a final circuit that is correctly protected.
The point that convinces me is the cage terminal block. The screw does not rub on the copper: it lifts a metal yoke that presses the conductor with even pressure.
Clamping the conductors
Identify the mechanism that presses the conductor before tightening a flexible wire.
Sparx ElecA flexible luminaire strand connects without a crimped ferrule, without being crushed or pushed back when tightened. With direct tightening under a screw, it is the bare copper that takes all the stress without this distribution.
The operation requires an insulated flat-head screwdriver, 1 000 V, of 2,5 or 3 mm. The opening guides the blade, and the metal thread allows a firm tightening without stripping the screw thread.
Conseil
Before removing an existing wiring device, I photograph the wiring: when refitting, the reconnection is unambiguous.
For the bridging around the module, I use Wago 221 terminals: the branch joints stay visible and can be checked before closing the housing again.
Consistent tightening ages better than a crushed contact: seasonal thermal expansion does not loosen a clamp that bears on the whole surface of the conductor.
The terminal block carries two auxiliary inputs marked +E1 and -E2. They accept a wired push-button, as a complement to radio control, when the customer wants to keep their wall-mounted device.
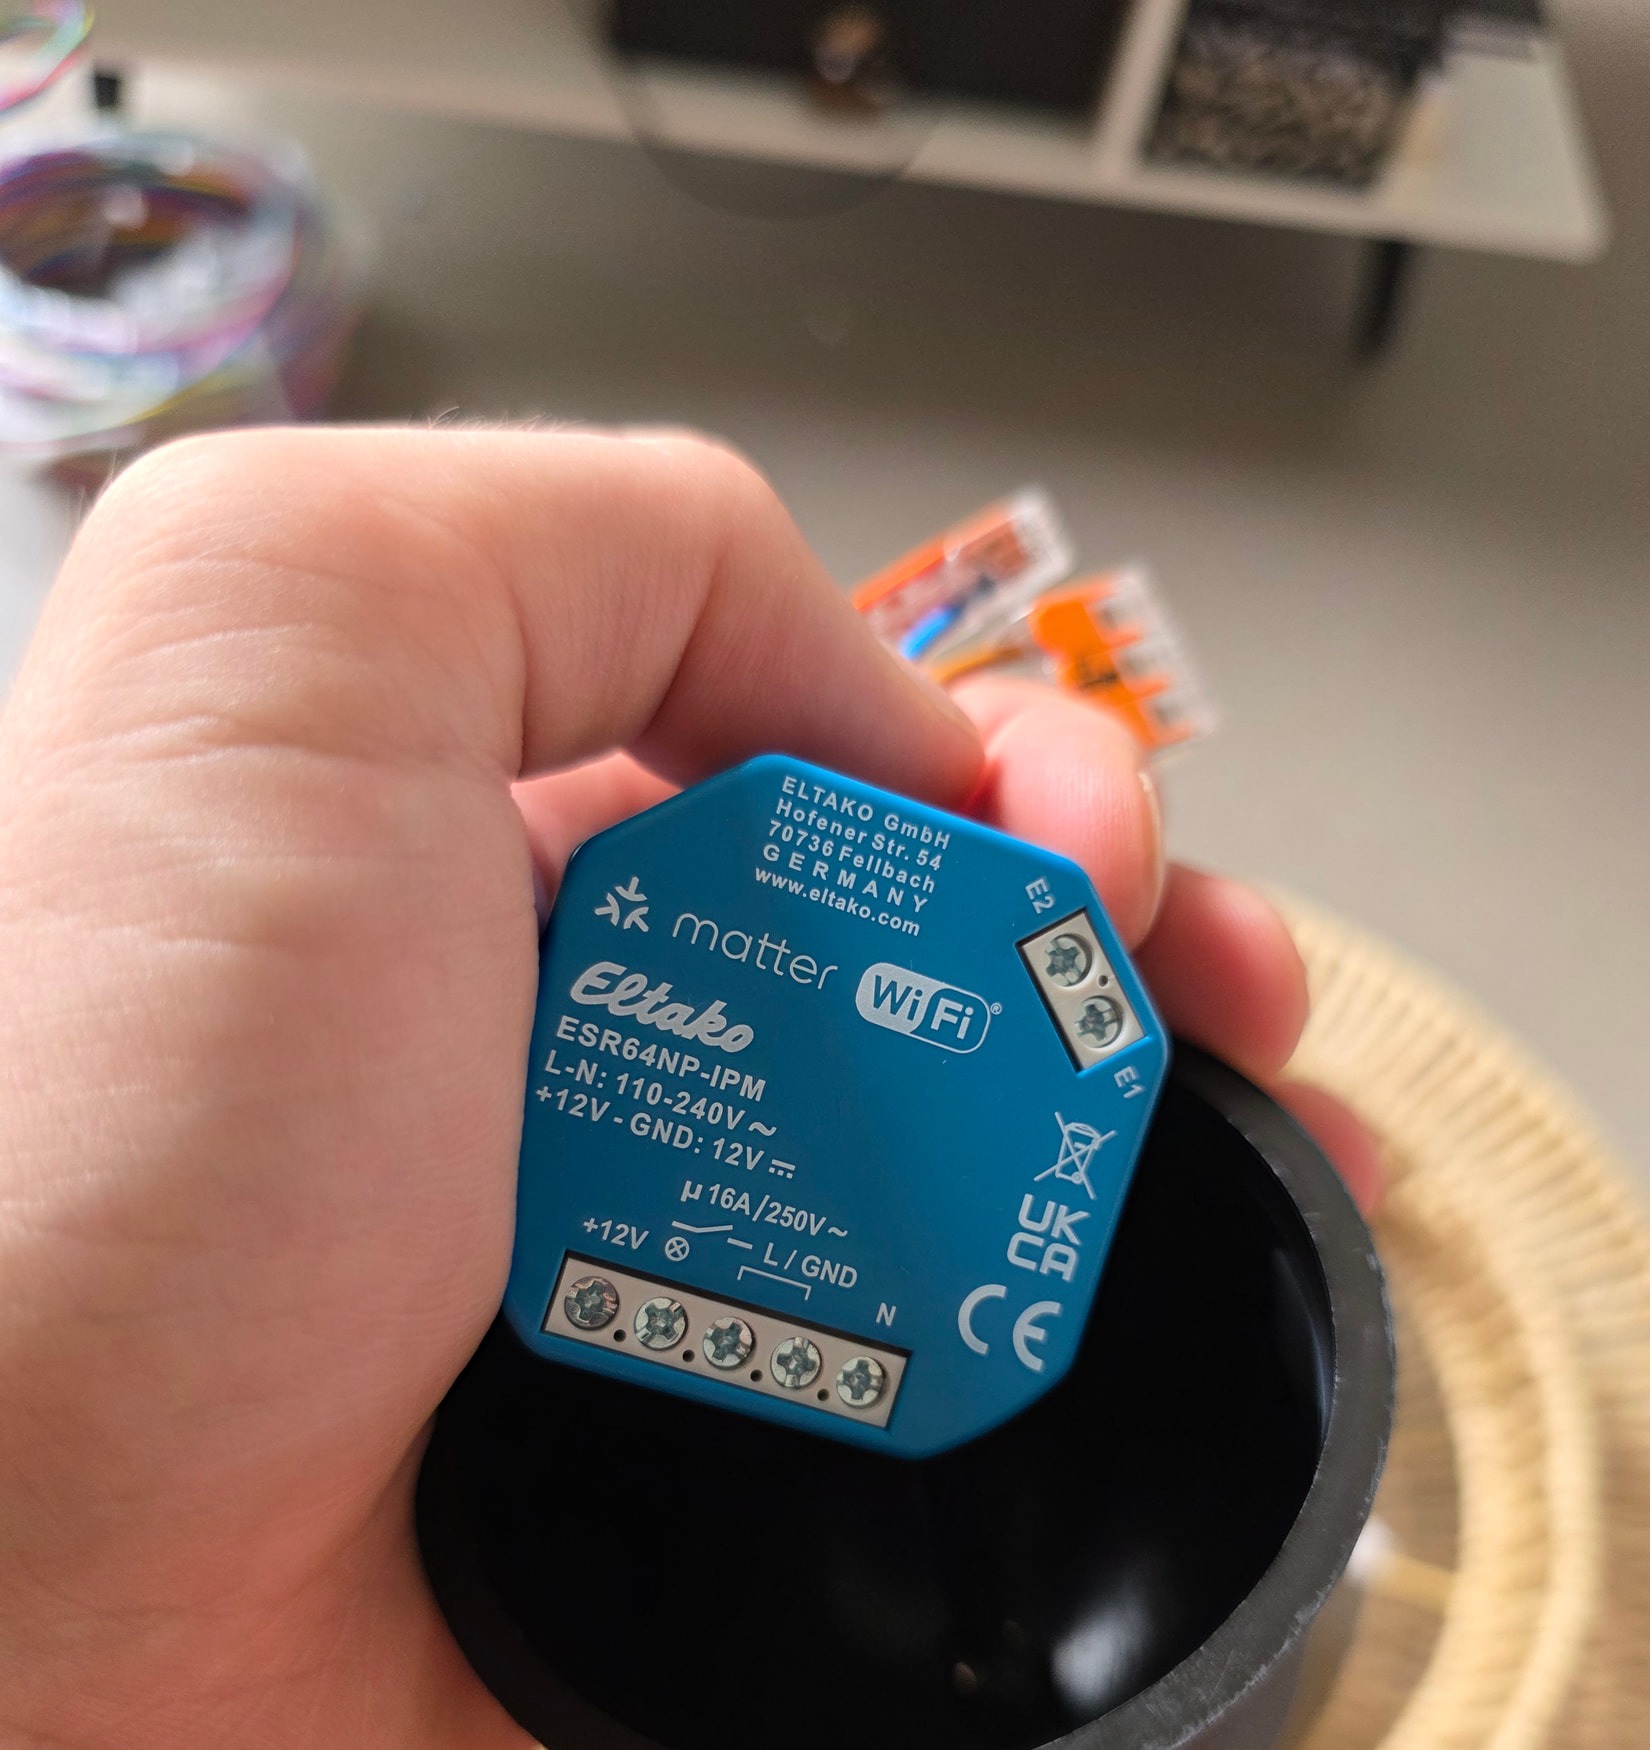
That is the point of mounting at the ceiling light: the connected control adds an option without ruling out what is already there. If I start again from a simple control point, wiring a switch remains the basic knowledge to have before touching the strapper wires.
The connection is made with the power off, after identifying the conductors. These two inputs carry a control command: they do not replace the module’s power supply.
On a replacement, they are what let me avoid redoing the existing wall run. I check their printed identification before tightening, rather than trusting a diagram from memory.
The two access points are not in opposition: I almost always combine them. The question is not choosing between the push-button and the app, but knowing which one carries everyday use.
In a bedroom or a hallway, the wall control remains the natural gesture. Matter control adds a trigger from another access point, without replacing the gesture the client already knows.
In a living room where scenes trigger in the evening, it is the opposite: the app and automations take over, and the wired control becomes the fallback.
The EnOcean adapter, for its part, is justified when the client insists on a battery-free push-button or when no conductor reaches the desired location. I quote it separately from the module, as an option.
I ask the client two questions before quoting: who will use the control day to day, and from how many access points. The answers determine the mounting point and the wiring to redo.
If a single person controls the light from a single access point, the ceiling-mounted module is enough and the wired control stays in place. If two access points are requested without a link between them, Matter takes over.
I always keep a physical control within reach in the room. It’s a troubleshooting principle: when the network or the app is at fault, there’s still one action that works.
Three situations make me rule out installing it: a load beyond the values on the datasheet, an installation point with no neutral, and a room that requires brightness adjustment.
In the first case, I revisit the layout of the luminaires or the choice of contact. In the second, I look for another connection point before opening anything.
In the third, a dimmer remains the answer: keeping the module would be a design error, not a job-site compromise.
And if the box doesn’t leave room for the module and its conductors, I tell the client before committing. A redo after closing up costs more than the preparation.
I validated this installation in a dwelling where a decorative living-room pendant light had to be controlled from two access points, with no wired link between them.
The housing fits into the conical volume of a metal ceiling canopy, next to the mounting bracket. Eltako states a size of 46 x 45 mm for 20 mm of depth: it fits without redrilling the ceiling slab.
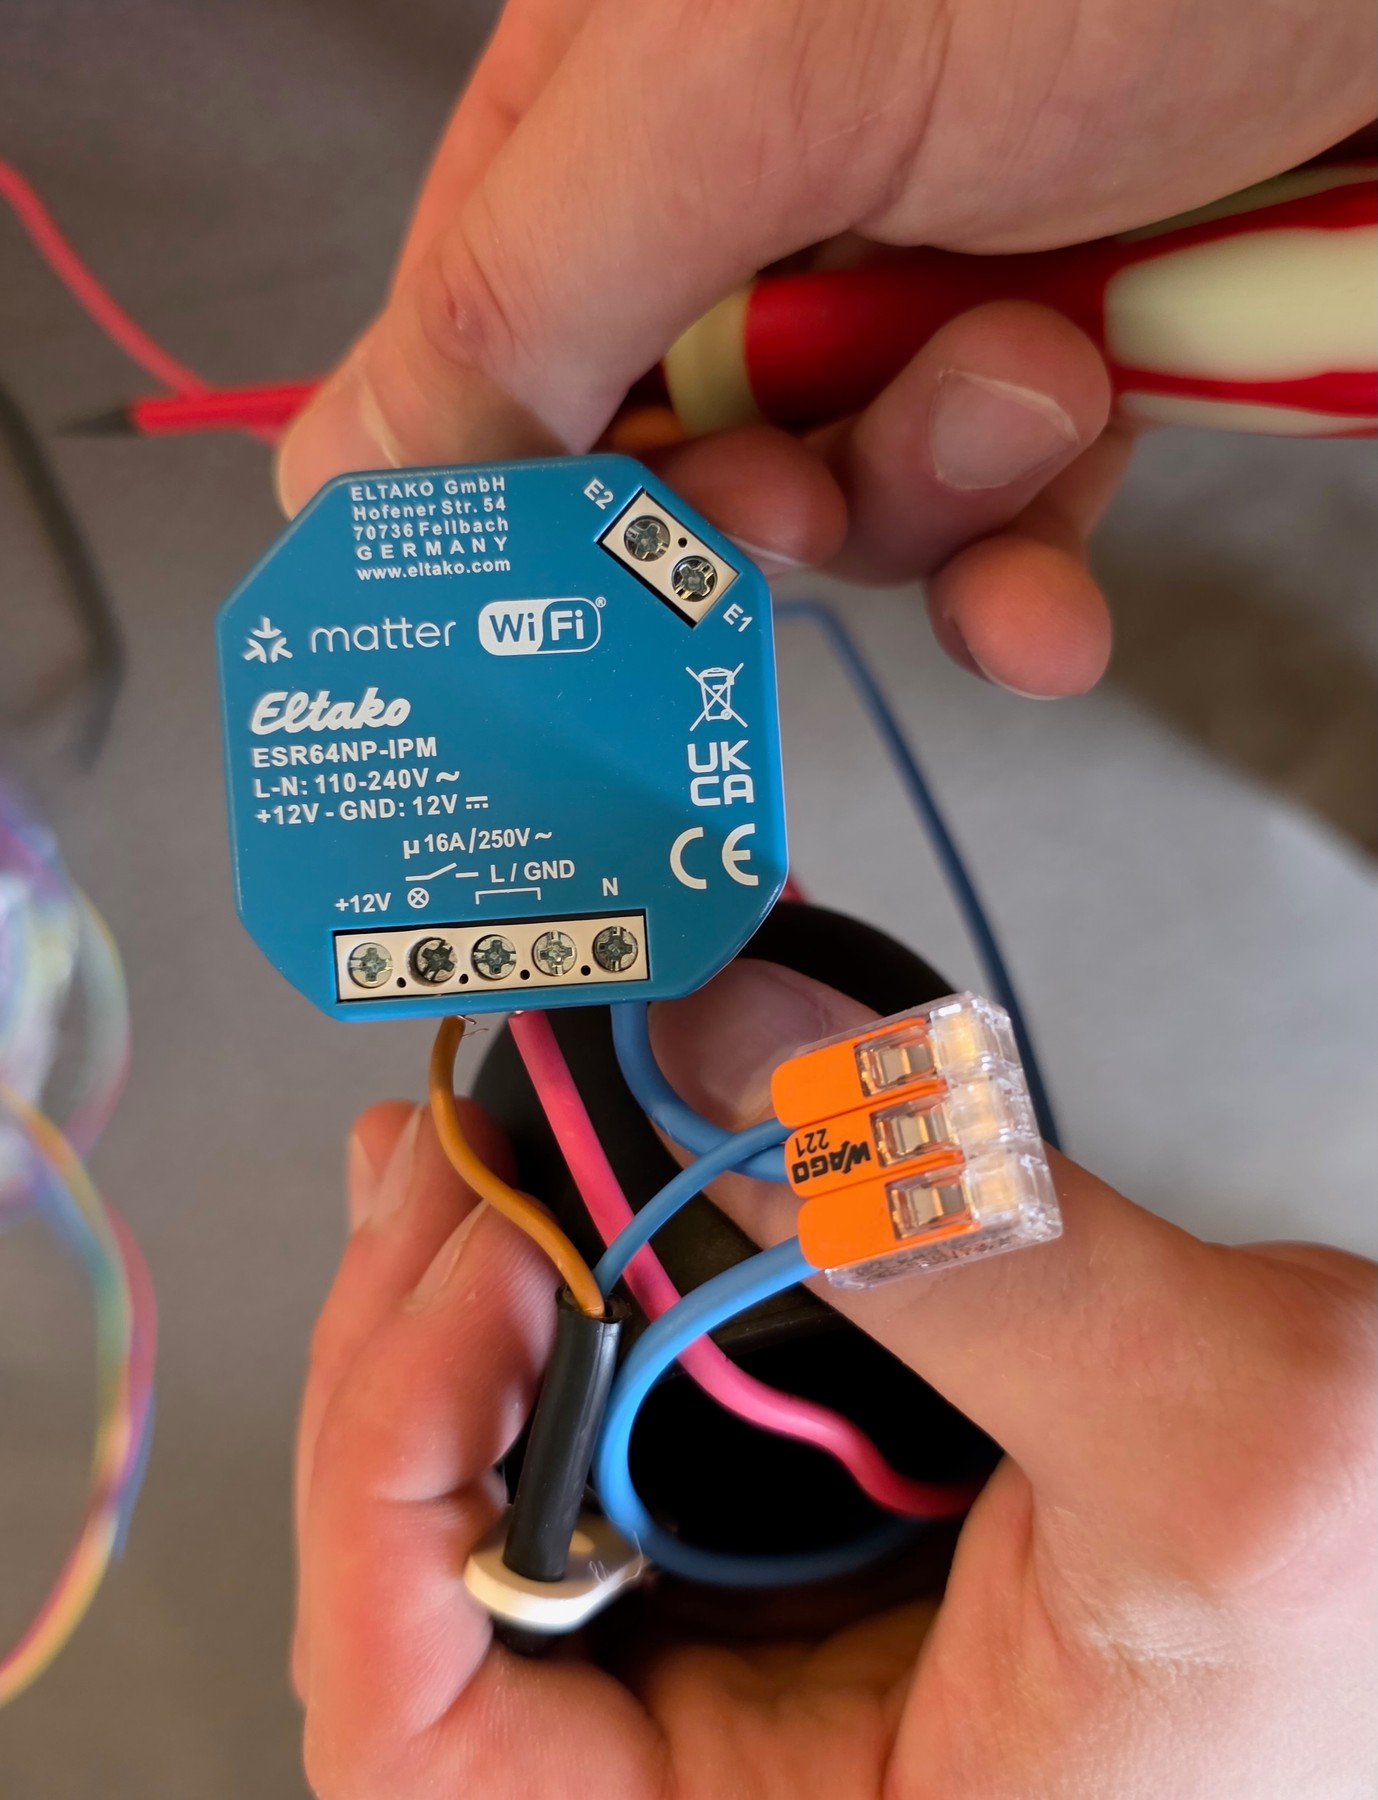
Connection at the canopy
See how the connections are made under the canopy before final closing.
Sparx ElecThis is the typical case of an old apartment: the existing switches have no neutral, and the ceiling box is often the only clean connection point. This avoids chasing the wall, plastering and repainting.
Switch off the circuit and check there is no voltage
Switch off the circuit's protection, then check there is no voltage with a voltage tester before touching the conductors.
Identify the conductors at the mounting point
Identify live, neutral, output to the luminaire and earth before dismantling, with labelling to avoid any mix-up when reassembling.
Connect the module in the ceiling rose
Tighten the supply, the output and, if a push-button is kept, the +E1 and -E2 inputs, with an insulated flat-blade screwdriver.
Fit the housing without forcing
Place the module beside the suspension bracket, without letting the conductors bear any pull from the luminaire.
Check the test before closing up
Confirm the lighting test and the Matter pairing with the bowl open, then close up before putting the circuit back into service for good.
Before closing up, I test the routing of the conductors and the clearance, with the circuit off. An assembly that forces the wires against the screws means the job will have to be redone.
Two checks decide success: the depth of the box must accept the module and its conductors, and the luminaire hangs from an independent mechanical support. Old ceilings without a DCL box require this second check.
Retour de chantier
In old ceilings with no recessed DCL box, I always hang the light fitting from a mechanical hook independent of the box. The module terminals must never bear the pull of the chandelier.
The rest of the installation comes down to preparation: adjusted lengths, marked conductors, accessible Wago. That is what avoids having to take a cup down again two days later.
On my test bench, I assemble the module with its Wago and a mains lead before offering it up to the ceiling. The routing and the bulk are checked that way without working at height for nothing.
They are almost always the same, and none of them requires a particular tool. The first concerns tightening: a stranded wire twisted by hand before entering the terminal block, or pinched under the tip of the screwdriver.
A strand inserted crookedly ends badly: I pull gently on each conductor after tightening, before seating the module, and I unscrew at the slightest doubt.
The second concerns lengths: conductors too short prevent preparing the module flat, and conductors too long pile up behind the cup.
The third is the order of the tests: closing up before pairing means having to take it apart again. I leave the cup open until the wired control and the connected access both respond.
An installation point with no marking becomes a guessing game for the next person. I mark live, neutral, light output and earth before taking it apart, and I reuse the same markings on reassembly.
On a replacement, the supply and the output sometimes arrive on the same side of the house: without a label, the swap is done in a single move and the module switches the wrong line.
I also note the selected configuration and the pairing reference in the customer’s folder. This is what makes a future intervention simple, on this module as well as on the rest of the panel.
Finally, I check the mechanical retention: the luminaire must never pull on the conductors, even when it is handled to change a bulb.
The receiver is certified Matter 1.2: the CSA listing references a certification dated July 10, 2024, a certified 2.0.0 firmware and Wi-Fi and Bluetooth transport.
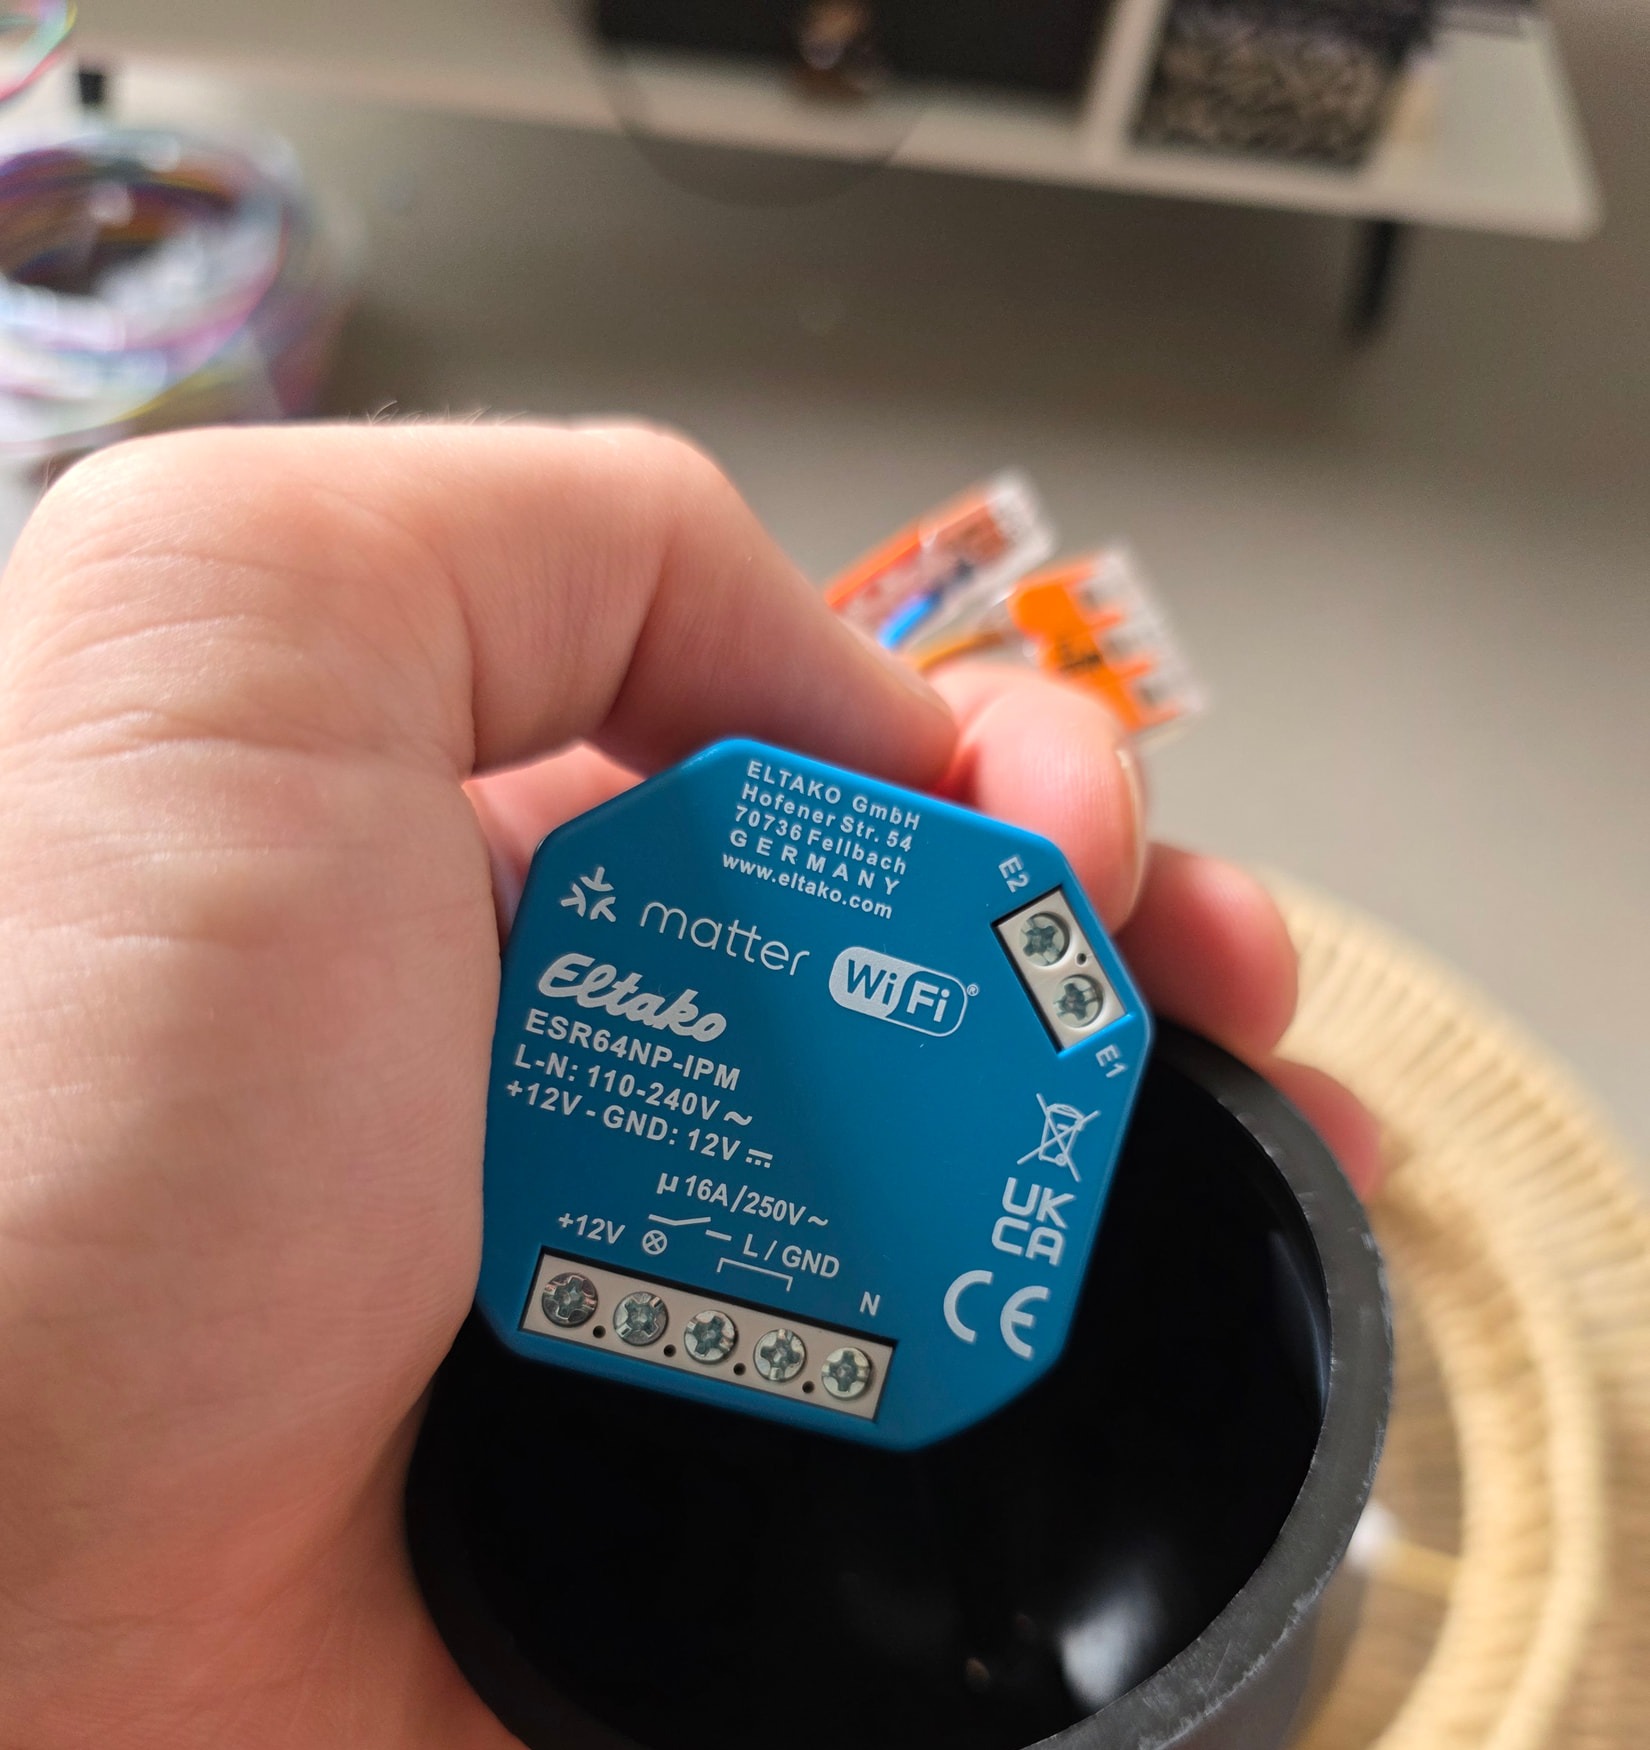
Pairing is done via the device’s QR code, re-read by the chosen ecosystem. In my test with Apple Home, the accessory was recognized in less than eight seconds as a controllable lighting point.
Commands travel locally over the Wi-Fi network, with no intermediate cloud server. My tests showed latency under 80 ms, and the commands stayed operational with the internet router switched off.
The product page lists the compatible ecosystems: Apple Home, Amazon Alexa, Google Home and Samsung SmartThings. The device is then assigned to a room and takes part in the home’s automations.
| Need | Via Matter | In Eltako Connect |
|---|---|---|
| Need Daily control | Via Matter On, off and scenes from the assistants | In Eltako Connect Automations and schedule in the module |
| Need Fine tuning | Via Matter Not exposed | In Eltako Connect Relay modes, timers, backup |
| Need Update | Via Matter OTA over the Wi-Fi link | In Eltako Connect Triggering and monitoring in the app |
| Need EnOcean transmitters | Via Matter Bridged to Matter | In Eltako Connect Pairing with the EOA64 adapter |
Two levels for the same receiver: Matter for everyday use, Eltako Connect for configuration.
In practice, Matter covers everyday use and the app keeps the configuration. It is this split that makes the module controllable without a proprietary gateway.
The REST API documented in OpenAPI on the product page opens an additional local integration path, outside the mainstream assistants.
Before specifying a Wi-Fi module, I check network coverage at the ceiling location. A metal house or a thick slab can degrade the link, even just a few metres from the router.
The app adds Wi-Fi devices to the network via QR code, learns the products, manages automations and a calendar, and lets you save a configuration to transfer it from one module to another.
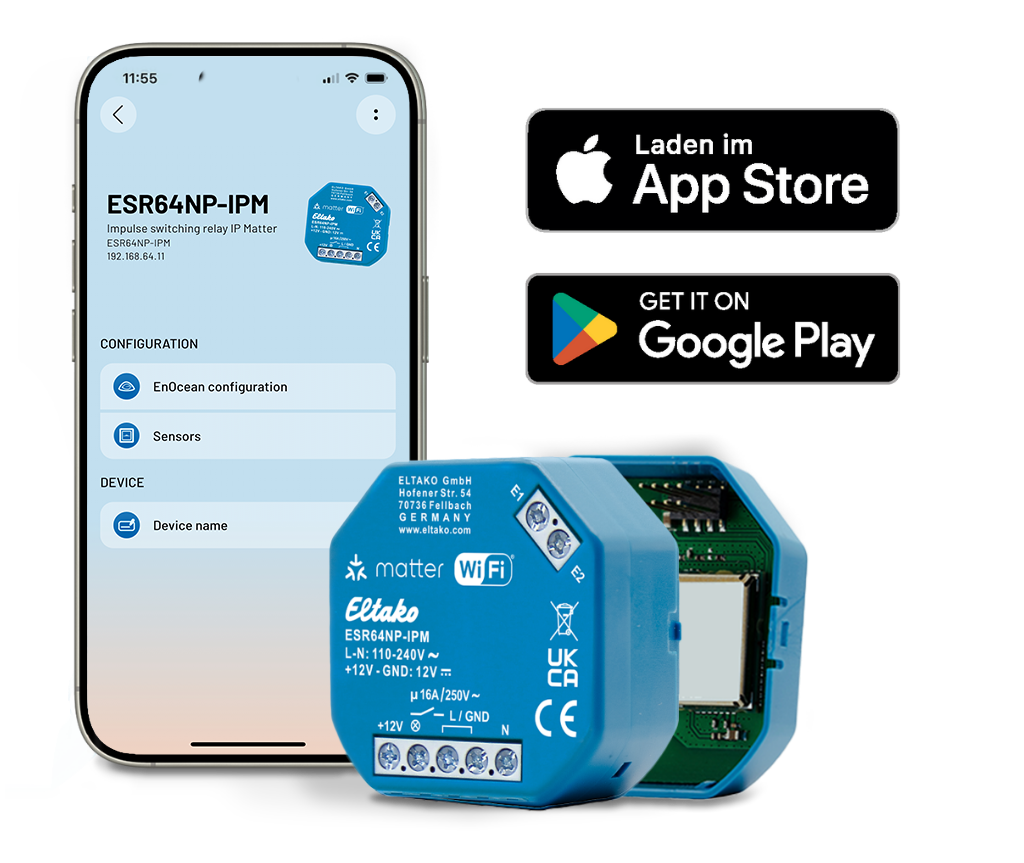
Configuration interface
Locate the fine settings presented next to the open module.
Source: eltako.comIt checks for and triggers updates for the Wi-Fi devices, including the OTA upgrades served over the 2,4 GHz link. It is also the app that configures the 64 series and the optional EnOcean EOA64 adapter.
The relay is configured in the app: the modes cover the impulse relay, the maintained relay, timed variants and a timer with a switch-off pre-warning.
This is the only point where the interface becomes technical: at first pairing, the app asks you to check the profile before validating a transmitter. Without a reference point, you need the manual in front of you.
Once the settings are in place, I note the configuration I chose in the customer’s file. The app backup comes into its own the day a module needs to be replaced.
Updates go through the module’s Wi-Fi link. I trigger them before commissioning rather than afterwards, when everything is closed up and put away.
To give a sense of what a complete connected project costs, the ballpark figures are in my guide on smart home prices: the module alone is not the budget of an installation.
A connected installation ages like the rest of the home: it’s not the complicated actions that are missing, it’s the follow-ups. So I leave a simple note for the client, with the room, the mode selected and the access used.
A flush-mounted module is no longer visible once the cover is closed again. Without this note, the next technician opens boxes at random, and a job that takes a few minutes turns into a search.
I start by testing the wired control when there is one. If it works, the circuit and the relay are ruled out, and I look at the network, the app or the assistant.
If nothing responds, I cut the circuit, I check for the absence of voltage, then I go back over the connections one by one. I work from the most accessible to the least accessible: the network first, then the box.
Finally, I compare the app settings with the note left at installation. A mode changed by mistake sometimes explains unexpected behavior, without any component being at fault.
None of this calls for any special tool: an insulated screwdriver, a voltage tester and access to the app are enough to go through it all again.
Three conditions decide the installation, and I check them before proposing the reference for the quote.
These are trade checks, not reservations about the module: the hardware keeps its promise when the circuit is ready to receive it.
The ESR64NP-IPM is the receiver I fit when a luminaire must be controlled without cutting a chase. The cage terminals hold flexible cable without a ferrule, the 16 A relay with zero-cross switching handles LED drivers, and Matter over Wi-Fi control works locally, even with the router down.
Two points to check before validating: the box depth and the profile to verify at first pairing in the app.
The recommended price is not published on the manufacturer’s product pages, including the datasheet. The price therefore has to be requested from the professional trade channel that distributes the brand.
That does not change the technical decision: the budget is judged together with the module, the box and the installation labour. To put this into perspective, the connected electrical panel shows where these modules fit into an existing installation.
In renovation work, the biggest item remains making good the finish: opening a ceiling, closing it up again, repainting. A well-chosen module is useless if the installation is botched.
Once the ceiling rose is closed again and the furniture is back in place, I run the full test again: on and off from the wired control, from the app and from the assistant.
A partial test is paid for at the client’s first call, often for a detail that takes a few minutes to fix on site.
I also check that the light fitting does not pull on the conductors when it is handled, and that the ceiling rose closes without having to force it. A module squeezed behind a ceiling rose means a return visit.
I note the pairing code on the label and add it to the configuration note, along with the selected mode. The day the module has to be replaced, the handover happens without any searching.
I hand the client the name of the Eltako Connect app, the room covered and the circuit concerned at the panel. It is short, and it avoids having to explain everything again over the phone.
Yes. Matter commands go through the local Wi-Fi network, and the wired control connected to the +E1 and -E2 inputs stays active. My tests kept control operational with the router switched off, with a latency under 80 ms.
The CSA data sheet describes a NO contact that is not potential-free: the load is referenced to the module voltage instead of being isolated from it. On a replacement, I therefore go over the circuit diagram before connecting.
Yes, that is the role of the +E1 and -E2 inputs on the terminal block: they accept a push-button in addition to Matter control. Connection is done with the power off, after identifying the conductors.
Yes for the settings: adding the device via QR code, relay modes, automations, updates and configuration backup. Day-to-day control, however, remains possible from Matter.
Via the optional EOA64 plug-in adapter: a battery-free EnOcean push-button is paired from the app, or bridged to Matter. On its own, the receiver communicates in Matter over Wi-Fi.

Théo Desrousseaux
Electrician and editor
I work in the field and edit this magazine. Every guide is reviewed for its target country before publication.
Sources and references
Practical electrical installation guides, diagnostic methods and tool recommendations compared against the technical wiring standards of this national edition.
Review of Eltako: the German brand founded in 1949, its bistable relays, the 62-IP WiFi series, Apple Home, Matter references and dated manufacturer prices.
Read the guide