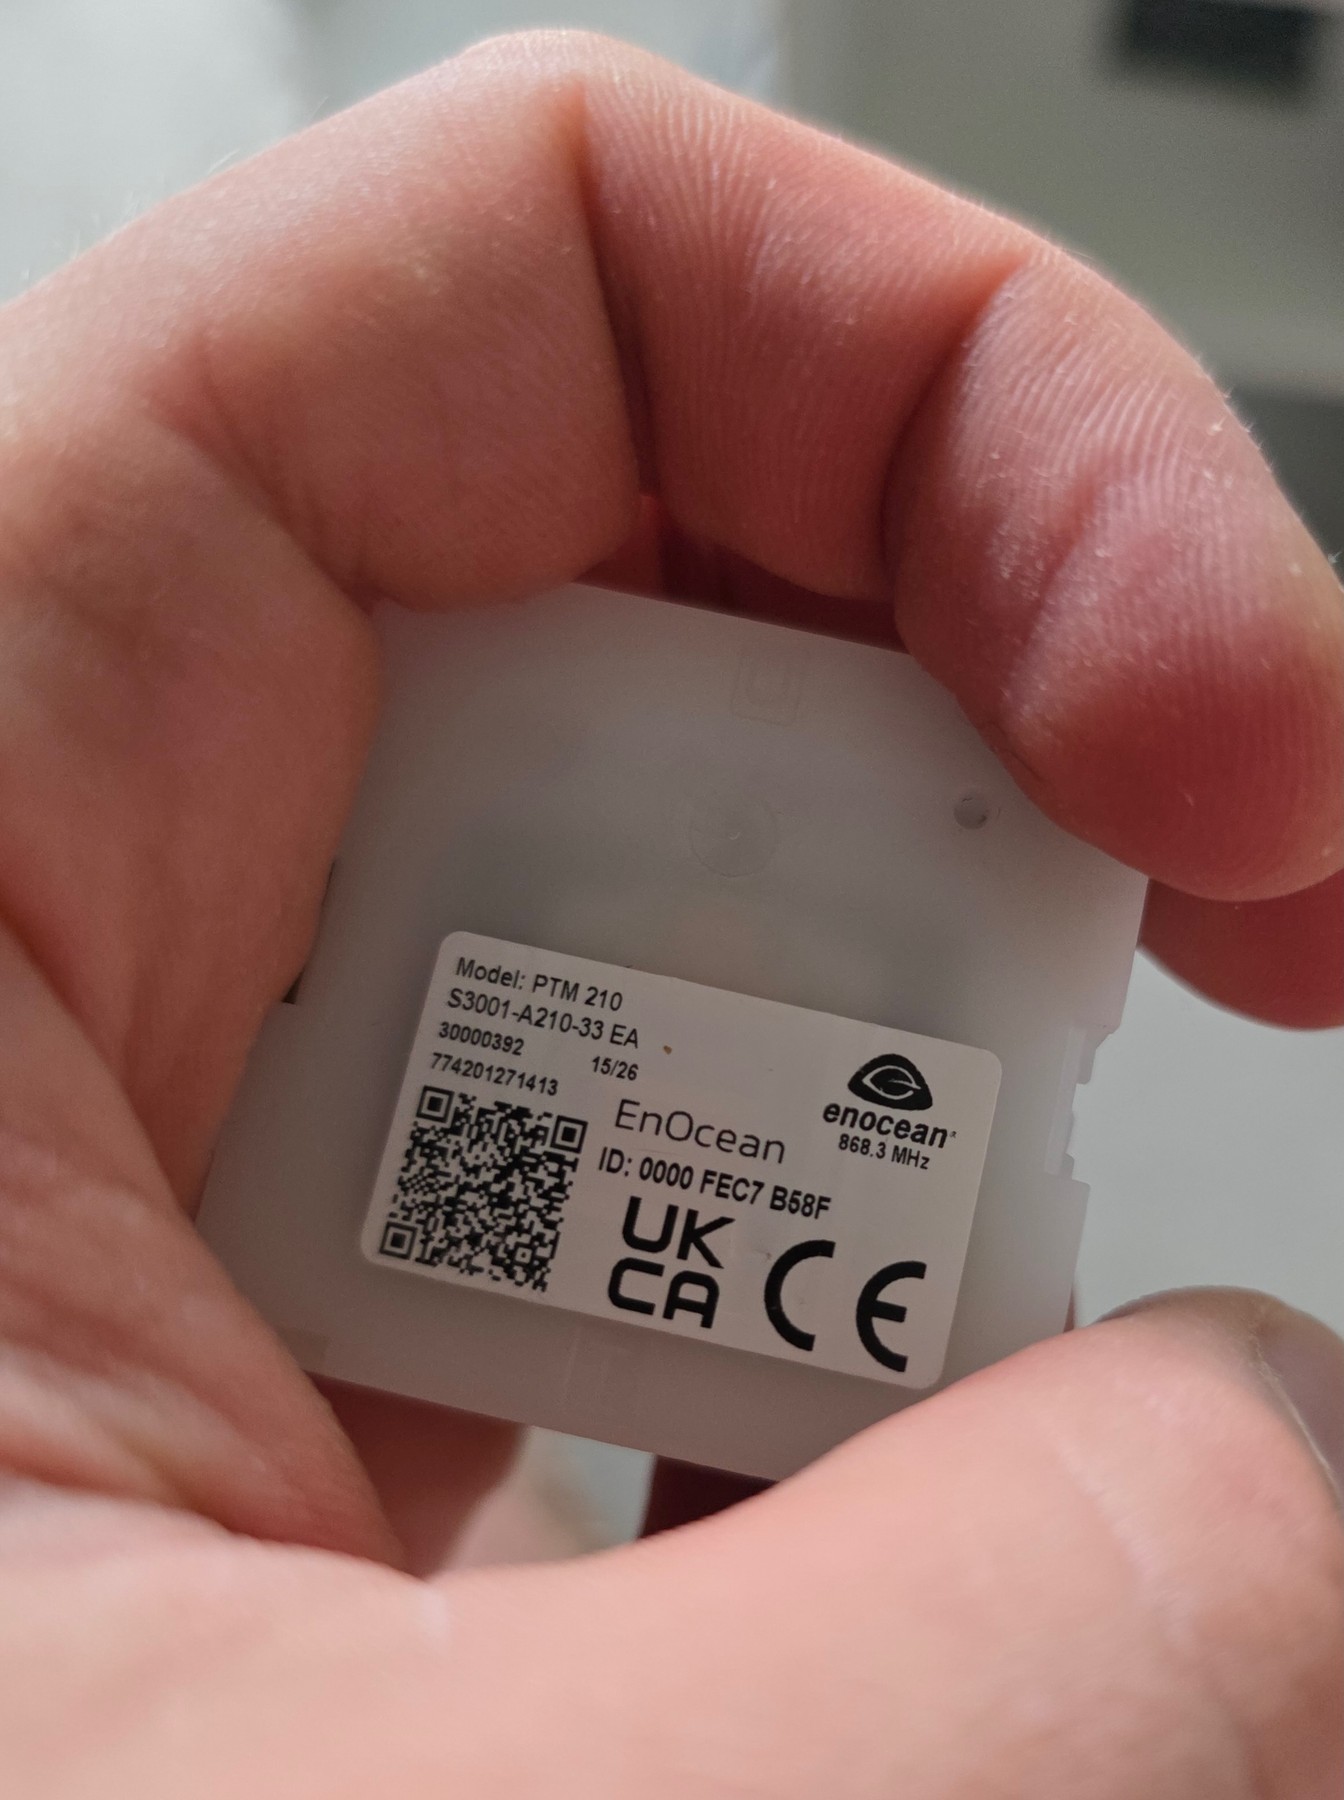
Back of the PTM 210 module
Note this before mounting: this is the value the receiver stores during pairing, and it can no longer be read once the plate is in place.
Published 6 September 2026
In brief
A control point missing in a hallway, a headboard without a switch, a freshly painted partition wall you don’t want to open: this is the territory of the battery-free wireless control.
The Eltako FT55, fitted with the PTM 210 kinetic module, has no control wire, no battery, no maintenance: the energy of the press is enough to send the command. That is what makes it interesting in renovation, and it is also what sets its conditions of use.
The principle is simple to understand, more demanding to prepare: the plate sends, a receiver executes. Everything that switches on the lighting is decided on the receiver side, which must be compatible with EnOcean radio and recognize the message of that particular control.
I fitted it on several old-housing projects and tested it on my workbench: repeated presses, range through partition walls, pairing check. Three points decide the purchase: what the control does, the conditions it requires, what it does not replace.
55 mm
plate format of the FT55
0
batteries in the control, the energy comes from the press
12 m
range measured through two interior walls
100 %
pulses received during the range test
In a wired switch, pressing closes a contact connected to a conductor. Here, pressing produces the electricity for the frame: the button arms a spring that drives an electrodynamic converter, then nothing flows until the next press.
Two concrete consequences. First, no battery to replace: the housing is never reopened for a dead battery. Then, no control wire to bring to the mounting point, so no chasing into a solid wall and no paint touch-up afterwards.
In an older home, this is often the argument that settles it: the control goes where the hand looks for it, without touching the structure. The lighting circuit itself does not move: it stays connected to the panel and to its receiver.
What is asked of it day to day comes down to one gesture: turn on when entering, turn off when leaving, from a mounting point that did not exist. The rest — radio, pairing, receiver — works in the background.
Info
Wireless does not remove the wire, it moves it. What disappears is the cable run up to the switch; connecting the receiver to the lighting circuit still has to be done.
The PTM 210 is the block that turns a press into a radio frame. It lives behind the rocker, in the base of the wall plate, and contains neither a battery nor a rechargeable cell: all the energy for the transmission comes from the gesture.
The feel when pressing is firmer than a standard wired switch: the finger’s pressure cocks the spring that spins the electrodynamic converter. This crisp mechanical click physically confirms that the radio frame has been sent.
Each module carries a unique identifier, printed on its label. That is what the receiver memorizes during pairing: two neighboring controls therefore do not send the same message.
Back of the PTM 210 module
Note this before mounting: this is the value the receiver stores during pairing, and it can no longer be read once the plate is in place.
With no battery, no compartment to clean and no contacts that oxidize over time: maintenance is limited to the mechanics of the button, and the action stays comparable from one year to the next.
Conseil
Before mounting the plate, note the reference and the ID of the module. Once the plate is in place, the label can no longer be read — and that is the information used for pairing or diagnostics.
The module is not bought on its own: it fits into an FT55 wall frame, in the 55 × 55 mm format. Once mounted, the assembly looks like an ordinary wall plate, available in several finishes.
The 55 mm format is common in European wall wiring devices, but do not confuse dimension and compatibility: check the reference of the cover frame you plan to order, because an identical format does not guarantee that it clips on.
It is this battery-free radio base that the brand uses across its entire professional range: I detailed its positioning in my review of the Eltako brand.
The back of the control is completely flat: the plate mounts directly onto a smooth surface, with no back box preparation. Kitchen tile, a wooden cabinet panel, a headboard, a glass partition: the range of options comes down to the flatness of the surface.
Two fixings are possible: double-sided adhesive for flat surfaces and furniture, two screws when the plate has to be secured to the surface.
Before fixing, I check two things: the flatness of the surface over the whole area of the plate, and the hand position at the entrance to the room. A control you have to hunt for with your eyes misses its purpose.
This is where the chase you avoid matters: bringing a traveler wire into a partition means opening up, filling, repainting. The price of replacing an electrical switch gives the order of magnitude of a wired job.
I start from the surface, not the control. On a kitchen tile, a glass partition or a cabinet panel, double-sided adhesive is enough: the plate sits flat and can be repositioned elsewhere if the use changes.
On a surface that must stay secured to the plate, I switch to two screws. A passage point, where the hand presses firmly on the way in, calls for a fixing that does not budge over repeated use.
In both cases the check is the same: the plate leaves no gap against its surface and does not rock under the finger. That is the price of a click that stays crisp on every press.
A switch attached with adhesive comes off by hand, with no tool that mars the finish. I clean the adhesive residue off the surface, then apply a fresh strip before putting the plate back in place.
The destination surface matters as much as the first one: smooth and flat, wide enough for the plate to rest entirely on it. On a bare or uneven wall, I look for another spot rather than forcing the adhesive.
This is where this setup proves its worth in renovation: moving a mounting point without opening up, plastering or repainting. The plate follows the hand, the wall does not move.
The switch is the visible part, but it decides nothing on its own. Four points have to be checked before buying, and three of them concern the installation.
| Check | What is at stake |
|---|---|
| Check Compatible receiver | What is at stake without an EnOcean receiver, the frame goes nowhere |
| Check Expected EEP profile | What is at stake pairing goes through a technical profile, not through a plate name |
| Check Mounting surface | What is at stake a smooth surface, or two screws into a solid backing |
| Check Range in real use | What is at stake a reading of 12 m on a test bench is no guarantee in another home |
The four checks to pass before ordering the switch.
The point that blocks most often is not the radio: it is the receiver. A device intended for another protocol will never see the frame, whatever the quality of the plate.
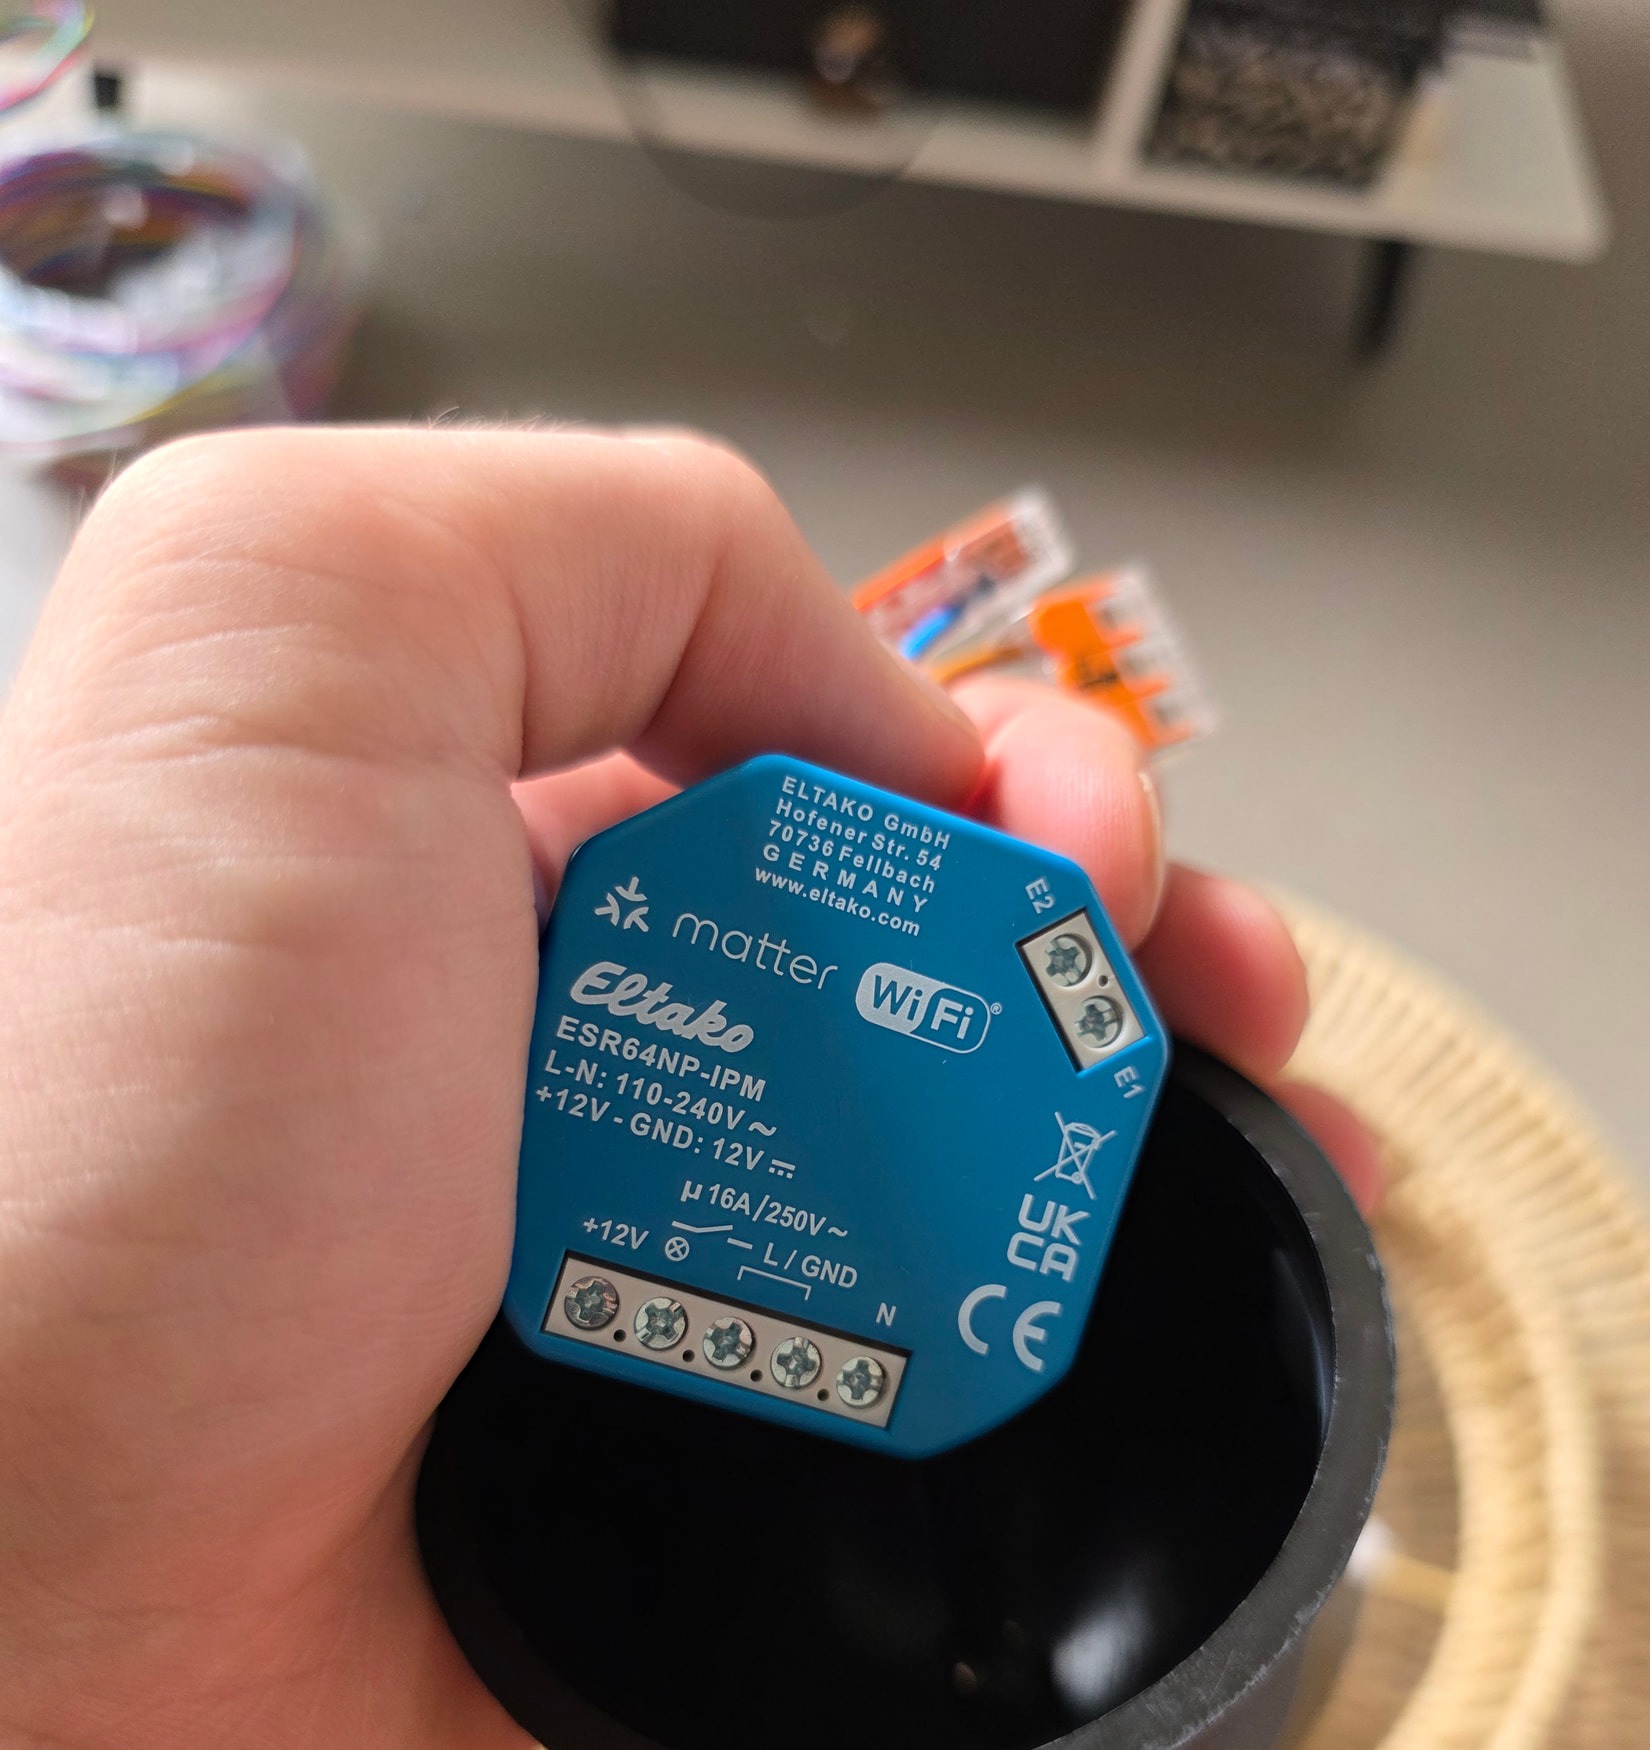
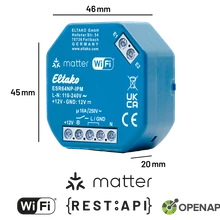
Micromodule receiver
On the receiver side, this is where the lighting circuit connects: the switching belongs to this module, the radio control only sends the frame.
When the neutral is missing at the control point, the question moves to the circuit: wiring a connected switch without a neutral explains how the installation is organized in that case.
An electrician looking for an EnOcean transmitter to pair with a micromodule receiver finds the same logic: it is the receiver that carries the function, the faceplate is only the control.
Once the control is in hand, the question is not “which switch?” but “which profile?”. The association is done in the app that drives the receiver, and the menu asks for an EEP profile — a standardized format that describes what the frame carries.
The official list of these profiles is published by the EnOcean Alliance, under identifiers of the type F6-xx-xx. It describes uses — lighting control, blind control — and not faceplate references: it is the receiver that announces the profile it expects.
The vocabulary intimidates more than it complicates: an EEP profile isn’t a setting to calculate, it’s a box to select in a list. The receiver waits for the one in its list that matches your plate.
Hence the move I’ve got into the habit of making before installation: note down the reference and the identifier of the module while the label is still visible. After mounting, the information has to be looked up in the receiver’s manual.
Note down the control’s identifier
The module’s label carries its reference and its radio identifier: note them down before clipping the plate on.
Check the support
The control fixes onto a smooth support, using double-sided adhesive or two screws.
Fix the plate
The flat back rests directly on the support, with no flush-mounted box to prepare.
Choose the EEP profile
In the receiver’s app, select the profile that matches the control, checking it against the manual.
Pair and check
One press on the button confirms the pairing; then test the light from each position of use.
Attention
A receiver that is not EnOcean-compatible will never see the frame, whatever profile is selected. Radio compatibility is checked before the purchase, not at the moment of pairing.
When a control stops turning the light on, I don’t take the plate off right away. I first check the receiver and its power supply, then I redo the pairing following the manual, without touching the fixing.
The first thing to check remains the module identifier: this is the value the receiver memorized, and it is the one that must match.
This work is best done with two people: one triggers the press, the other follows the procedure in the receiver app. A test from each usage location then closes the check.
If nothing changes, I come back to the receiver side: it is the one that carries the function, the plate only sends the frame.
On my test bench, the remote controlled the lighting at 12 meters through two interior walls: plasterboard, wooden floor and load-bearing masonry wall. All the pulses were received, and the light feedback follows the click.
This figure holds for that particular path. A radio reading has to be redone on a case-by-case basis: it is not distance alone that counts, but what the frame passes through. Two neighboring homes do not give the same range.
The method is simple: pair the remote, then test it from each location you are considering before fixing anything — room entrance, landing, head of the bed. It is the only check that counts.
What matters in everyday use is consistency: every press must go through, not just the first one. A reading taken once, under actual usage conditions, is worth more than a datasheet value.
To put the remote into perspective against a conventional setup, the wiring of a simple switch gives the basics: a live wire, a lamp return wire and a fixed mounting point.
The FT55 does not light anything on its own. Without a compatible receiver, the frame goes into the void: the first purchase condition is decided on the receiver side, not on the plate side.
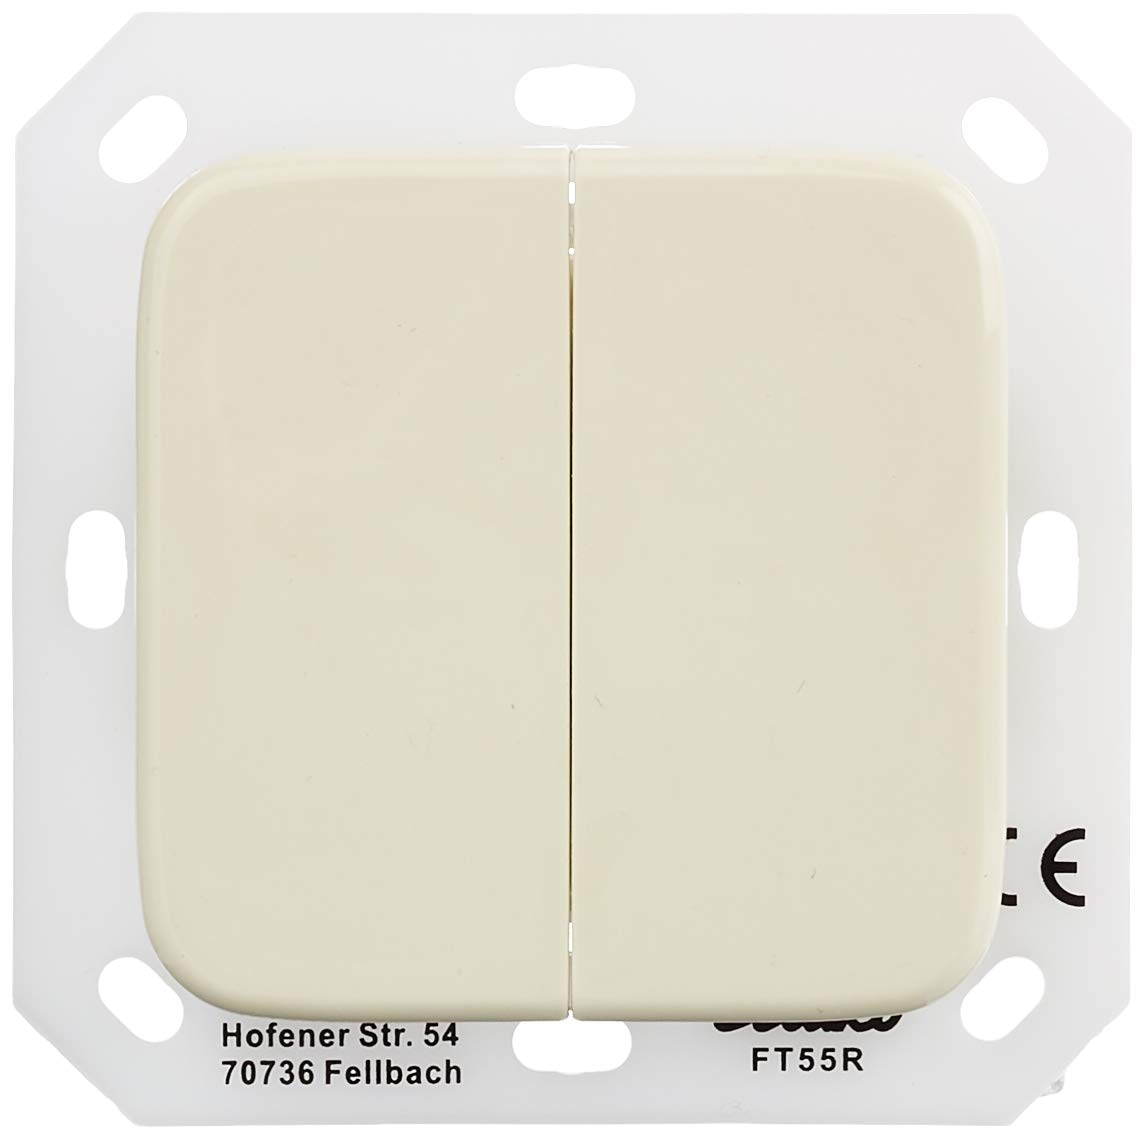
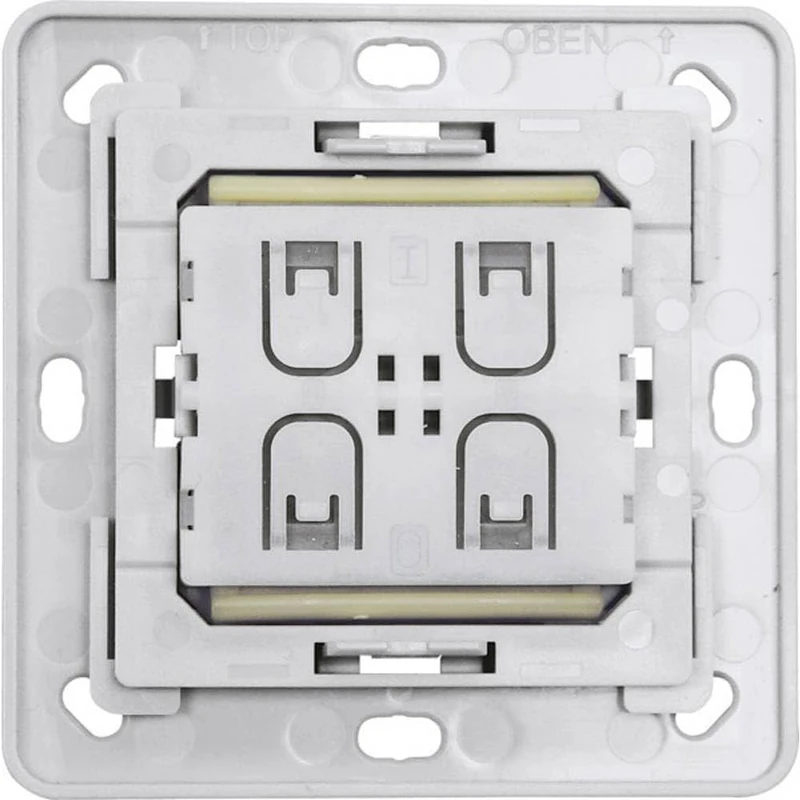
Control, front view
The plate alone lights nothing: the manufacturer’s marking identifies the model, but the switching belongs to the receiver.
Source: m.media-amazon.comIt does not replace the lighting circuit: the power supply, the protection and the routing of the conductors remain in place. The radio control adds a control point where no cable arrives, it does not remove those that exist.
A wired switch kept next to it is not a duplicate: it controls the circuit directly, without radio or pairing. The EnOcean control is added to the installation, it does not dethrone it.
And on an uneven surface, the adhesive does not offer the same hold as on a tiled surface: the control requires a firm surface, not a bare wall.
With no battery or live contact, the calendar runs down: nothing to replace, no compartment to reopen. What lives is the button mechanism, called on with every press.
What I keep an eye on is the mounting. An adhesive peeling off at one corner, a support that warps, and the plate loses its seating: I re-seat it on a clean surface rather than let it float.
Cleaning, for its part, is limited to a soft cloth on the finish, with no harsh product and without opening the module. The label carrying the identifier deserves to stay legible: it is what still serves for diagnosis when a press is lost.
First mistake: buying the control before having scoped out the receiver. Without an EnOcean-compatible device, the frame goes into the void, whatever care is taken in mounting the plate.
Second mistake: sticking the plate before recording the module identifier. Once in place, the label is no longer legible and you have to take it off again to find the value.
Third mistake: choosing the cover frame on format alone. 55 mm is common, but the clipping depends on the reference: I check compatibility before confirming the order.
Fourth mistake: testing the range from a single spot. A press that works at the room entrance says nothing about the gesture from the head of the bed or the landing: I go around the locations before fixing the plate for good.
Fifth mistake, more subtle: pairing then sticking without testing. I prefer to pair, test, and only then fix — removing an adhesive plate is never a good moment.
The switch adds no voltage to the wall: the control point is fitted without any conductor, and no voltage reaches behind the faceplate.
On the receiver side, the precaution remains complete. I work with the power off, after cutting the circuit and checking for the absence of voltage with a voltage tester, just as on any wall device.
The radio frame does not remove the need for circuit protection either: the circuit breaker and the protections stay upstream, exactly as in a wired setup. The switch adds a command; it does not replace safety.
The main use case remains renovating an old home: adding a switch without a chase in a room where the conduit does not exist, or moving a control point without reopening a repainted partition.
On the professional side, the FT55 is an EnOcean control module: a transmitter to pair with a compatible receiver, without pulling a traveler wire to the control point.
A switch mounted with adhesive can also be moved without masonry: control points follow usage, which changes more often than walls do.
Two cases argue instead for wired: when the conductors already exist in the right place, and when the installation must do without any radio receiver — a two-wire wired switch then relies on its physical link.
For a project that combines several control points, the price of a connected home helps to situate the overall budget. Connecting the receiver remains a wiring job: that is the home automation service I quote for in this case.
The manufacturer does not publish a recommended retail price for the FT55 or for the kinetic module: the price has to be requested through the trade, and it depends on the finish and the configuration chosen.
In a costing, the switch is only one line. The complete assembly brings together the plate, the receiver and its connection: a quote that counts only the switch misses the main item.
Two variables weigh on the bill: the finish of the plate and the number of points to order. I also include commissioning, that is, pairing the switches and range tests from the chosen locations.
The battery-free switch does what you expect of it in a renovation: add a control point without opening anything up, with no battery to watch, with an installation that requires neither a flush-mounted box nor masonry.
The rest is decided in the preparation: receiver compatibility, identified EEP profile, range checked from the actual locations. Three checks that separate a setup that works first time from trial and error.
Nothing exotic in this setup: a control, a receiver, a pairing. What sets it apart is the absence of a battery and the freedom of placement — two advantages that are paid for with serious preparation.
If a compatible EnOcean receiver is already in place or planned, the FT55 does the job without a single wire reaching the mounting point. If nothing exists on the receiver side, the plate alone will not change the installation: that is the first thing to settle before ordering.
Yes. The kinetic module EnOcean PTM 210 generates the energy for its frame on each press, through an electrodynamic converter: it carries neither a battery nor a rechargeable cell. The plate therefore never gets opened for a dead battery, and the press keeps a mechanical click that confirms the transmission.
Yes, and that is the main condition. The FT55 is only a radio transmitter: without a compatible EnOcean receiver, the frame controls nothing. It is the receiver that switches the lighting circuit, not the plate.
The profile depends on the control and the receiver, not on a trade name. The list published by the EnOcean Alliance uses identifiers of the F6-xx-xx type, and the receiver’s pairing menu expects the one that matches the use. Note the module reference on its label and check the match in the manual before confirming.
On my test bench, the control reached 12 meters through two interior walls — plasterboard, wooden floor and load-bearing masonry wall — with every pulse received. This measurement cannot be transposed as is: range must be checked case by case, from the actual places of use.
Yes, that is its value in renovation: the control is added as an extra mounting point, without a traveler wire to run, as in a wireless two-way switching. The existing wired switch stays in place and keeps controlling the same circuit, provided a compatible receiver makes the link.

Théo Desrousseaux
Electrician and editor
I work in the field and edit this magazine. Every guide is reviewed for its target country before publication.
Sources and references
Practical electrical installation guides, diagnostic methods and tool recommendations compared against the technical wiring standards of this national edition.
Review of Eltako: the German brand founded in 1949, its bistable relays, the 62-IP WiFi series, Apple Home, Matter references and dated manufacturer prices.
Read the guide